Local Hardwood Floor Staining for Winnetka Homes

Big Bro Hardwood is an owner-operated hardwood floor staining company serving Winnetka, IL. We sand existing floors back to bare wood and give them a new color, so you get a completely different look without pulling up what you have. A lot of our work in Winnetka involves the red oak, white oak, and maple floors found in the area’s older Colonial, Georgian, and Tudor-style homes. Many of those floors carry the orange, amber, or golden tones that were popular decades ago, and we help homeowners move them toward something natural, greige, deeper brown, or more contemporary.

Color is not just about picking a sample. What your wood can do depends on the species, grain, and age of the floor itself. We test stains right on your sanded floor before committing, and we are upfront about what is and is not realistic for your specific boards. Free in-home estimate within 24 hours across Winnetka and nearby suburbs.

Hardwood Floor Staining Cost in Winnetka

The cost of hardwood floor staining in Winnetka, IL, depends on whether you are pricing the stain portion itself or the full sanding, color, and finish process. In most homes, staining services are part of a larger scope because the floor has to be taken to bare wood, the previous finish has to be removed, and the new stain has to be sealed properly for a durable result.

Starting staining prices in Winnetka, IL, by project scope (per square foot)
Package / Scope Typical Use Starting Price* Includes
Stain Add-On Adding color during a standard refinish +$1.0 to $2.0 / sq ft Color selection, stain application, and stain-related labor after the full sanding process
Full Sand, Stain & Refinish Existing wood floors that need full color change and new finish From $4 / sq ft Sand to bare wood, remove previous finish, apply stain, standard finish system, and cleanup

*Pricing shown is a starting point. Final cost can vary depending on square footage, floor condition, wood species, custom color testing, and whether the floor has deep scratches, heavy buildup, or areas in poor condition. Moving furniture, extra prep, and any needed repairs are usually priced separately. For a more detailed breakdown of full sanding and refinishing pricing, see the Hardwood Floor Refinishing page or calculate hardwood floor staining and refinishing cost.

Hardwood Floor Staining Service Highlights

  • Free Estimate in 24 Hours
  • Damaged Boards Repaired Before Staining
  • Low-Odor Finish Options Available
  • Pet- and Family-Safe Finish Options
  • On-Floor Samples Before Approval

Why Stain Hardwood Floors in Your Winnetka Home

Staining is one of the easiest ways to change the look of existing hardwood flooring without replacing it. In many Winnetka homes, a proper sanding process and new stain can update color, improve wear patterns, and bring older wood floors back to a cleaner, more natural look.

  • Change the color without replacing the floor. Staining recolors the solid boards you already have, so a whole room can look new without new flooring.
  • Refresh worn boards, not just color. Sanding removes the old finish and evens out traffic paths before the new stain goes on.
  • Keep sound boards instead of replacing them. If the boards are solid, staining costs less and disrupts less than a full tear-out.
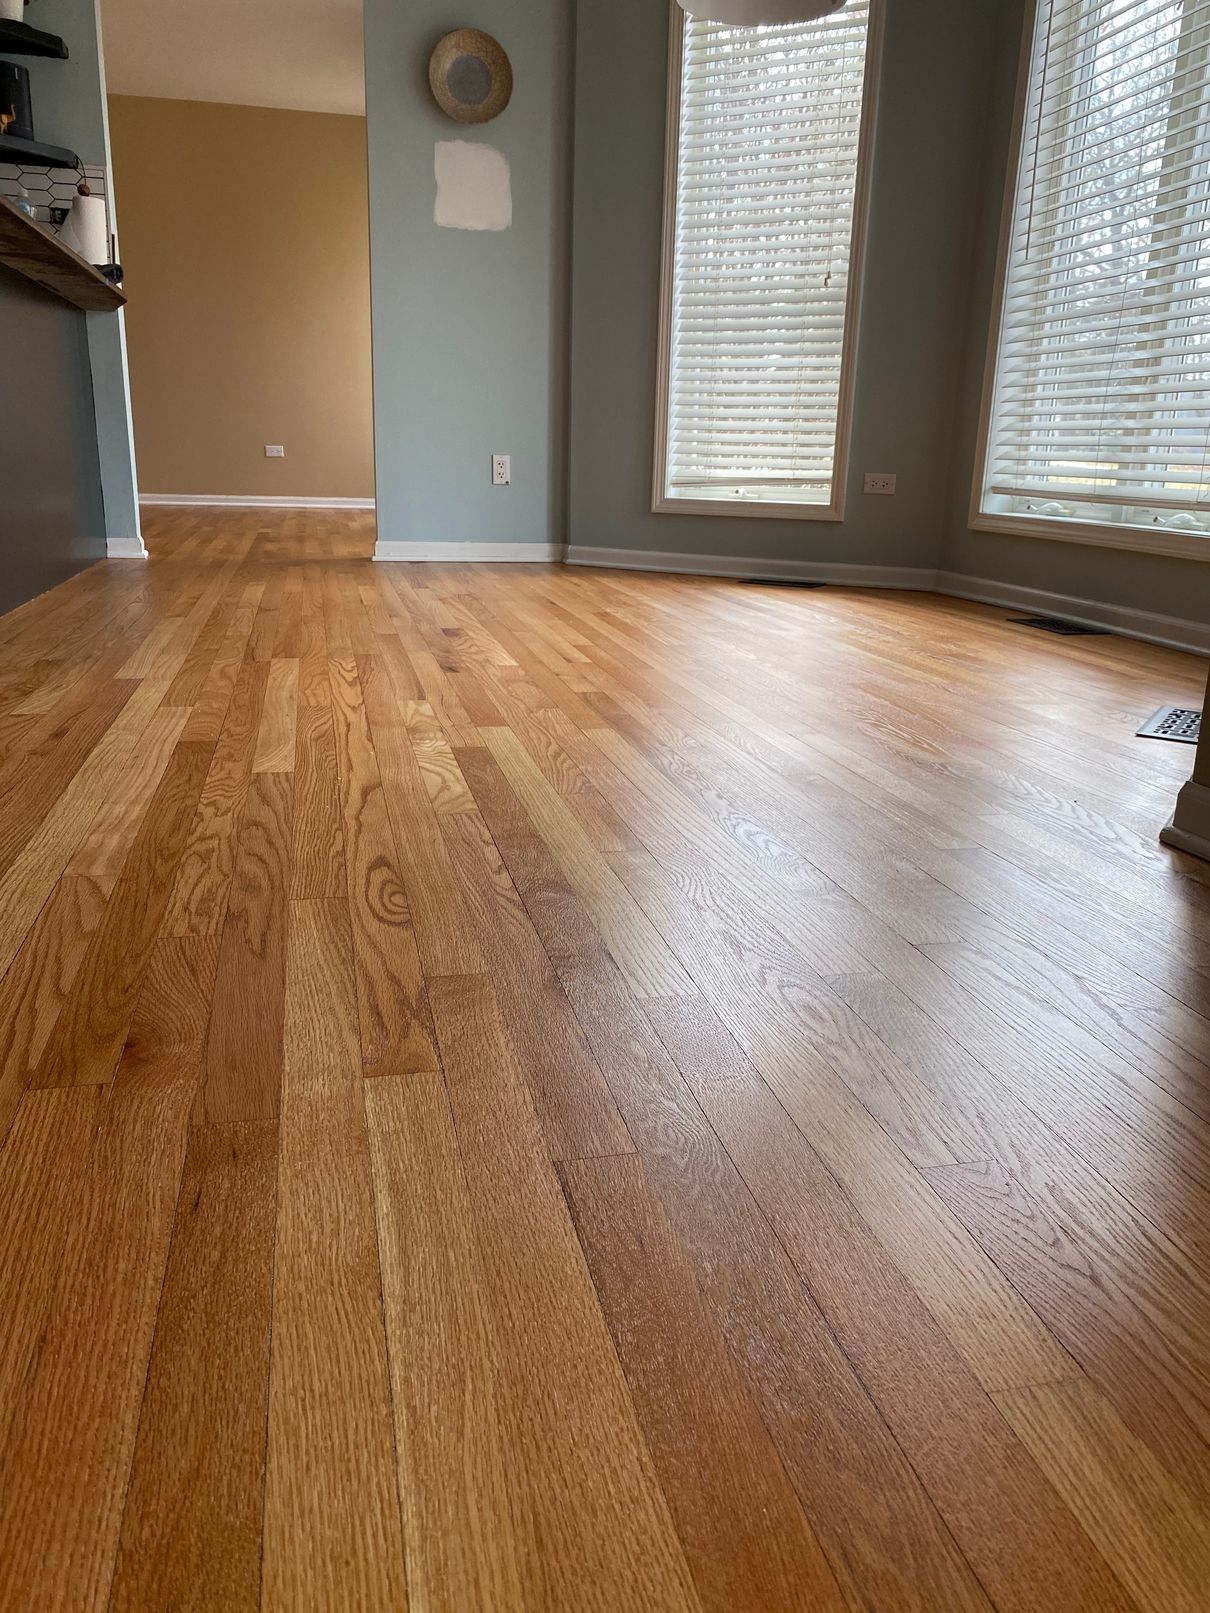
Close view of oak hardwood floors, satin wood floor finish by windows.

Hardwood Floor Stain Colors and Color Matching in Winnetka

Color is what people worry about most when they consider staining their floors: will it actually look like the sample, is the tone they want even possible on their wood, and will it tie in with the rest of the house. Winnetka homes span a wide range of ages and wood species, so the honest answer depends on what is under your feet. Here is how we think about color, and what is realistic:

Stained hardwood floor
  • Moving away from old orange or amber oak. Many of Winnetka’s established Colonial, Georgian, and Tudor homes have red oak floors that were finished decades ago in a warm orange or amber tone. We can shift that toward a natural, greige, or deeper brown, and we show you exactly how far your specific floor can go before any stain is committed.
  • The honest truth about grays and whites on red oak. Red oak has a natural pink undertone that works against true gray and white stains. On older Winnetka floors, that undertone can read blotchy or noticeably pinkish even with a gray stain on top. We tell you upfront whether your floor can get there cleanly, and when a slightly warmer tone gives a far better result.
  • Matching floors near large windows. Winnetka’s lakefront and estate homes often have generous windows and substantial natural light. Older wood fades and shifts in color near those windows over the years, so a shade from a color card will not match the rest of the floor the way you expect. We sand a test area and read the color under your actual light before we commit to anything.
  • Even color on wood from different eras. Winnetka’s ongoing teardown and infill construction means some homes have original early-20th-century wood alongside newer replacement boards. Vintage oak, maple, and pine each take stain differently, and past repairs or old finish residue can cause uneven absorption. Careful bare-wood prep and a wood conditioner where needed keep the final color consistent across the whole floor.
  • Clear finish versus a color change. Sometimes the right call for a Winnetka floor is not a stain at all. A natural clear finish can brighten older wood and let the grain come forward without fighting the species. We help you decide whether to deepen the tone, neutralize the old color, or keep it close to natural.
  • Low-odor options near the village center. Winnetka does have some condo and apartment buildings, particularly along the main corridors near the village center. In those settings we use low-VOC stains and finishes, coordinate with HOA quiet hours, and plan ventilation so the project is manageable for you and your neighbors.

Whatever color you are after, we test it on your floor first, so the shade you approve is the shade you get. And if your wood cannot reach the tone you have in mind, we tell you that before any stain goes down, not after.

Before and After

Sanded hardwood floor before staining Hardwood floor after staining by Big Bro Hardwood

Ready to breathe new life into your hardwood floors?

contact big bro hardwood

Our Hardwood Floor Staining Process in Winnetka, Illinois

Our process is simple and fully managed: clear scheduling, dust-controlled work, and straightforward communication. We handle prep, sanding, color testing, and finish application, so hardwood floor sanding and staining in Winnetka, IL feels organized, not stressful.

Timeline at a glance for hardwood floor staining:

≤300 sq ft
2 to 3 days
800 to 1,200 sq ft
3 to 5 days
  1. Inspect and Plan

    We start with the condition of the existing hardwood flooring, not just the color. We look at the species, the previous finish, visible scratches, areas of heavy wear, and whether the floor is in poor condition anywhere. You get a clear scope, stain direction, and a free estimate before work begins.

  2. Protect the Room and Prep the Area

    Before the sanding process starts, we protect the work area and plan for furniture, nearby rooms, and traffic through the home. Good prep helps control dust, protects adjacent surfaces, and keeps the job cleaner in lived-in Winnetka homes, especially around doorways, trim, and transitions to stairs.

  3. Sand to Bare Wood

    For stain to absorb correctly, the floor has to be taken back to bare wood. We remove the old previous finish, level out wear patterns where possible, and prep the surface with the right proper equipment so the new stain goes on more evenly. This step matters most in high traffic areas where old finish and color usually break down first.

  4. Test the Stain and Confirm the Color

    Color is confirmed on your sanded floor, not from a screen. See the stain-colors section above for how we test it in your light. If your floor is maple or pine rather than oak, we flag it early: these woods can blotch under stain, so we test first and use a wood conditioner where needed before any color goes down. We also seal the test area so you see the color the way it will actually look under finish, not raw stain, since a topcoat shifts the tone once it goes on.

  5. Apply Stain and Protective Finish

    Once the color is approved, we apply the stain and follow with the selected finish system. The exact steps can vary depending on the floor, the color, and the finish choice, but the goal is always the same: even color, a cleaner look, and a more durable surface for daily use. This is where the floor starts to show its natural beauty again. This is also where you pick the sheen: matte, satin, or semi-gloss, which changes how much the floor reflects light and shows everyday wear. We walk you through water-based finishes, which stay clear over the years, versus oil-based, which adds warmth but ambers as it ages: worth knowing if the whole point is getting away from orange tones.

  6. Final Check and Care Guidance

    At the end of the job, we review the finished floor with you and go over what happens next. We explain when to walk on the floor, when to move furniture back, and how to protect the new finish from early wear, moisture, and accidental damage like spills immediately after the work is completed. Light foot traffic is usually fine in about 24 hours, but keep furniture off for 48 hours and lift it into place rather than dragging it. The finish keeps hardening for three to four weeks, so go easy on rugs, tape, and heavy loads until it fully cures.

Why Winnetka Homeowners Choose Big Bro Hardwood for Floor Staining

Staining hardwood floors is not just picking a color and rolling it on. In Winnetka, where many homes carry decades of history in their wood floors, the right company makes the difference between a result you love and one you live with. Here is what sets us apart.

Clear Pricing and Predictable Scheduling

Before we touch a single board, we walk you through exactly what the project involves. Whether the scope is staining over a fresh sand, addressing light repairs first, or a fuller refinishing process, we lay out what affects the price and the timeline so nothing catches you off guard. No vague estimates, no surprise line items when the job is done. You know what you are getting into from the first conversation.

Color Guidance Before We Commit

Choosing a stain tone is one of the most important decisions in the whole project, and we treat it that way. We talk through undertones, warmth, depth, and how your specific wood species will respond once it is sanded back to bare wood. Red oak carries a natural pink undertone that can fight true gray or white stains, and we tell you that honestly before you fall in love with a color that will not land the way you expect.

Local Proof: 80% Referrals

Roughly 80% of our work comes from referrals, and we think that is the most honest measure of quality we can offer. Winnetka homeowners call us because a neighbor or friend had a good experience, not because of a flashy ad. Word travels fast in a close community like this one, and we have built our reputation by doing what we say, communicating clearly, and leaving floors that hold up over time.

On-Floor Samples Before Final Approval

A small sample card under a showroom light tells you almost nothing about how a stain will look on your actual floor. We apply real stain samples to a properly prepared section of your wood so you can evaluate them in your own space, under your lighting, next to your walls and trim. See it on your floor before we commit to the full job. That step alone prevents a lot of regret.

Custom Colors Without Guesswork

Getting the color right goes well beyond picking light, medium, or dark. We work through tone, warmth, and undertone together, factoring in your wood species, the age of the boards, and how the room is lit throughout the day. If a mix reads too orange or pulls too cool once it is on the floor, we adjust. You approve the color on your actual sanded wood before we move forward across the whole surface.

Natural Variation Explained Up Front

Hardwood is a living material, and no two boards absorb stain in exactly the same way. Grain patterns, board density, mineral streaks, and any replacement boards from past repairs can all show some variation after staining. We explain this clearly before the project starts, especially on older floors common in Winnetka homes, so you can choose a tone that works with the wood’s natural character rather than against it.

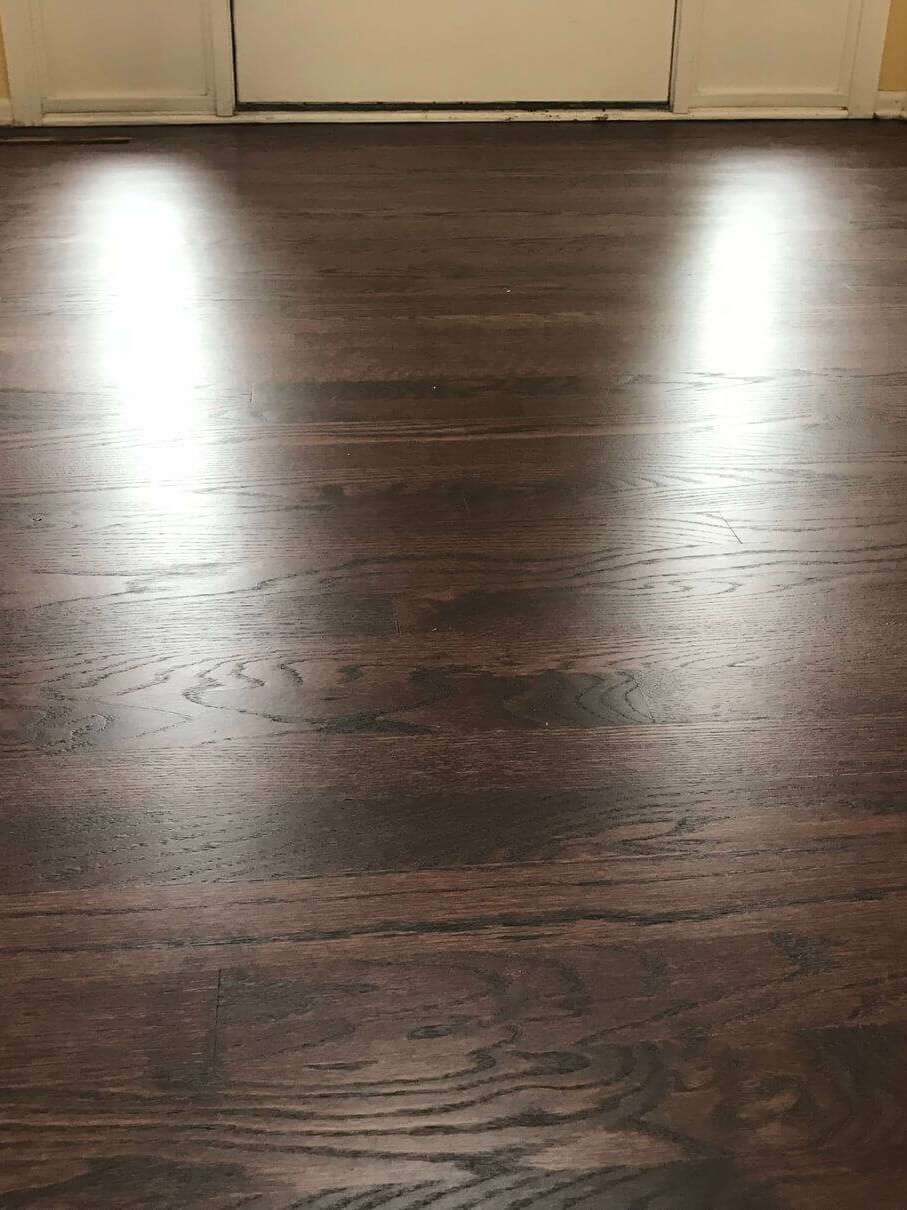
Dark refinished hardwood floor

Get your free estimate today

Contact Us

Frequently Asked Questions

Many homes in Winnetka have red oak floors from the early-to-mid 1900s. Can those floors be stained a true gray or white?

Red oak has a natural pink undertone that fights gray and white stains hard. On some floors it reads blotchy or pulls pinkish even with a carefully applied gray. We sand a test area on your actual floor and show you the result before we commit to anything. Sometimes a slightly warmer greige or a tone that neutralizes the pink gives a far cleaner, more modern result than forcing a true gray. We will tell you honestly what your floor can and cannot do.

Winnetka's older Colonial and Tudor homes often have floors near large windows that have faded unevenly. Can you match the rest of the floor?

A perfect match off a color card is not realistic when wood has aged and faded differently across a room. What we do is sand a test area near the faded zone, look at how the bare wood responds to stain under your actual lighting, and adjust from there. Older floors near big windows have genuinely different wood tone than the shaded areas. We work toward the closest visual blend possible and are upfront about what the wood will allow.

Winnetka has some condos near the village center with HOA rules. Can you do staining work in those buildings?

Yes. We use low-VOC, low-odor stains and finishes that are much more manageable in shared buildings. Before we start, we plan ventilation carefully, respect HOA quiet hours, and protect shared hallways and elevator areas. One thing to know: dry and cure times can run a bit longer with less airflow in a condo setting, so we factor that into the schedule. If your building has specific rules, share them with us and we will work within them.

Winnetka's climate brings humid summers and dry winters with forced-air heat. Does that affect staining or finishing?

It does. Seasonal humidity swings can cause gapping in winter and slight movement in summer, and both affect how a finish wears over time. We account for the moisture conditions on the days we sand and apply finish, because staining bare wood in high humidity or very dry conditions changes how the stain absorbs and how the finish cures. Proper prep and timing matter a lot in a climate like Winnetka’s, which is part of why rushing the process never pays off.

How long does a hardwood floor staining project take from start to finish?

Most projects run about 2-4 days, covering sanding, color testing, stain application, and the first finish coats. Room size, floor condition, and how much color testing is needed all affect the timeline. Light foot traffic is usually fine around 24 hours after the final coat, though the floor is still curing and scuffs easily at that stage. We recommend keeping furniture off for about 3 days and holding off on area rugs until the floor reaches a full cure. Use our cost calculator to get a rough project estimate.

Can you stain just part of a floor to match an addition or a repaired area?

Partial matching is one of the harder things we do. Wood ages and the existing finish builds up color over years, so new bare wood almost never matches old wood straight from a stain sample. We sand a test patch in the transition area and dial in the closest tone we can given the species, age, and lighting in that room. Honest expectations matter here. We will show you the test result and let you decide before we move forward with the full area.

Do I need to leave my Winnetka home during the staining process?

We recommend it, at least during active sanding and stain application. Sanding produces fine dust even with our Atomic Dust Containment System capturing roughly 95-98% of it, and stain and finish products have odor during application even with low-VOC formulas. Once the stain is down and the first finish coat is drying, some homeowners return to other parts of the house. We talk through the plan with you before we start so you know exactly what to expect each day.

How do I take care of freshly stained hardwood floors once the project is done?

Sweep, dust-mop, or vacuum on the bare-floor setting to keep grit off the surface. Wipe up spills right away and skip wet mops and steam mops entirely. Put felt pads under furniture legs and keep heavy items off the floor until it reaches a full cure. Area rugs should wait until curing is complete. The finish is durable once it is fully cured, but those first few days are when it is most vulnerable to scuffs and marks, so a little patience goes a long way.

How long will stained hardwood floors last before they need redoing?

Stain soaks into the wood, so the color doesn’t wear off, only the clear finish on top does. Plan on 7 to 10 years before a full re-sand, with an optional recoat (buff, fresh clear coat, no sanding) every 3 to 5 years in high-traffic areas to stretch that further. You’d only re-stain to change the color.

Are there floors you won't stain?

Yes, and we’ll say so up front. We won’t stain over a solid floor that’s been sanded down too many times, or boards cupping or gapping from moisture (that has to be fixed first); deep pet or water stains usually mean a board needs replacing, not staining over. In those cases we recommend refinishing-only or replacement instead.

Hardwood floors in sunny room

Request Free
Appointment!

WE ARE AVAILABLE TO PROVIDE YOU WIDE RANGE OF HARDWOOD FLOORING SERVICES

Get a free quote