

 5.0
5.0


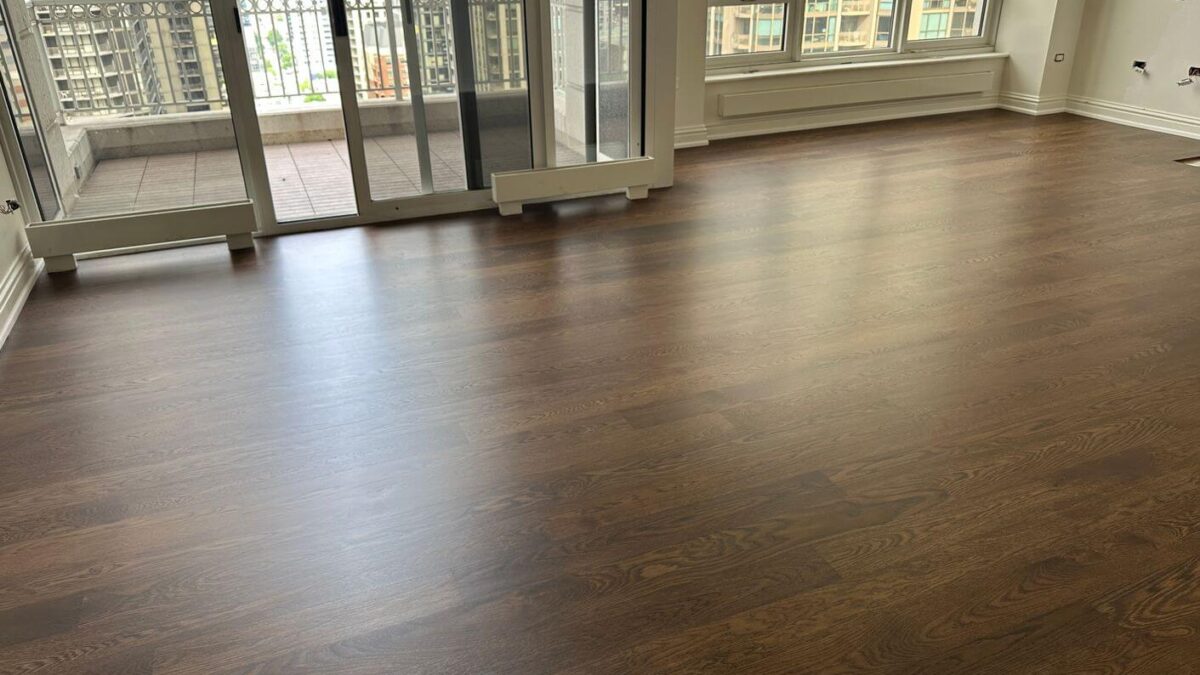
Engineered White Oak Flooring Installation and Refinishing in Downtown Chicago
Client:
Condo homeowner
Services:
Floor demolition, engineered white oak installation, sanding, staining, and refinishing
Project Duration:
9 days
Project Size:
Approximately 500 square feet
Flooring:
5/8-inch engineered white oak
Location:
25th-floor condo in Downtown Chicago
After installation, we sanded the new floor, stained it Antique Brown, and finished it with 2K Duo Matte. The project took 9 days because of the difficult demo, building requirements, limited 9 AM to 4 PM work hours, and the extra time needed for loading, unloading, and moving materials through a high-rise building.
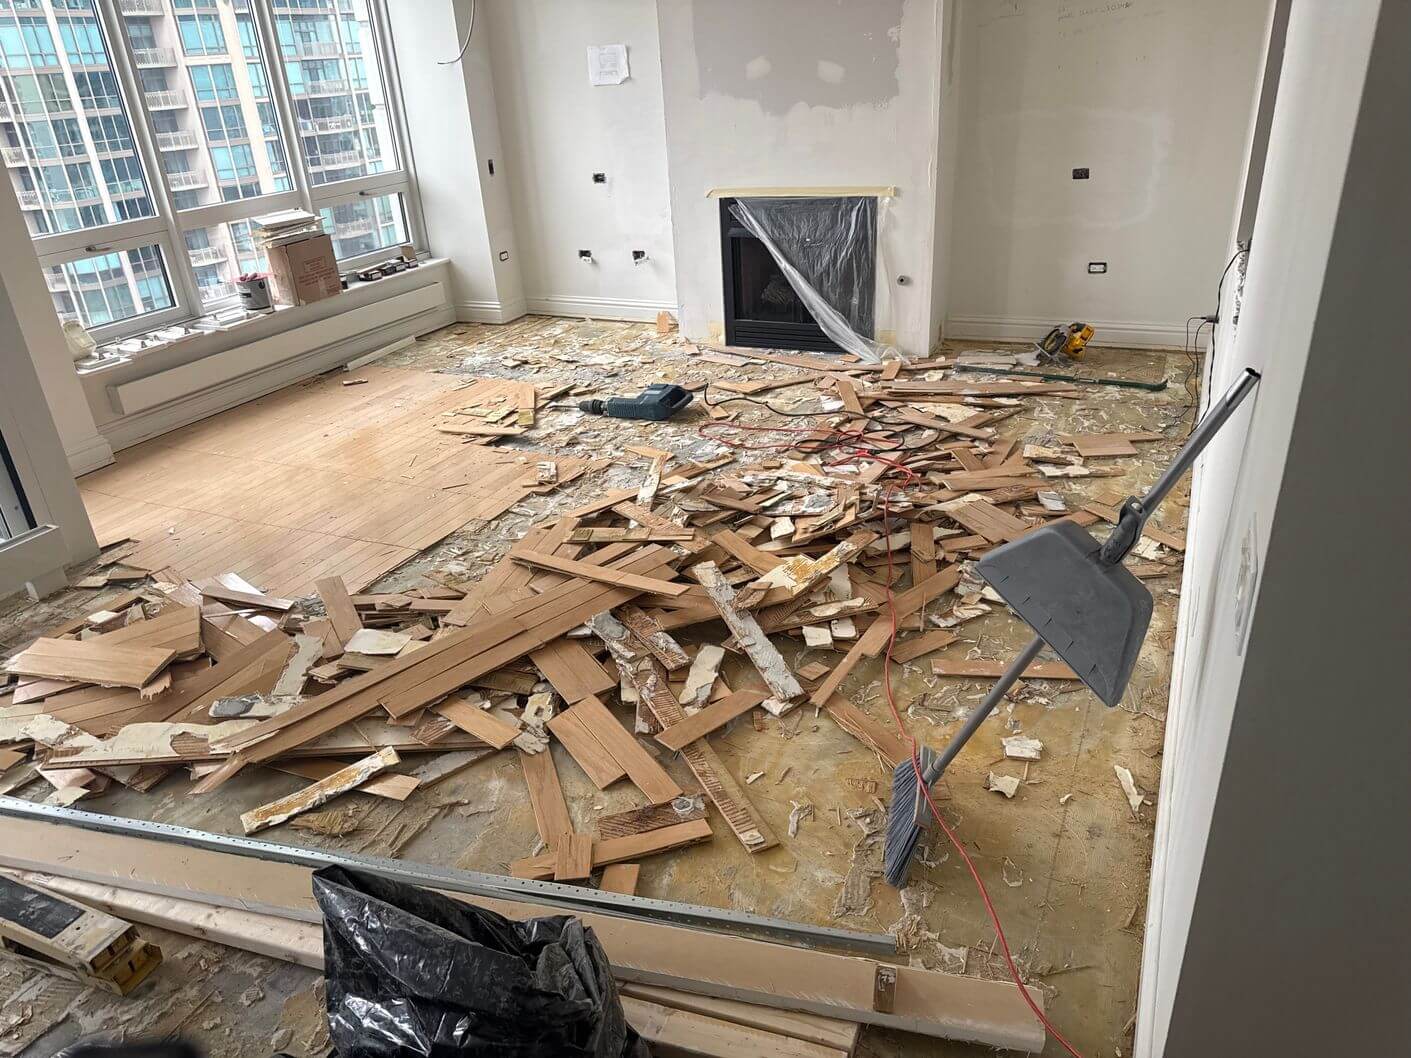
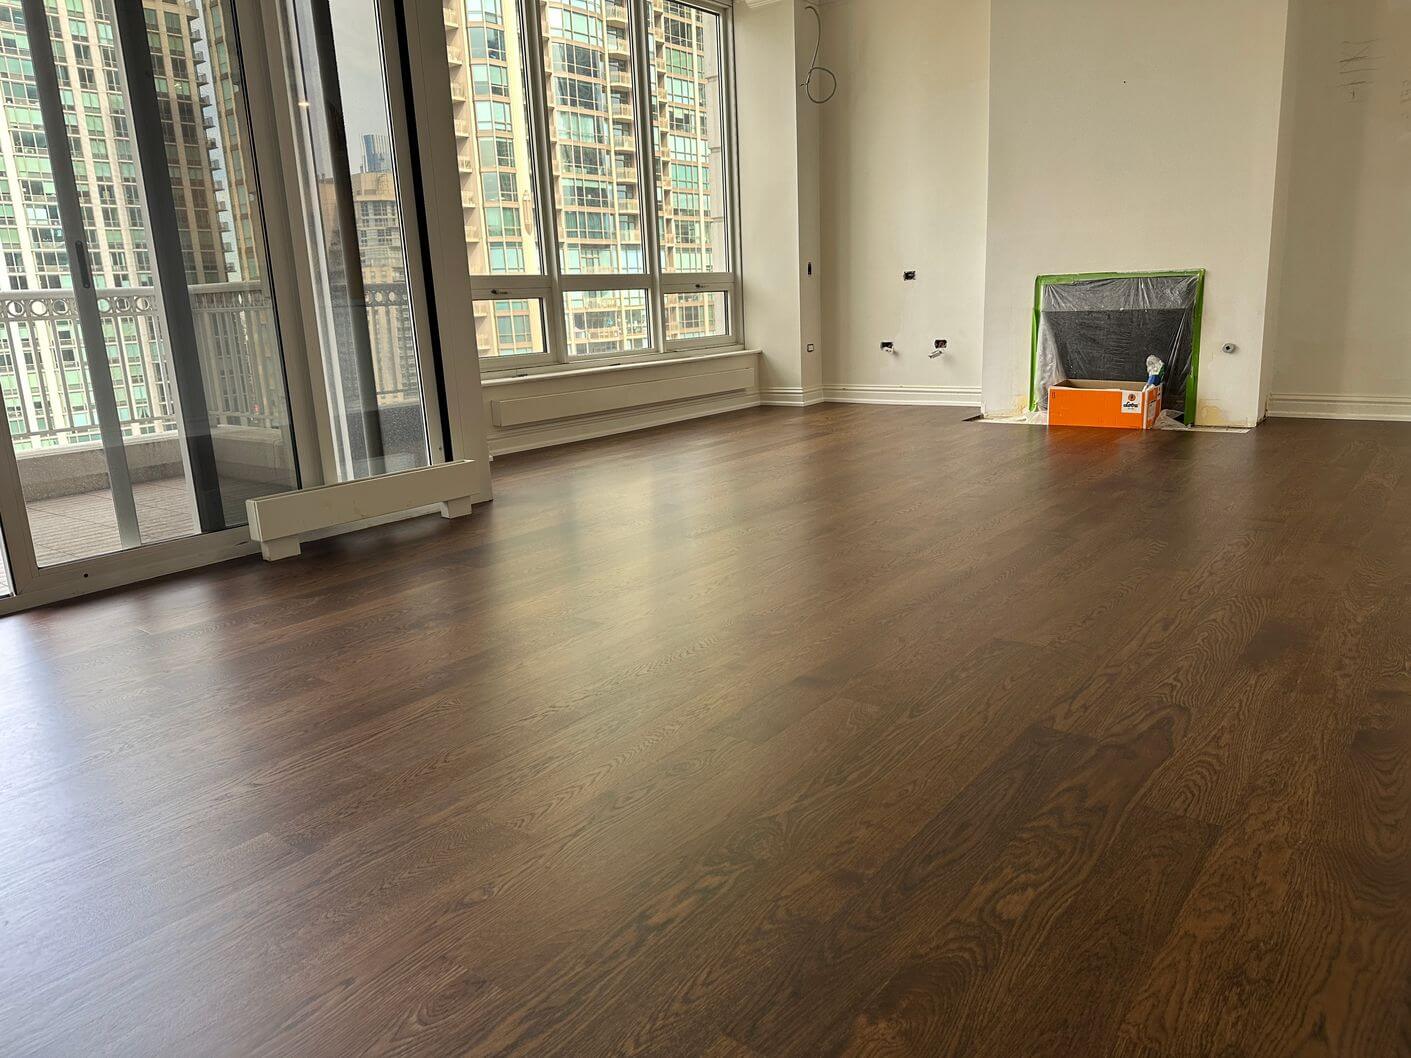
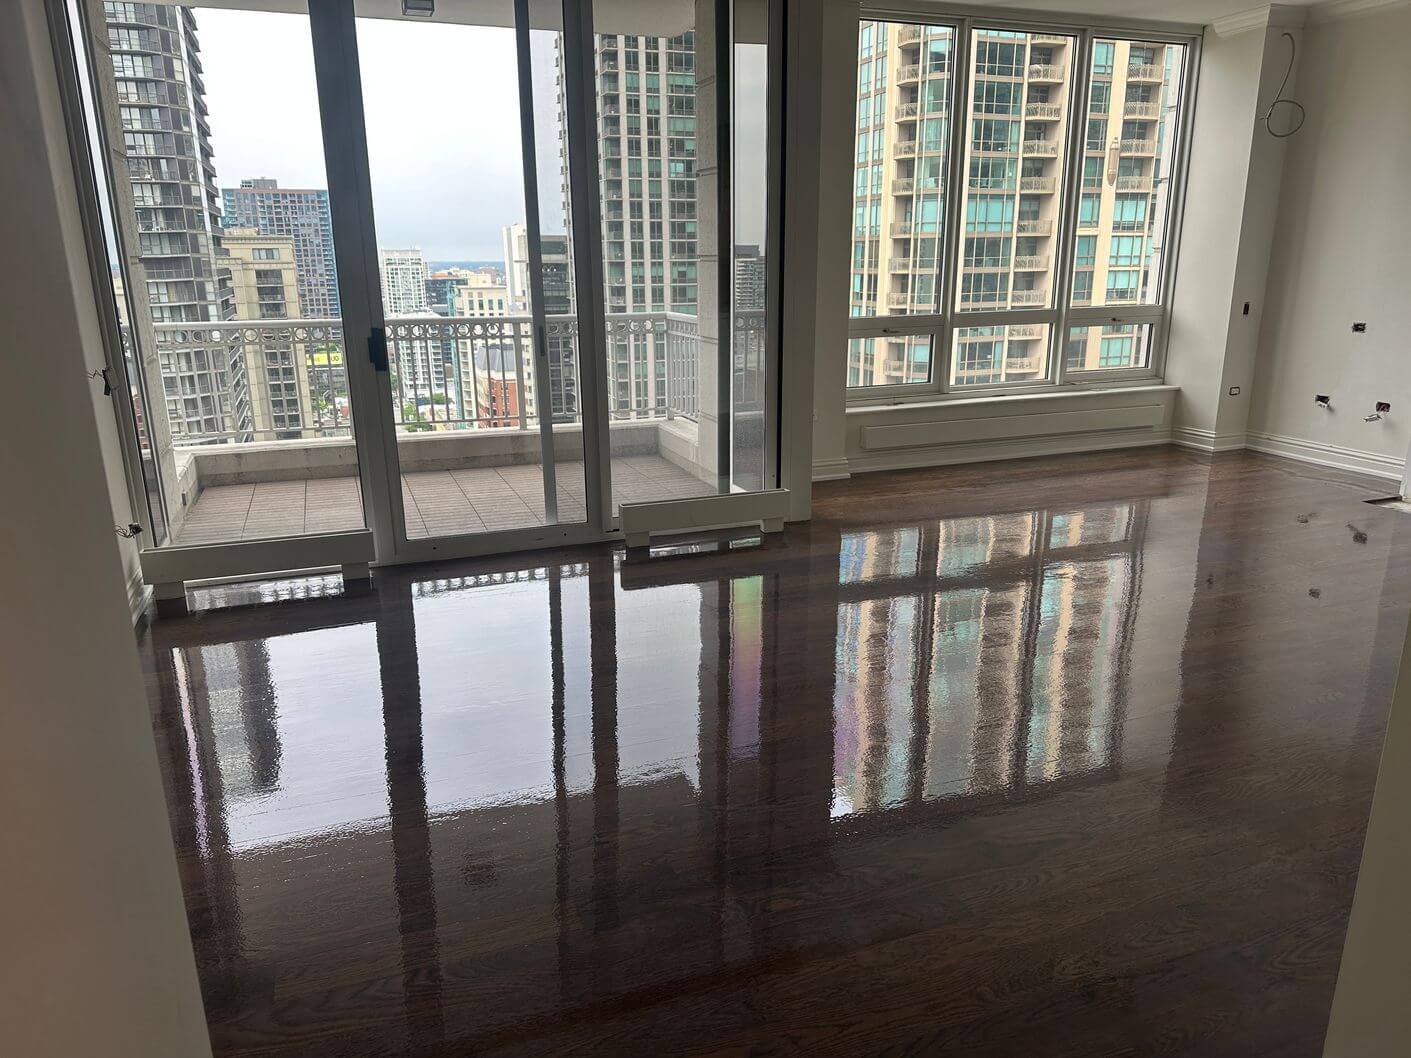
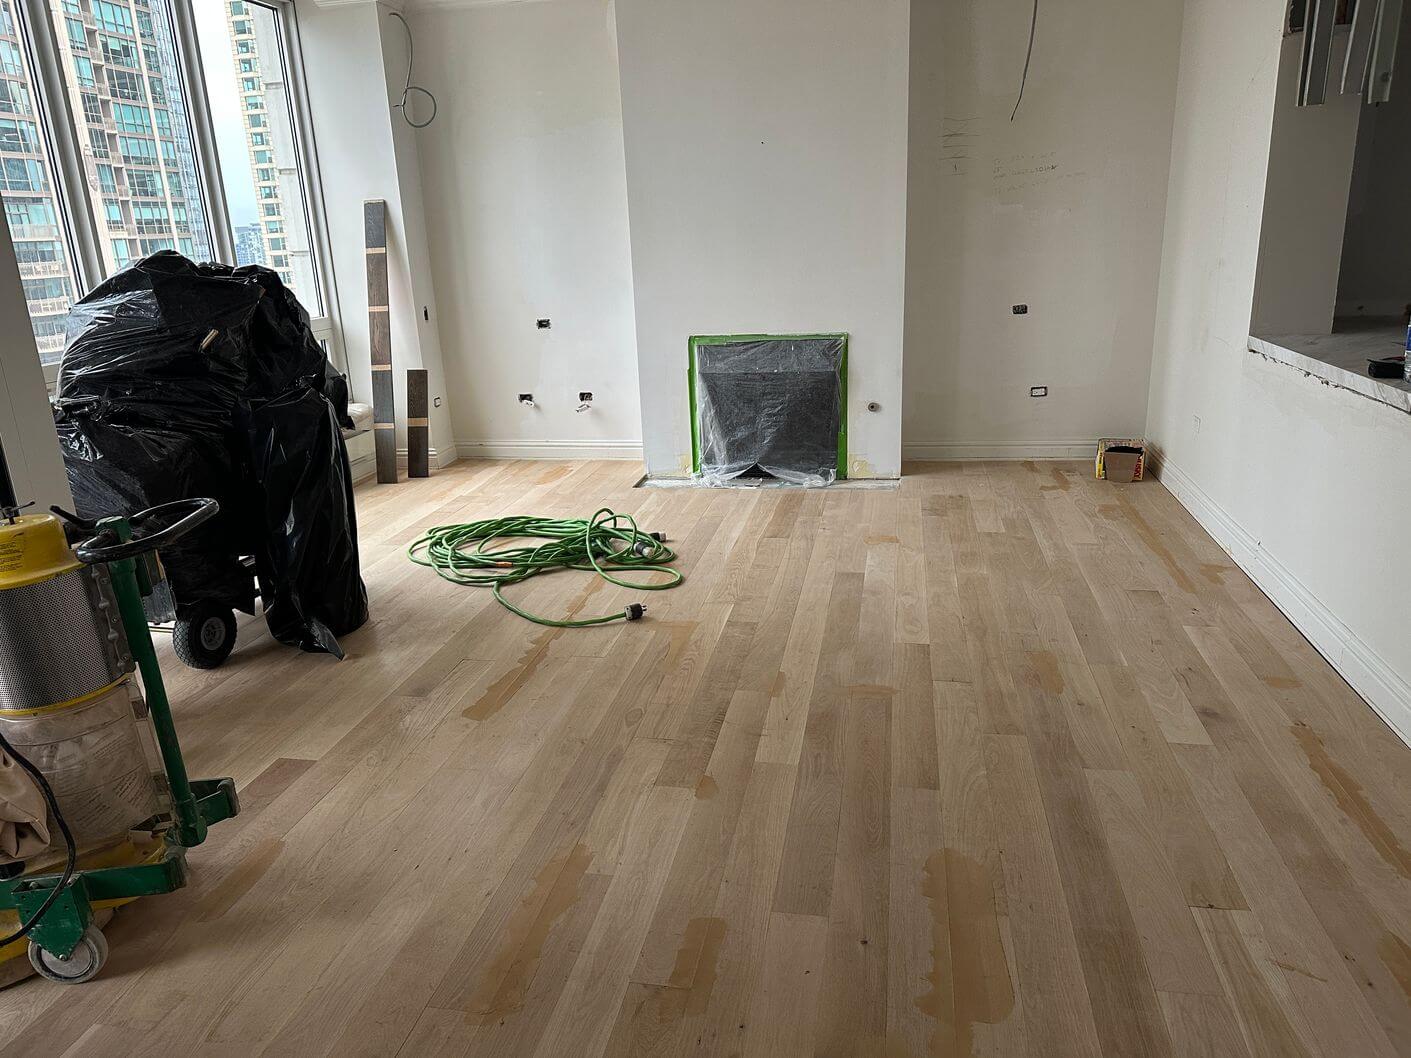
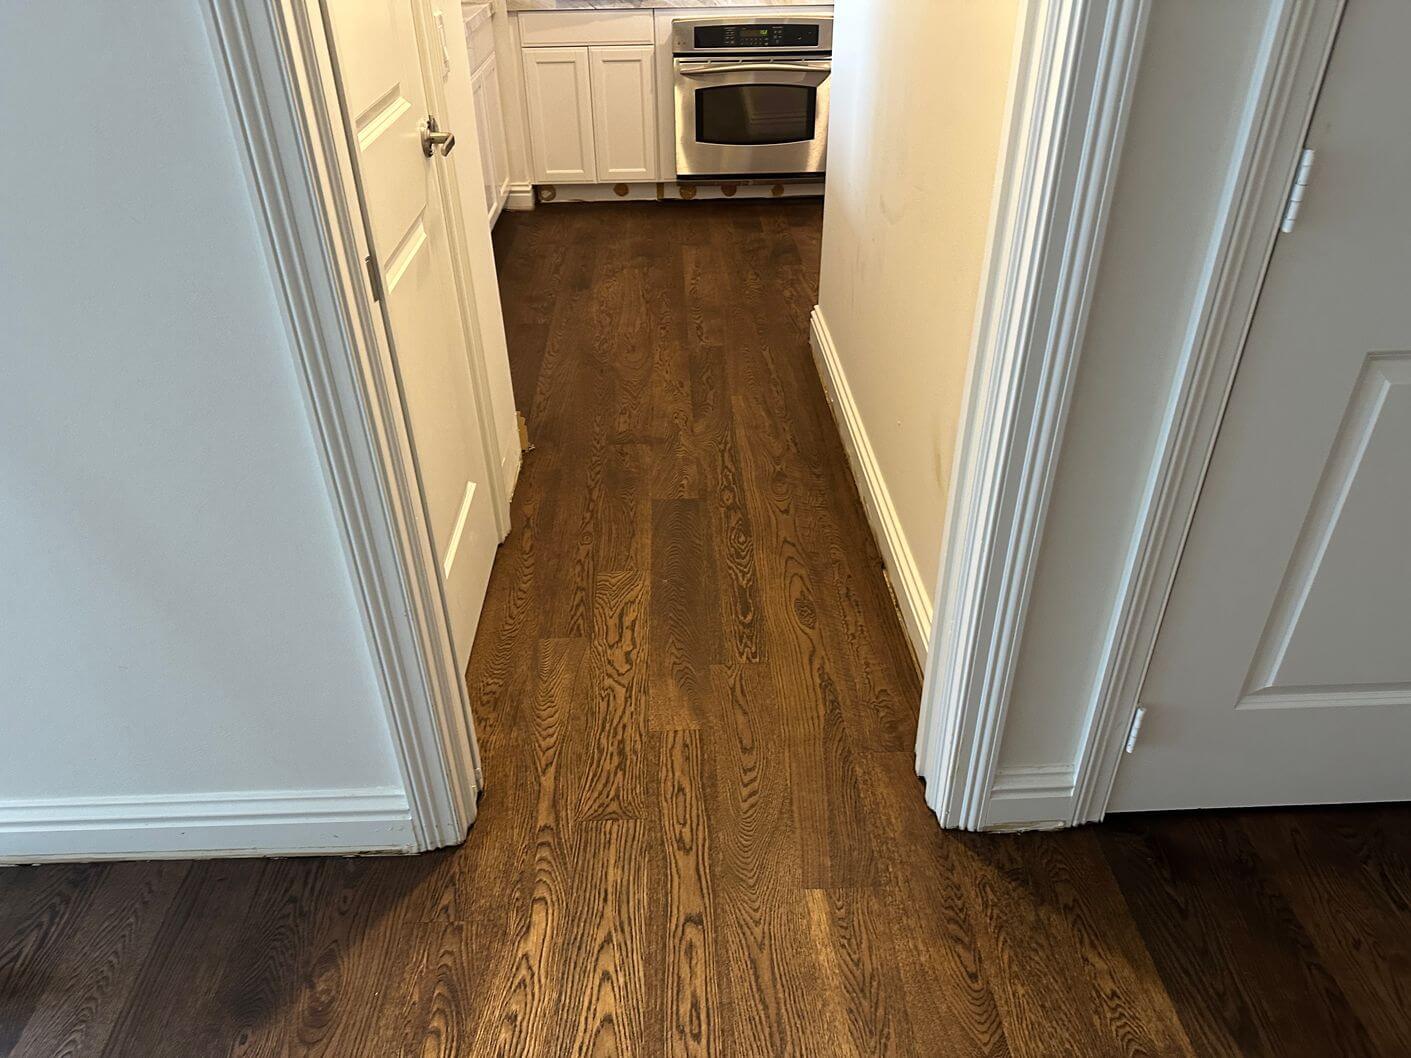
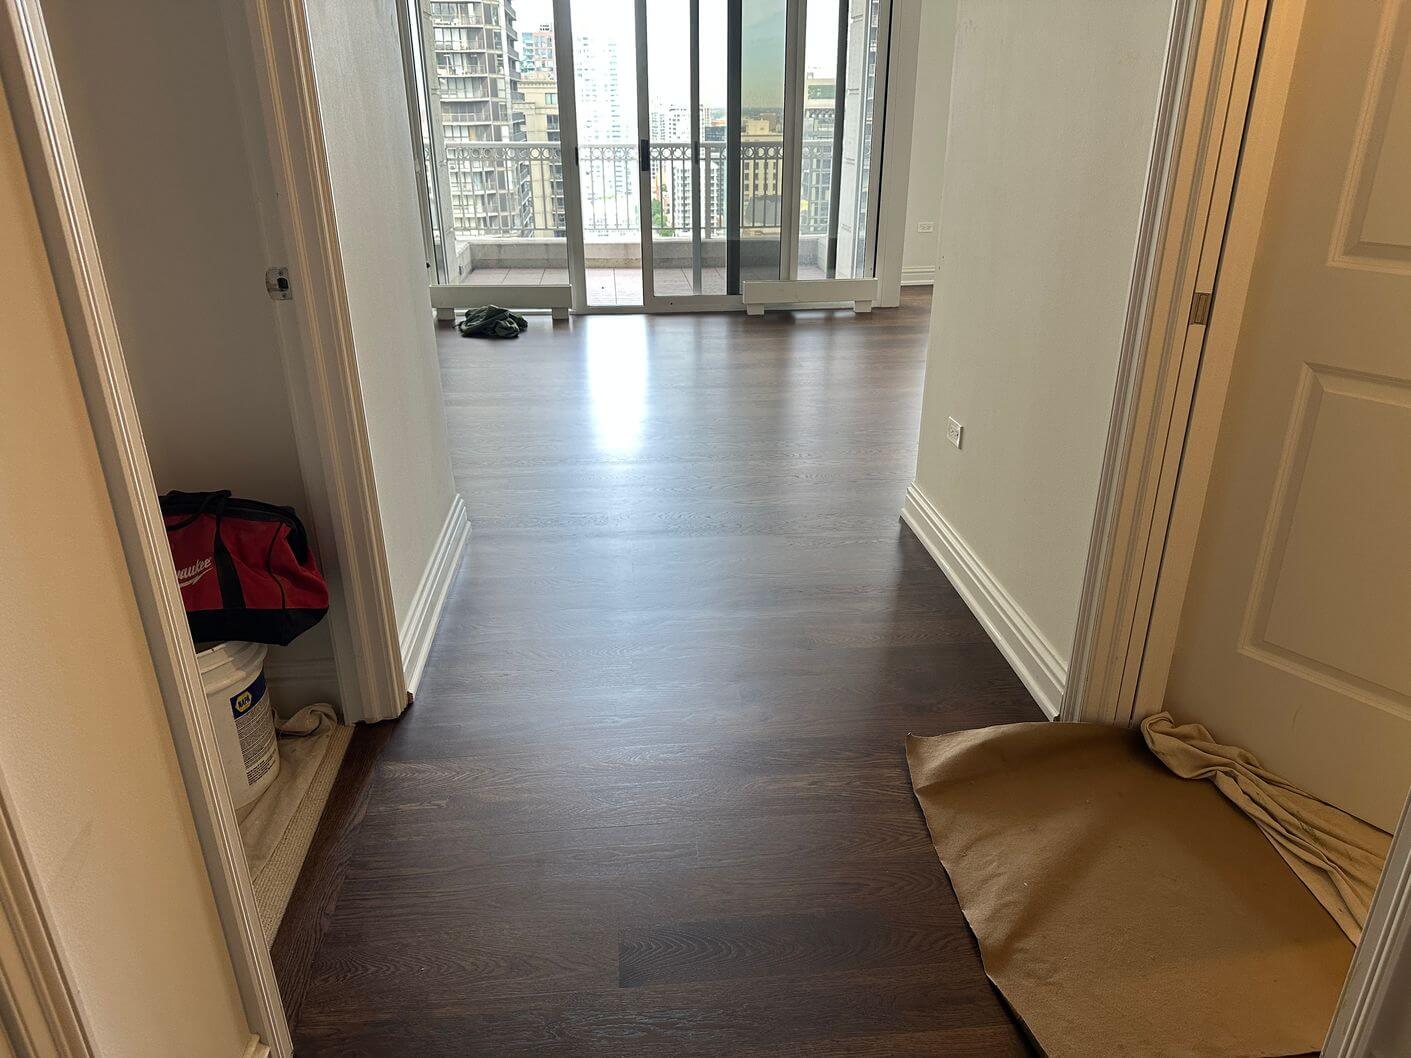
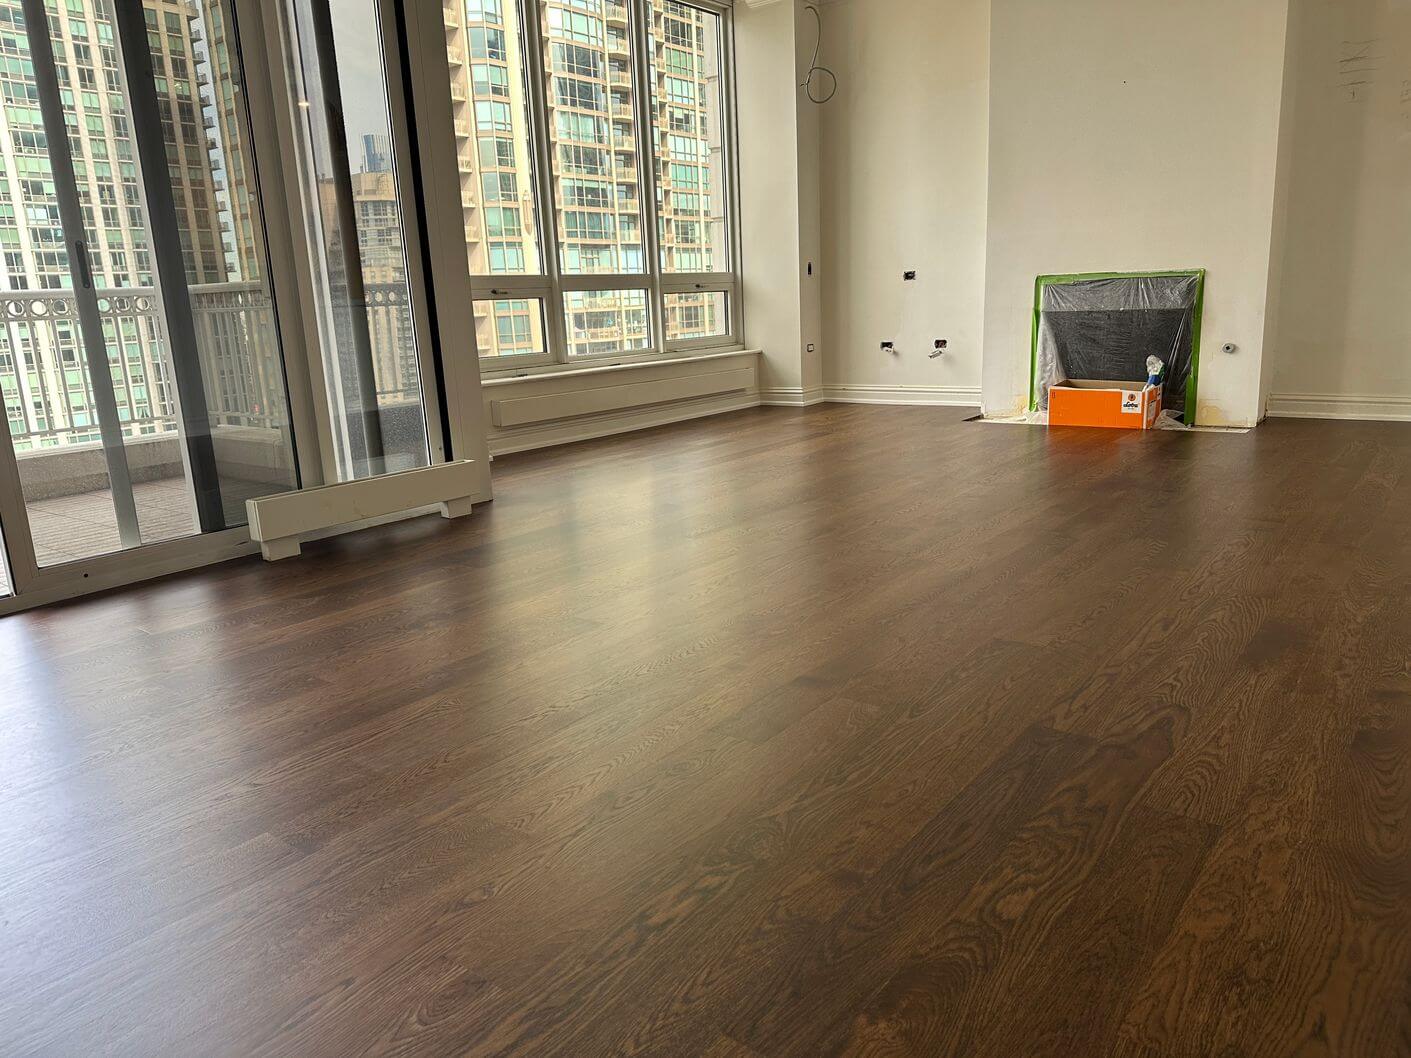
Before and After
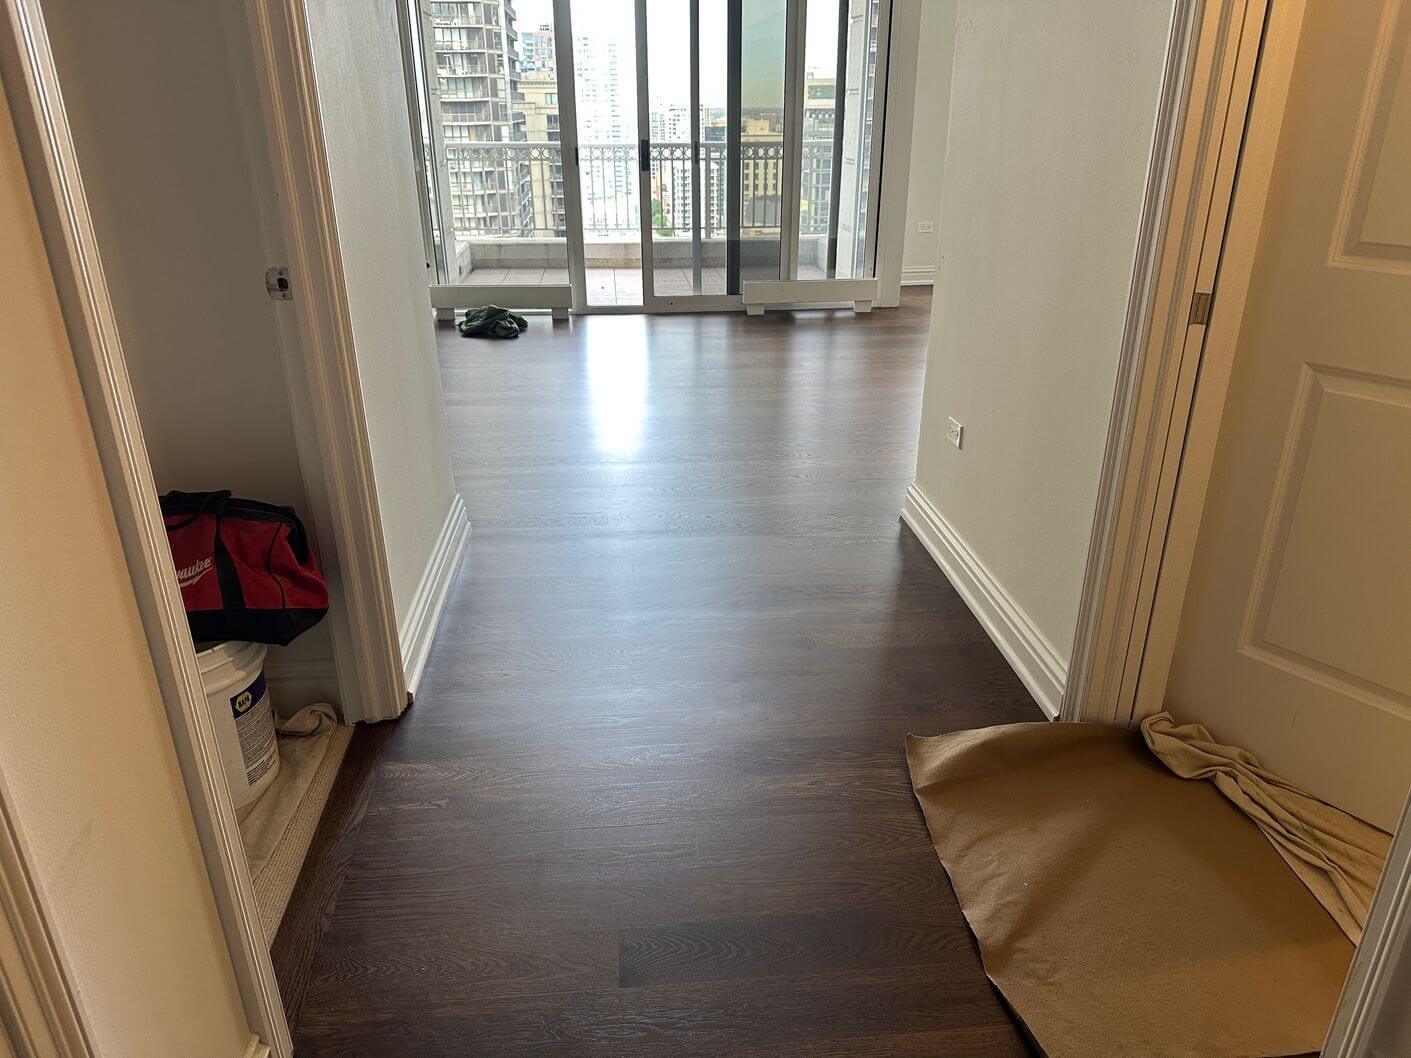
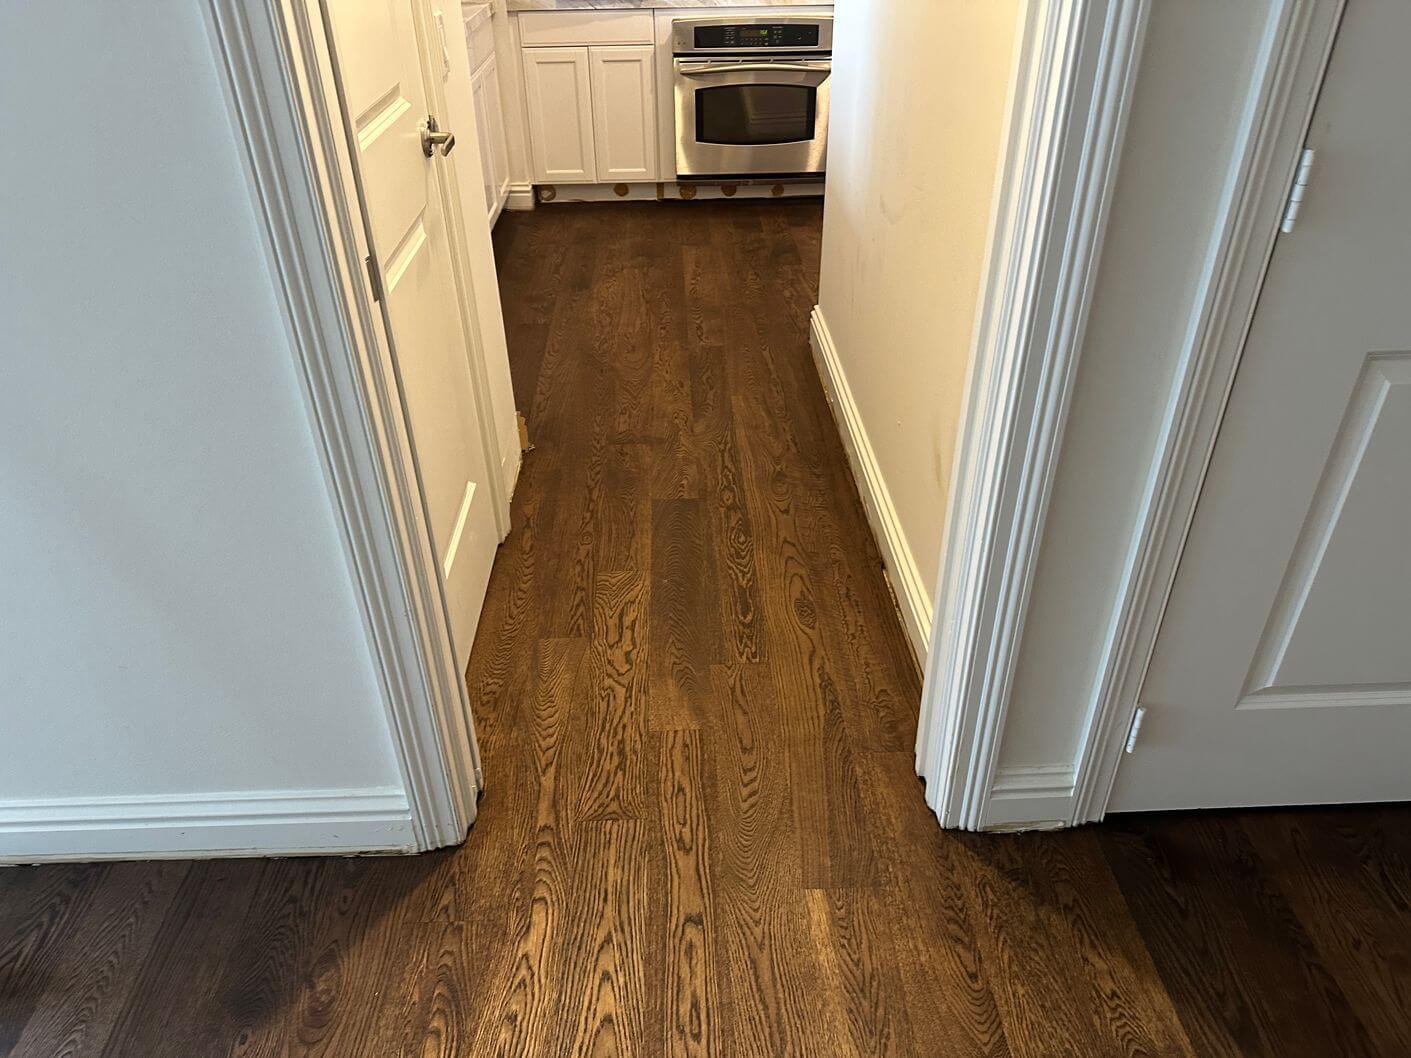
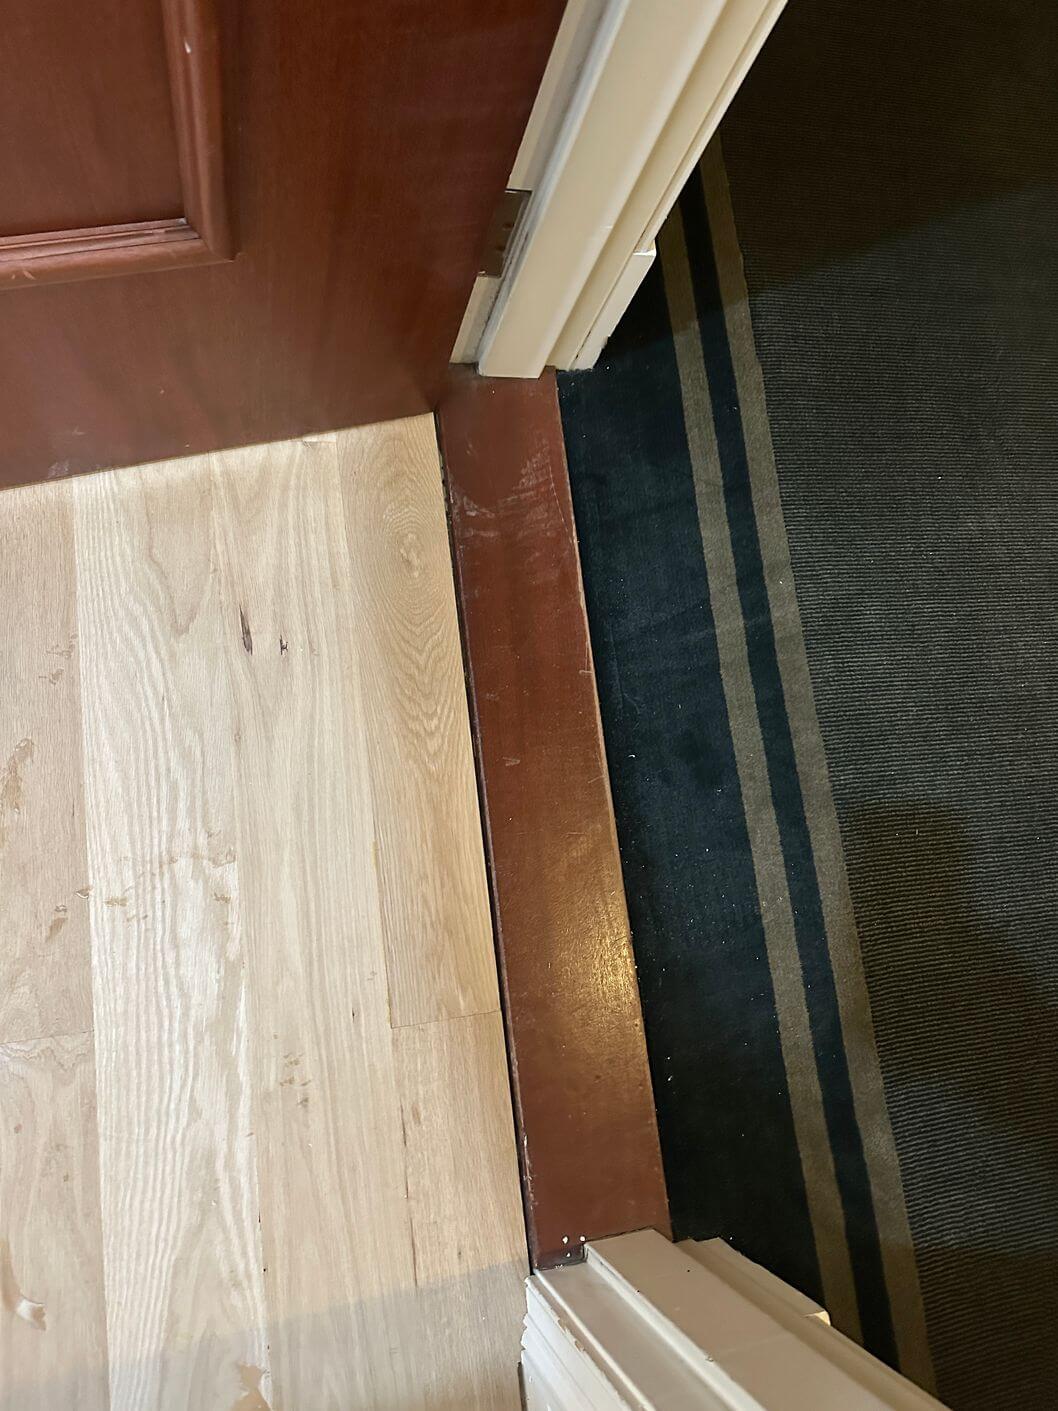
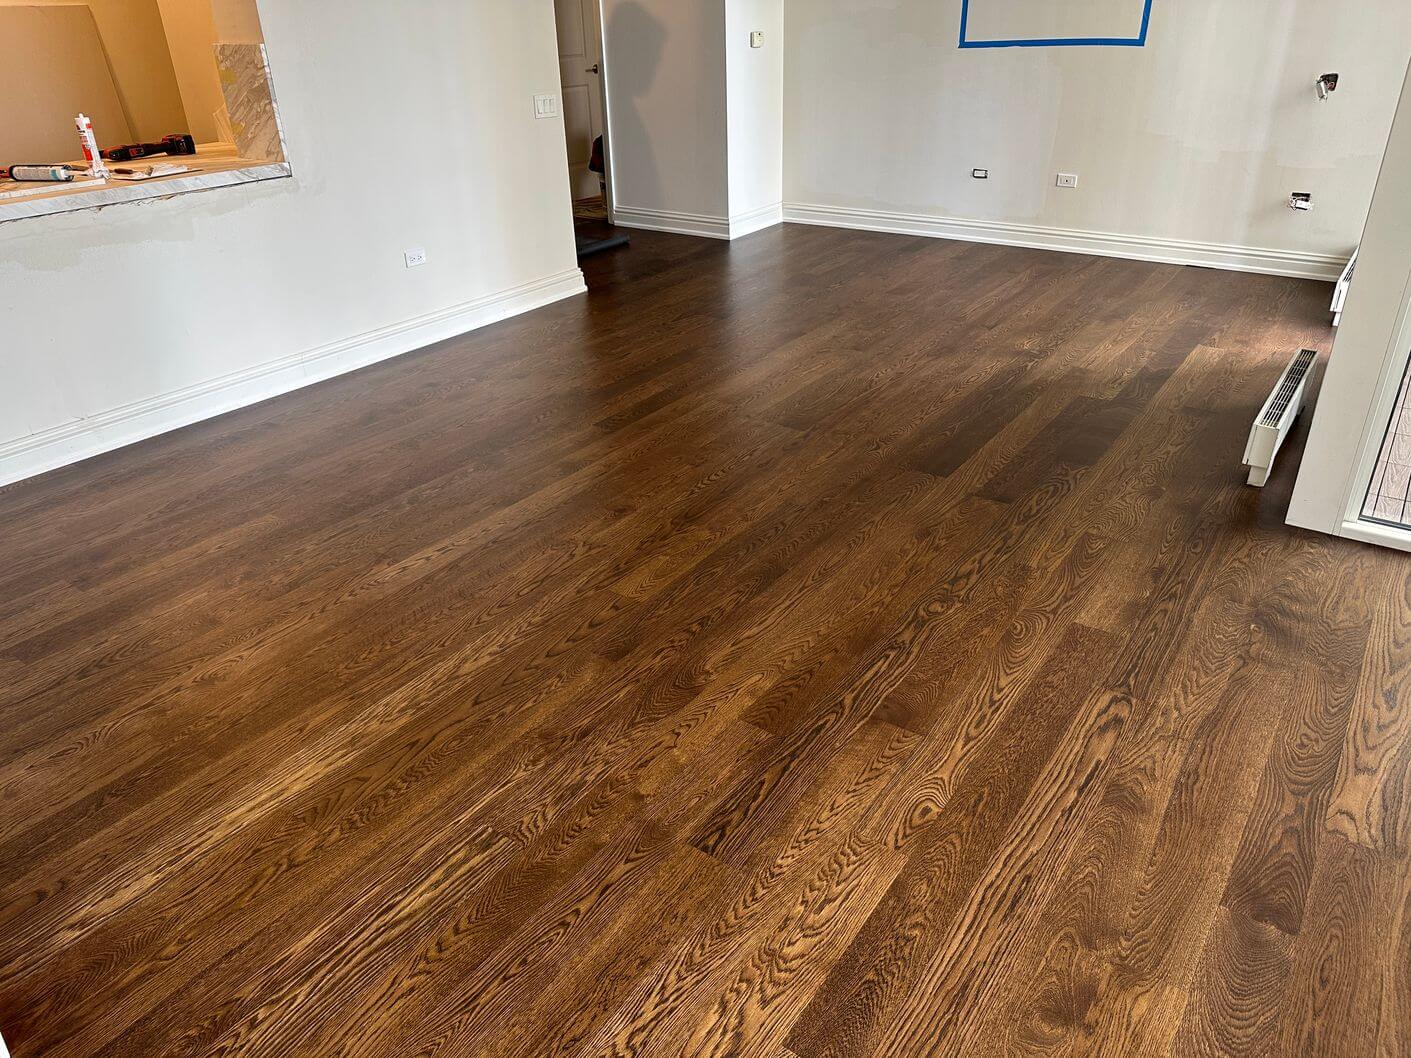
Take a look at the before and after photos to see how much the floor changed from start to finish.
Why This Condo Installation Required Extra Planning
Working on the 25th floor in Downtown Chicago added extra time to almost every part of the job. Traffic, limited loading and unloading access, elevator use, and moving flooring, tools, and debris through the building all had to be planned carefully. The building also allowed work only from 9 AM to 4 PM.
We also had to follow the condo flooring requirements. The new engineered hardwood could not be more than 5/8 inch thick, and the floor had to be installed with the approved Acousti-Tech 7000 sound-reducing membrane.
Removing the Old Glued-Down Floor and Preparing the Concrete
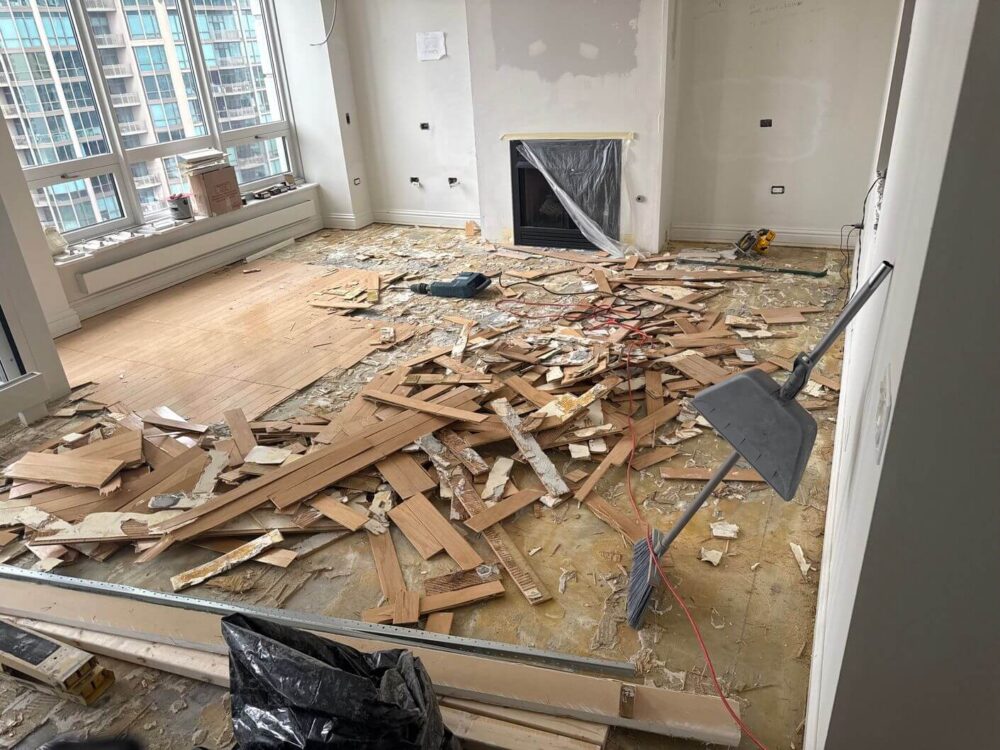
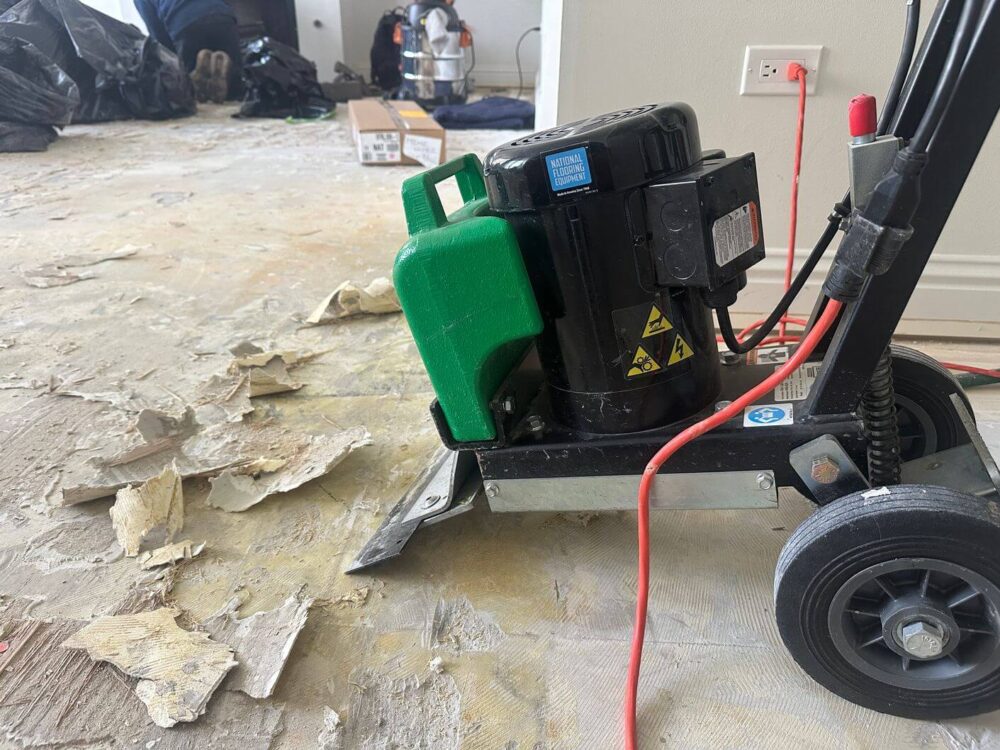
The hardest part of this project was removing the existing engineered floor. It had been fully glued to the concrete, so demolition was slow and required much more work than a typical floor removal. We tried several rental machines before finding a heavy-duty floor scraper that worked well for removing the old flooring and adhesive.
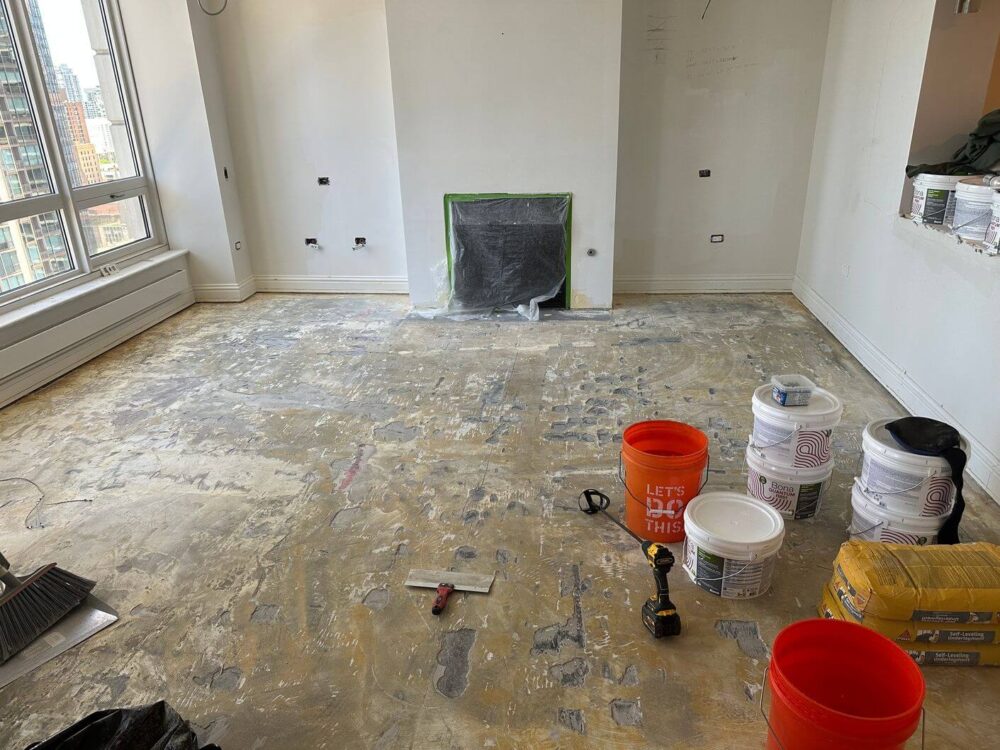
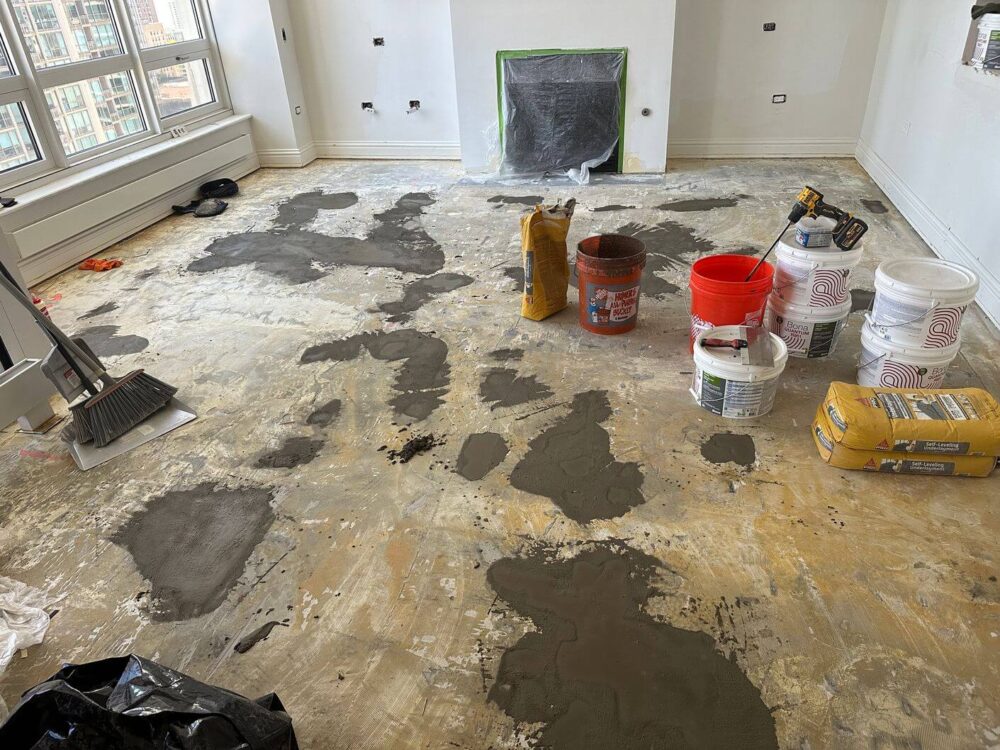
The scraper cleaned the concrete well, but the aggressive removal also left some damaged and uneven areas in the slab. After demolition was finished, we cleaned the surface and repaired the damaged spots with a self-leveling concrete mix so the subfloor was ready for the new flooring system.
How We Completed the Installation and Refinishing
Here is how we completed the project from demolition and concrete preparation through installation, sanding, staining, and the final finish.
Removing the Old Engineered Floor
We started by removing the existing engineered hardwood that had been fully glued to the concrete. Because the floor was heavily bonded, demolition took a lot of time. A heavy-duty floor scraper helped us remove the old flooring and most of the remaining adhesive.
Repairing the Concrete
After demolition, we cleaned the exposed concrete and checked the condition of the surface. The scraper left several damaged and uneven areas, so we patched those spots with a self-leveling concrete mix and prepared the slab for the new flooring system.
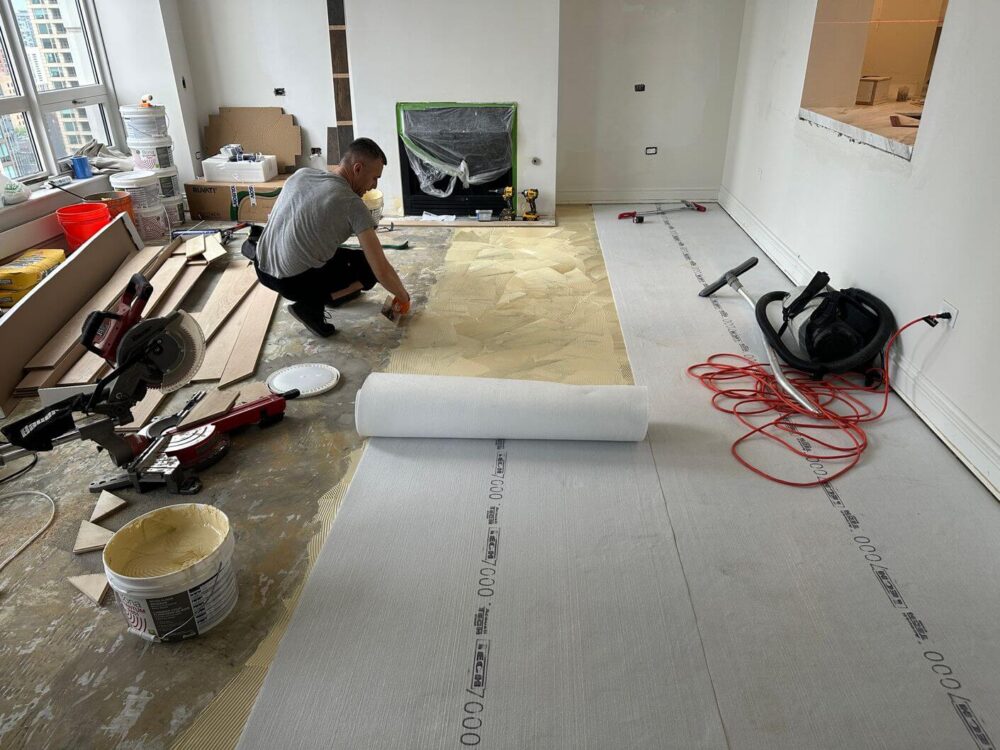
Installing the Acoustic Membrane
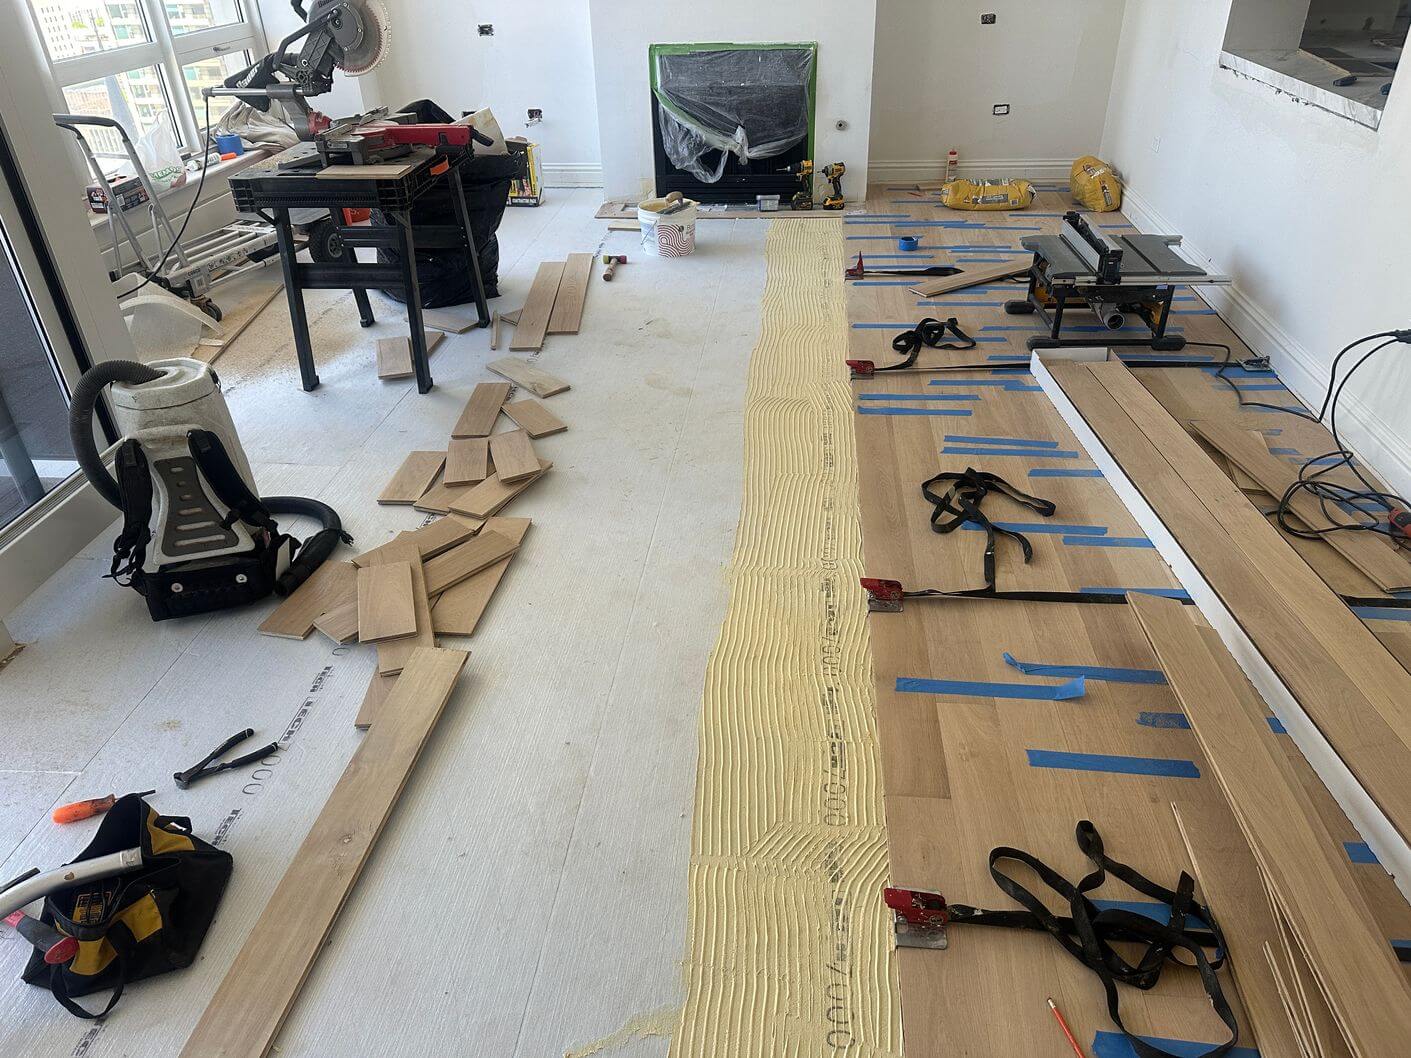
The building required Acousti-Tech 7000 sound-reducing underlayment. We glued the membrane directly to the prepared concrete using Bona Quantum R851 and allowed it to set before moving on to the hardwood installation.
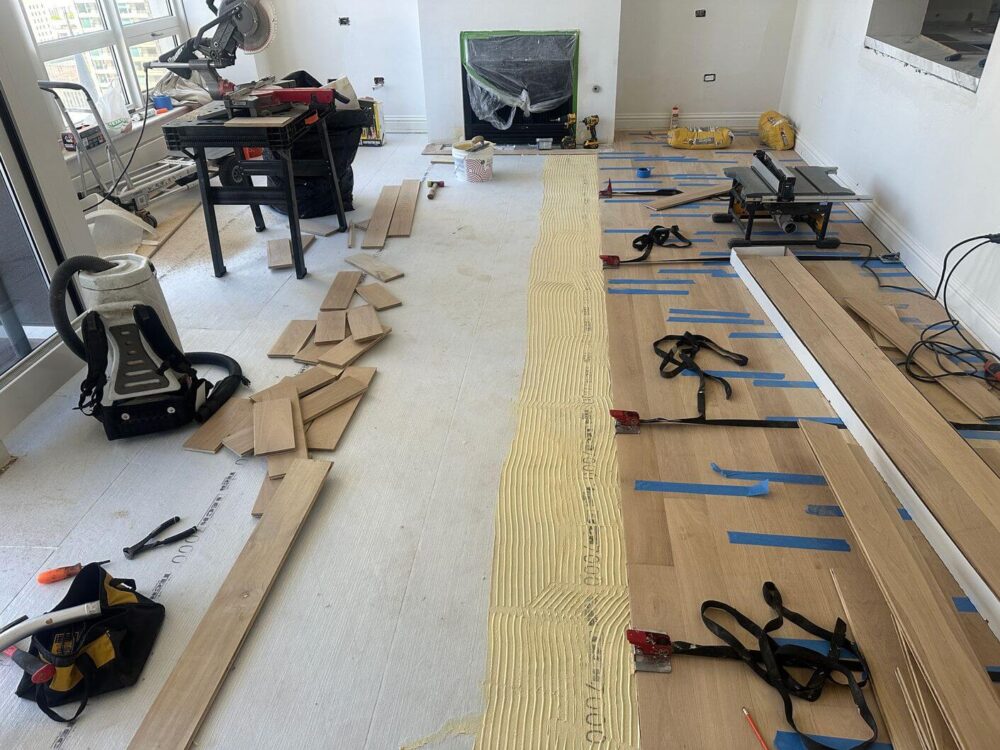
Gluing Down the Engineered White Oak
Next, we installed the engineered white oak with a full glue-down method. Since we could not use nails over the concrete, we used flooring straps to keep the boards tight together and added weight where needed while the adhesive cured.
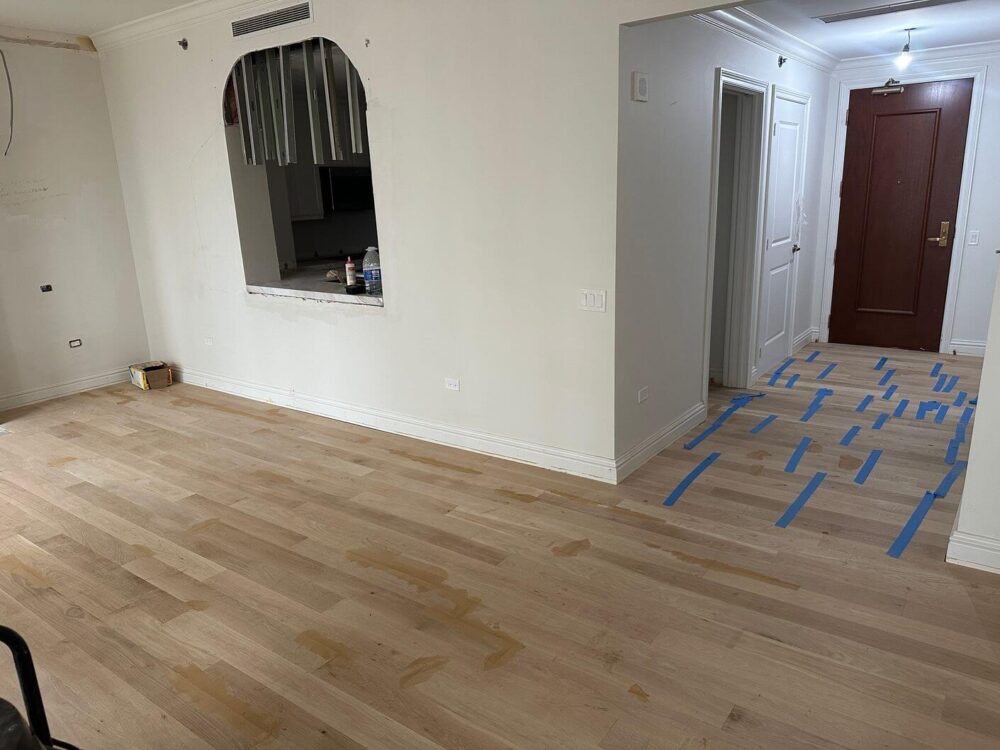
Checking and Preparing the New Floor
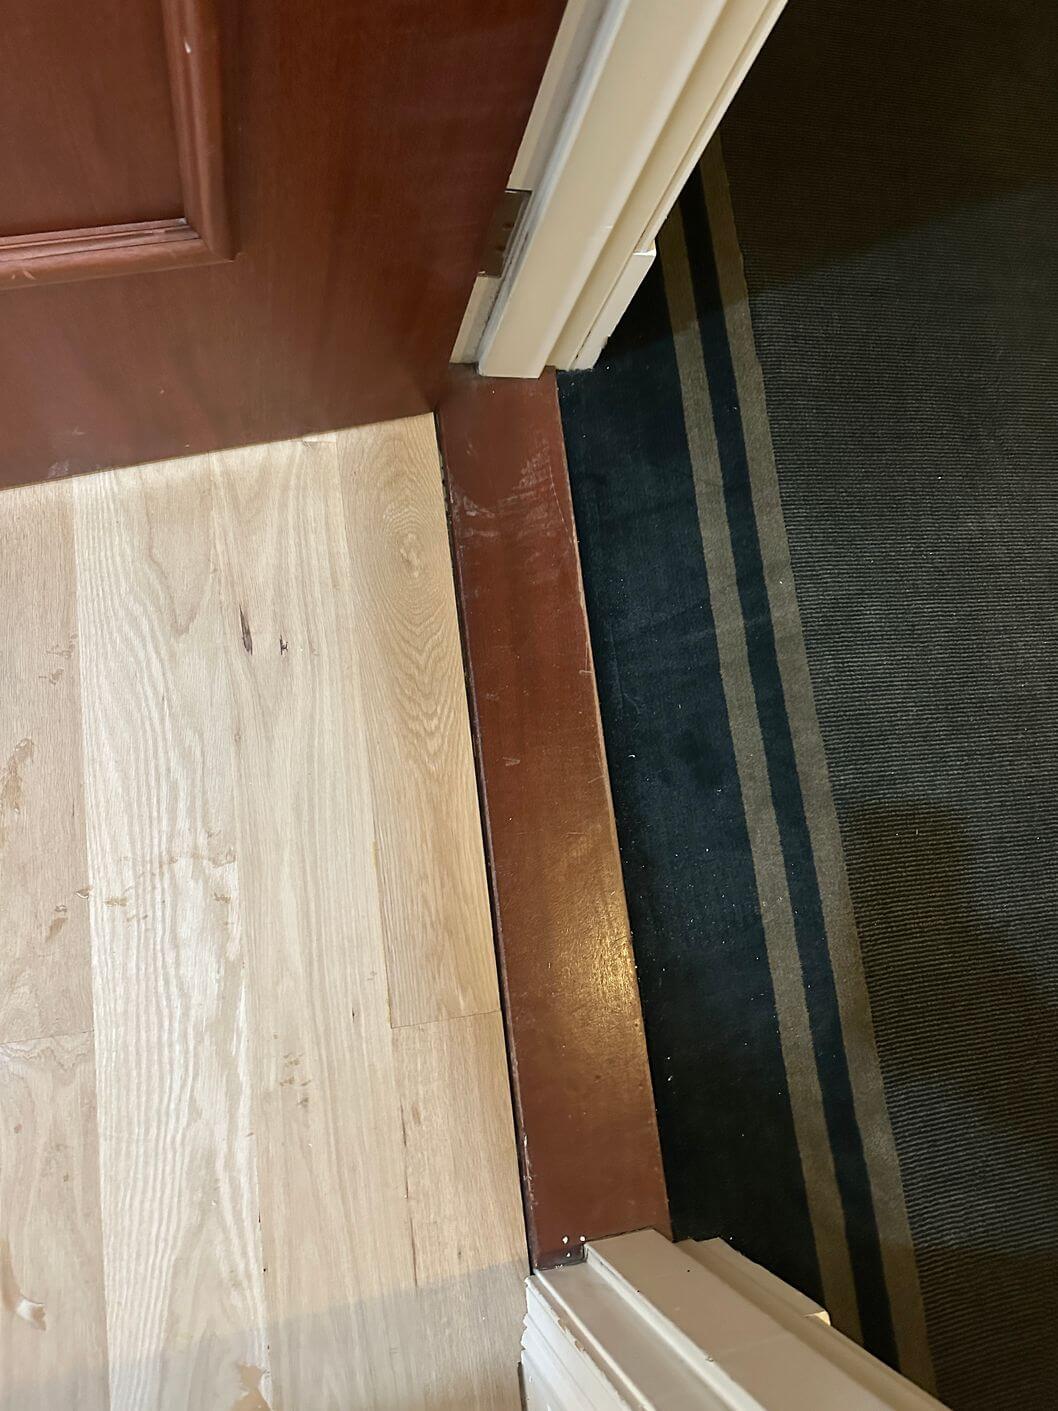
Once the installation was complete, we checked the floor and took care of small areas that needed attention before sanding. This gave us a clean and even surface for the finishing process.
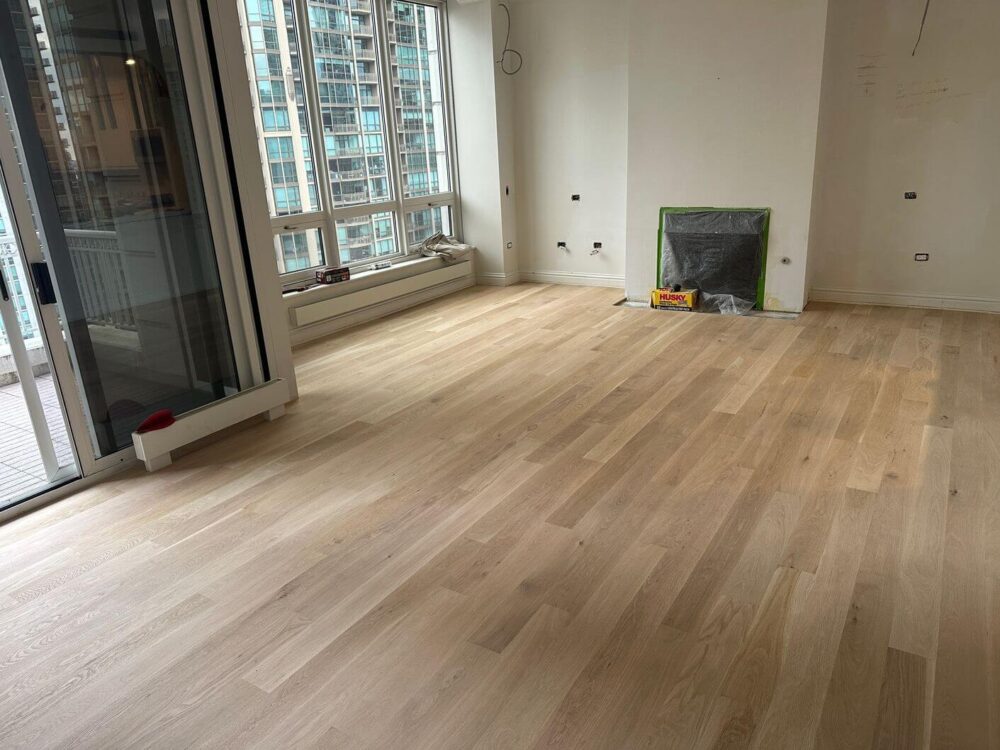
Sanding the White Oak
We sanded the newly installed engineered white oak to create a smooth, uniform surface and prepare the wood for stain.
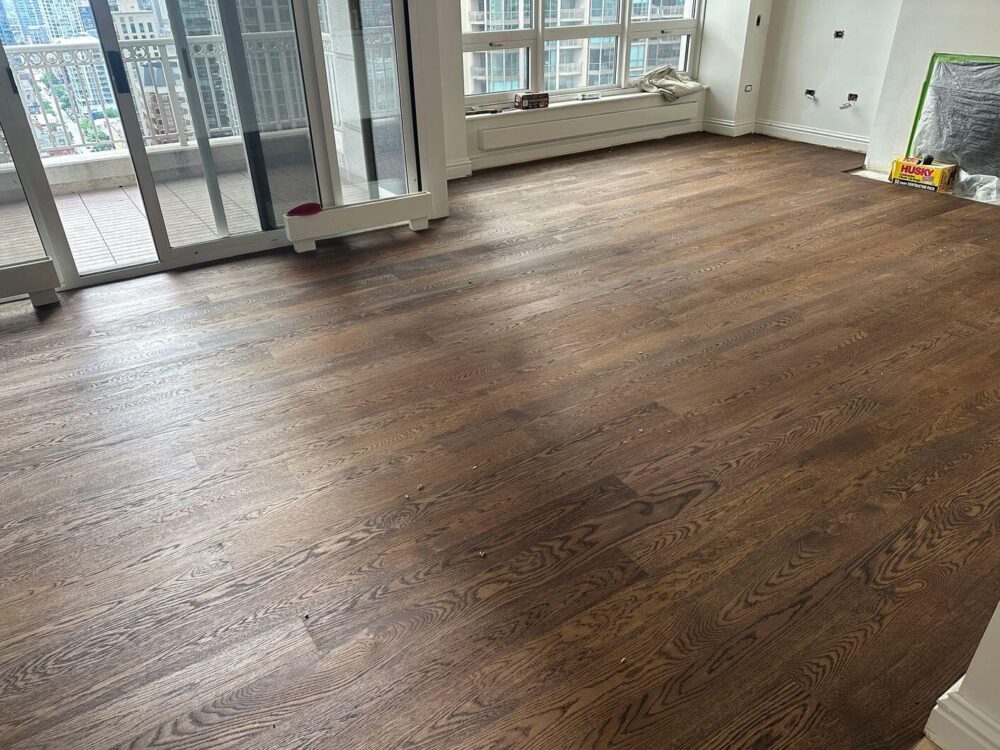
Applying Antique Brown Stain
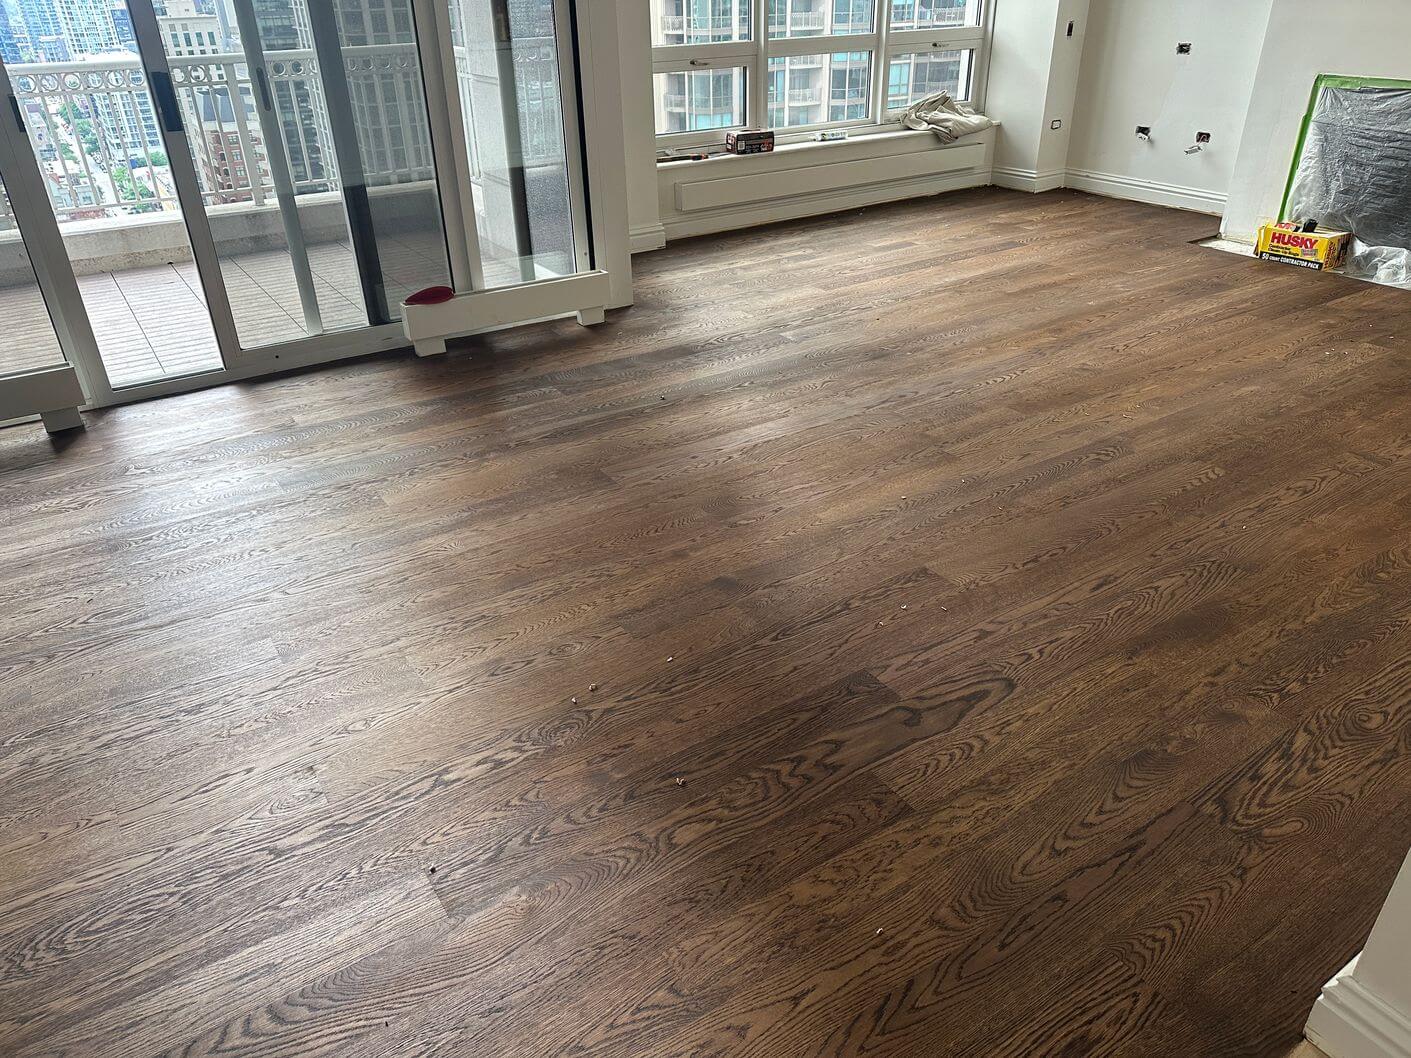
After sanding, we applied Antique Brown stain. The darker color brought out the natural grain and variation in the white oak.
Applying the Final Finish
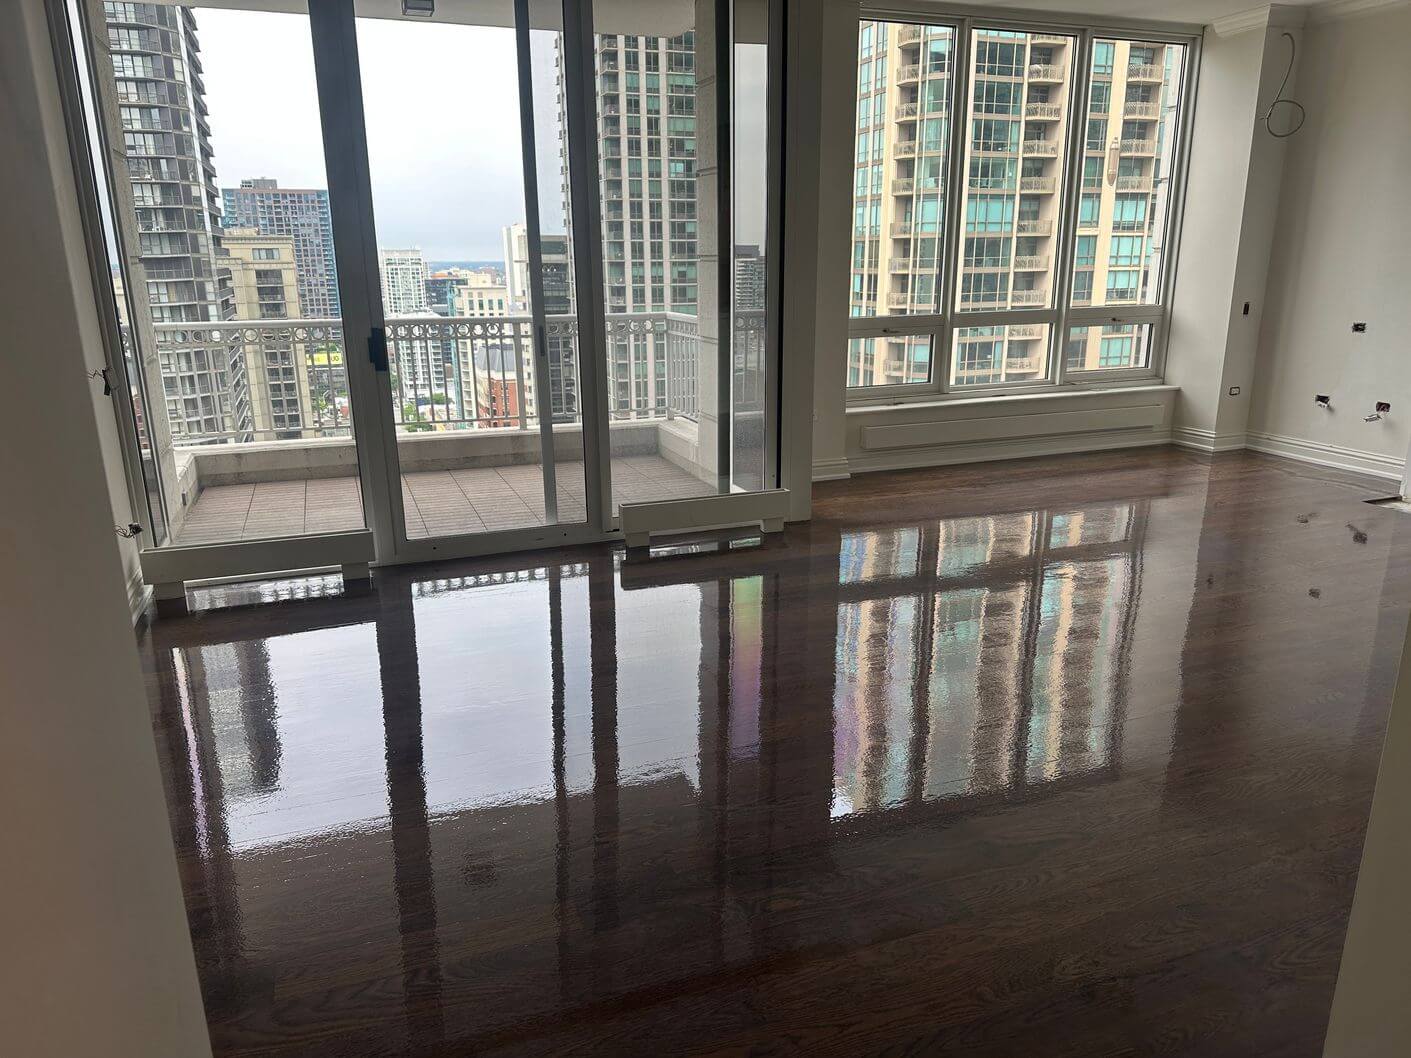
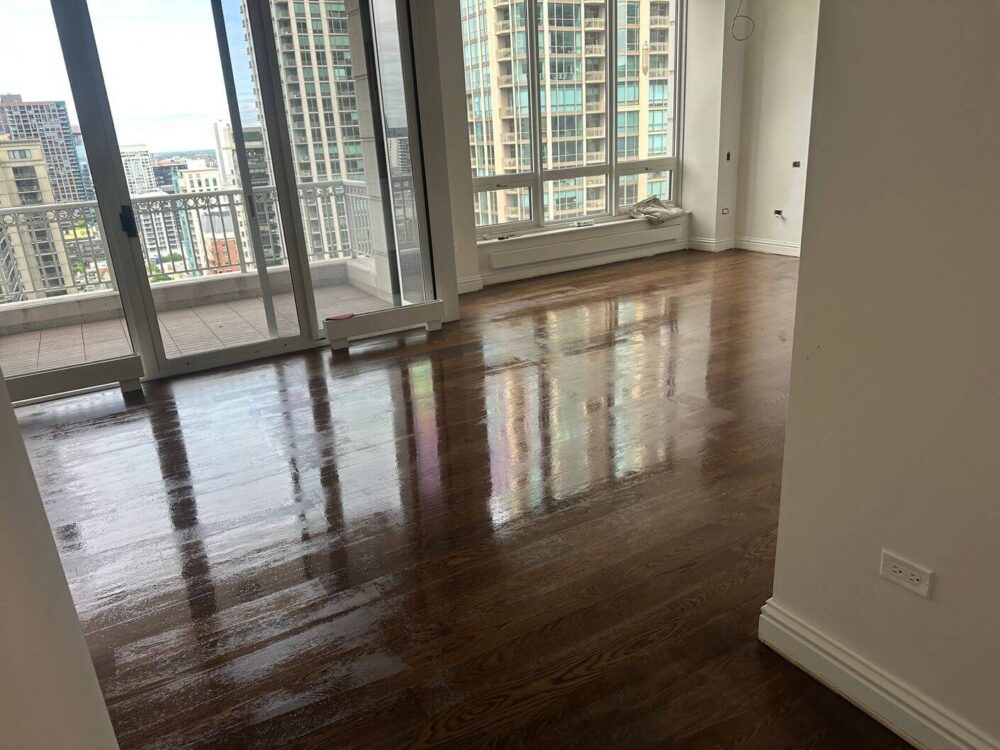
We finished the floor with 2K Duo Matte. Once cured, the matte finish gave the floor a clean, low-sheen appearance while keeping the grain and Antique Brown color visible.
The Finished Result
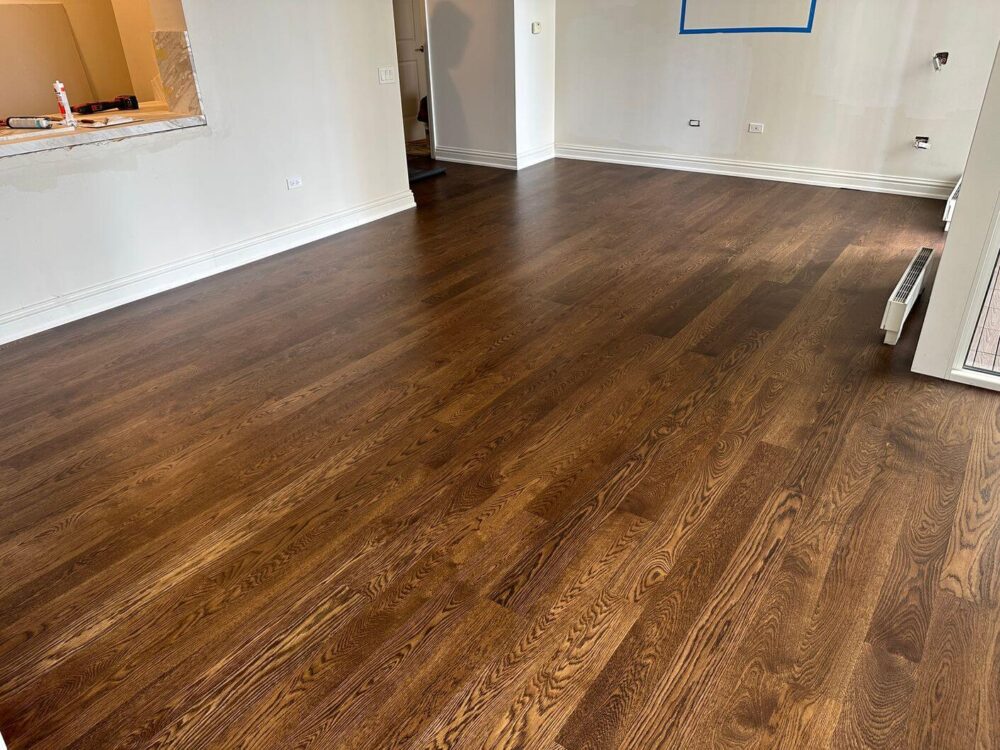
The new engineered white oak floor was built from the concrete slab up, including concrete repairs, the required acoustic membrane, full glue-down installation, sanding, Antique Brown stain, and 2K Duo Matte finish. The final floor has a warm, rich color with a natural matte look that works well with the white oak grain.
Why This 500 Sq. Ft. Project Took Nine Days
Even though the project was only about 500 square feet, there was a lot of work involved. Removing the old glued-down floor, repairing the concrete, installing the acoustic membrane, gluing down the new flooring, and completing the sanding and finishing process all took time.
The 9 AM to 4 PM work schedule, loading restrictions, and working on the 25th floor also made each stage slower than it would be in a typical house.
Planning Engineered Hardwood Flooring in a Chicago Condo
Condo flooring projects often come with building rules for flooring thickness, sound reduction, installation methods, working hours, and access. These details should be checked before ordering the floor or starting demolition.
If you are planning an engineered hardwood installation in a Chicago condo, our team can help with the full process, from floor removal and concrete preparation to installation and refinishing.

Get a Free Estimate

Request a Free Hardwood Floor Estimate
Tell us about your floors and we'll get back to you within 24 hours.
Get a free quote