

 5.0
5.0


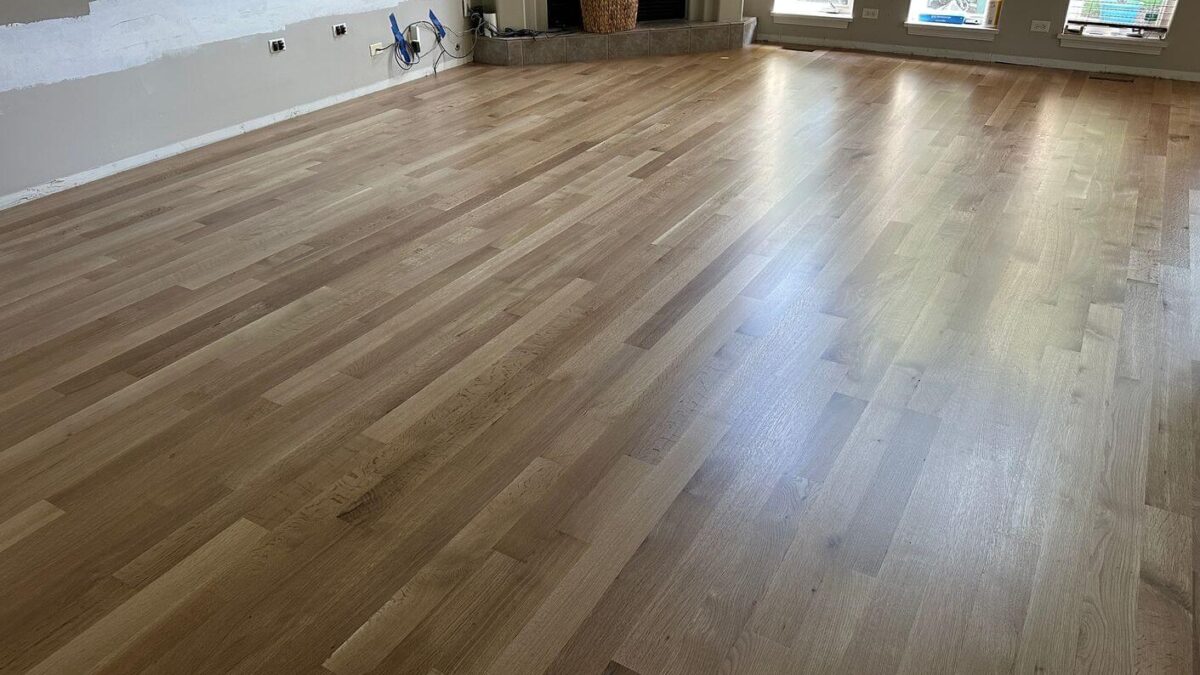
Rift & Quartered White Oak Flooring Installation and Finishing in Aurora, IL
Client:
Residential homeowner
Services:
Flooring demolition, hardwood floor installation, finishing
Flooring:
3 1/4-inch rift and quartered white oak
Finish:
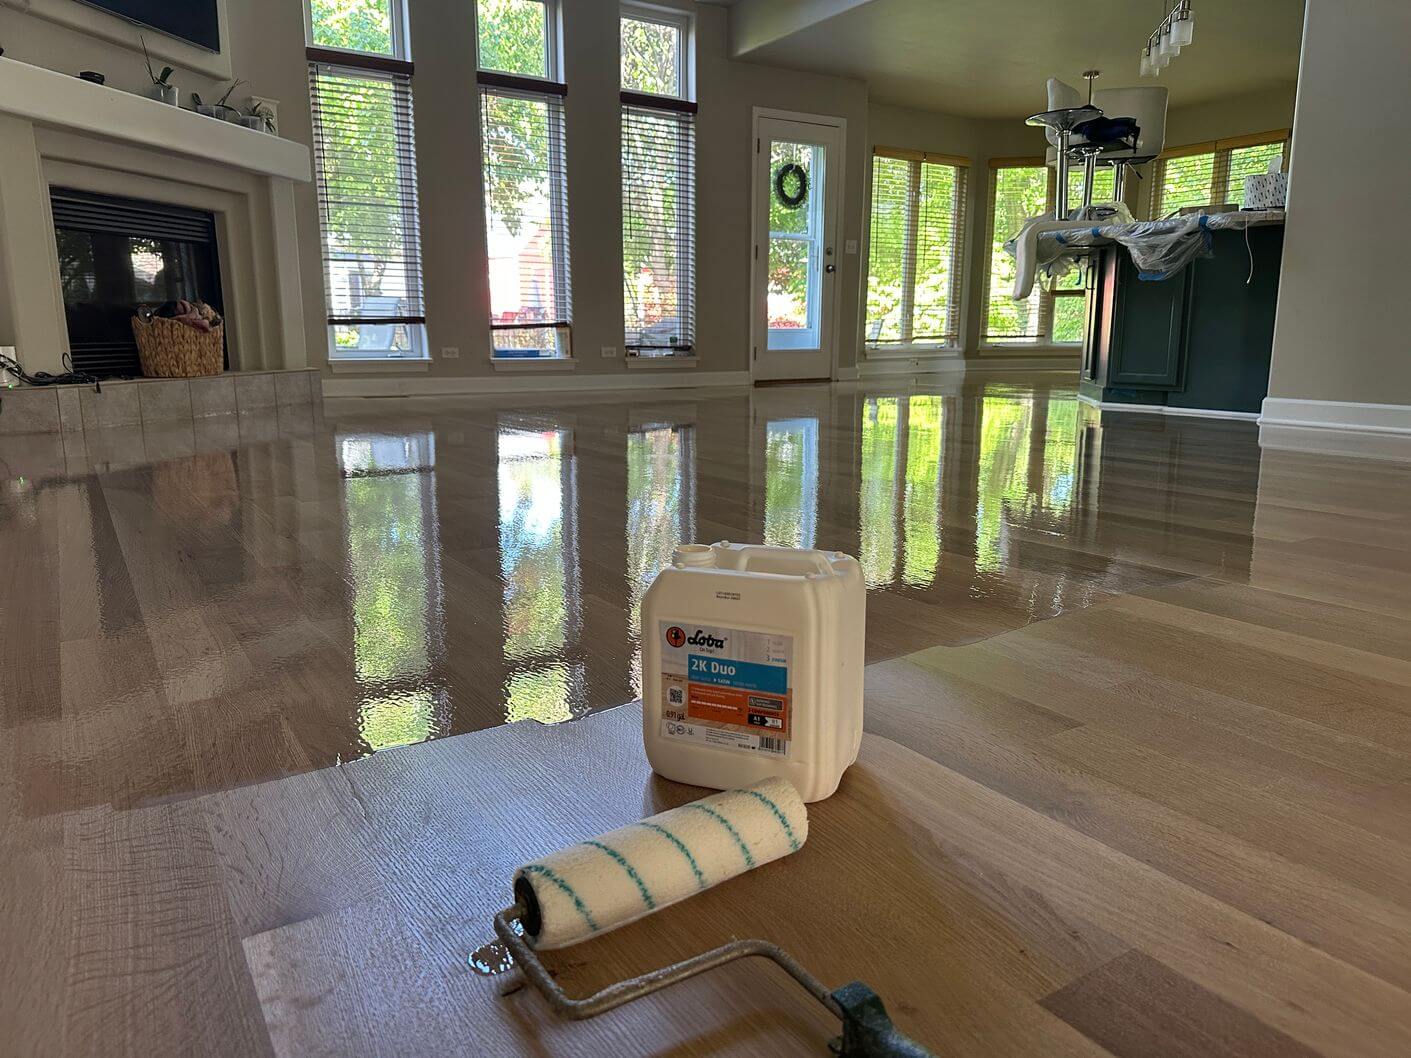
Loba 2K Duo Extra Matte, 3 coats
Project Duration:
About 3 days
Additional Work:
Moisture-control underlayment, new baseboards and base shoe
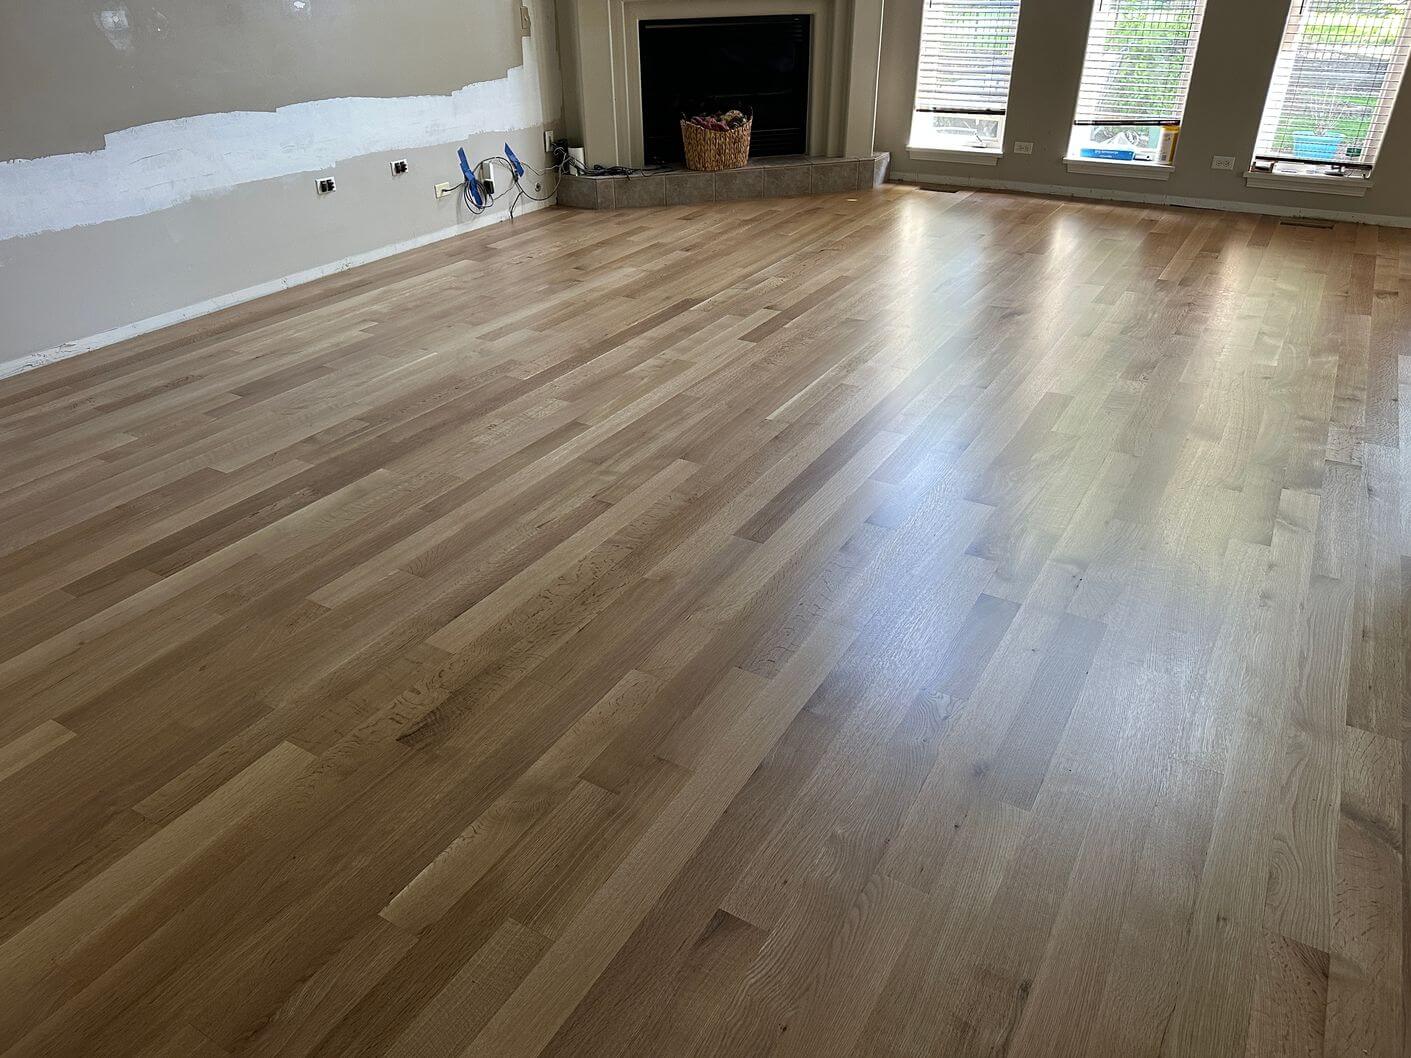
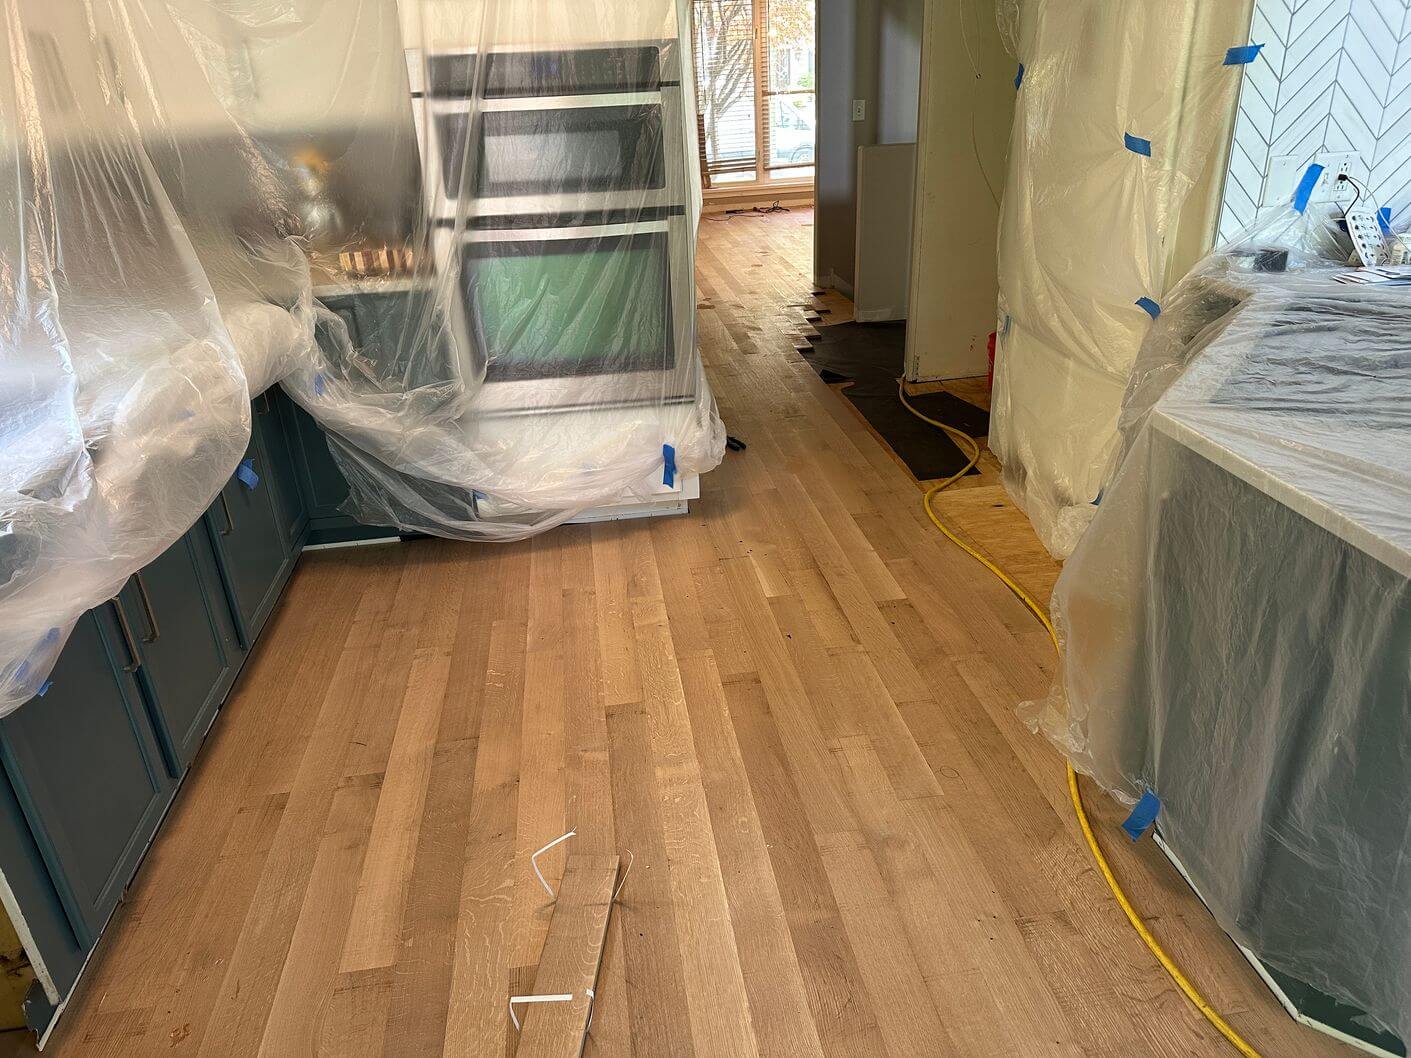
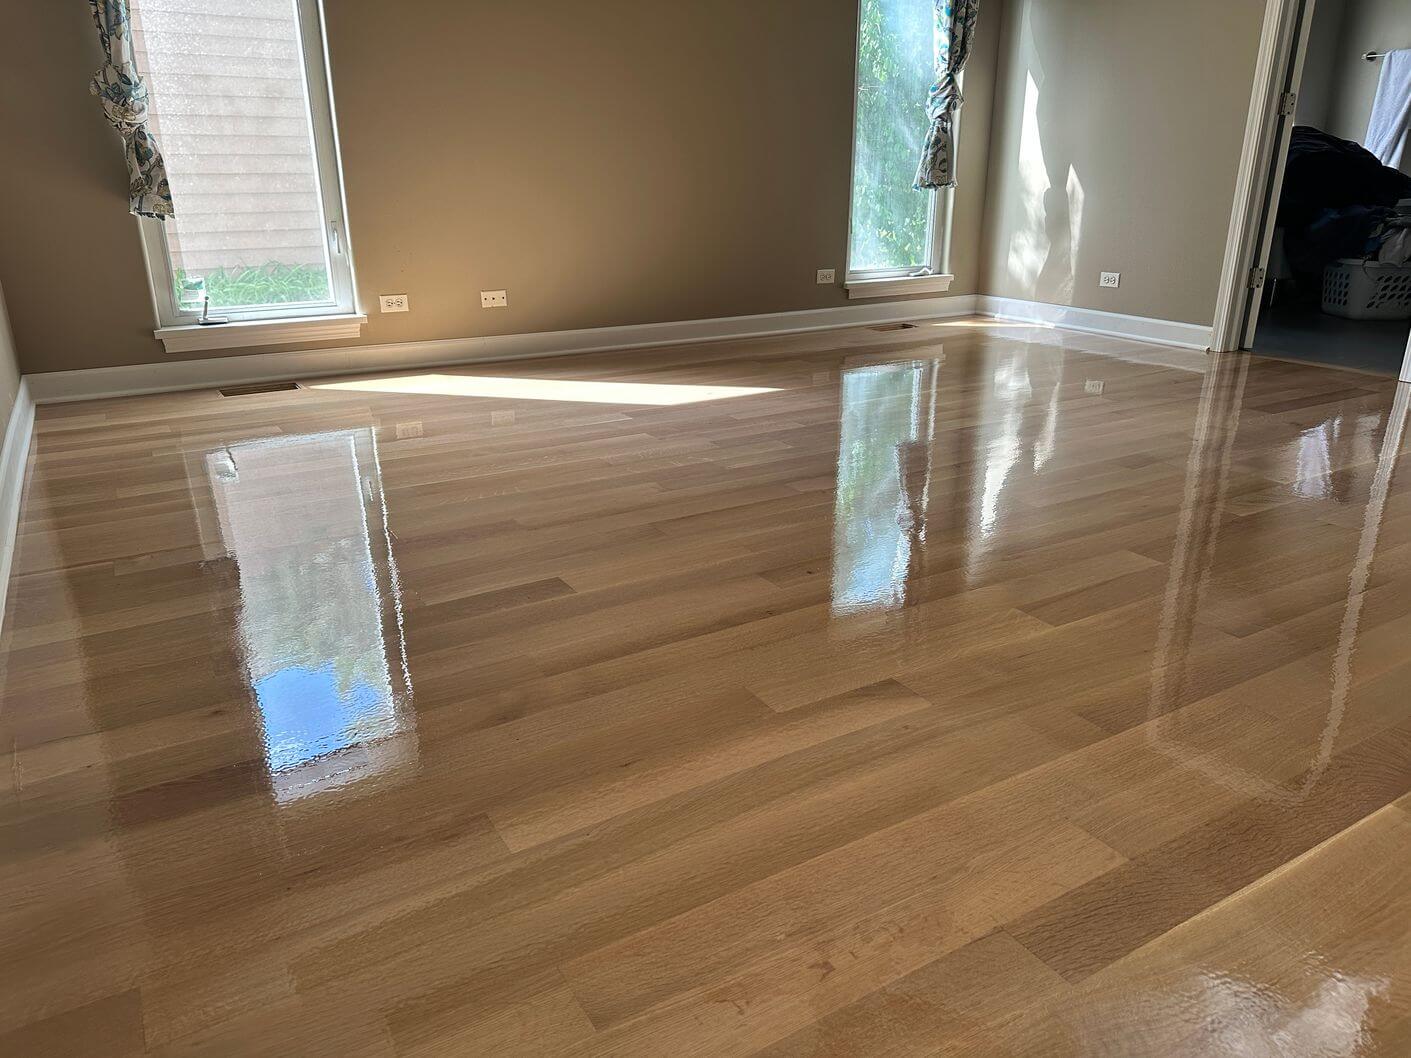
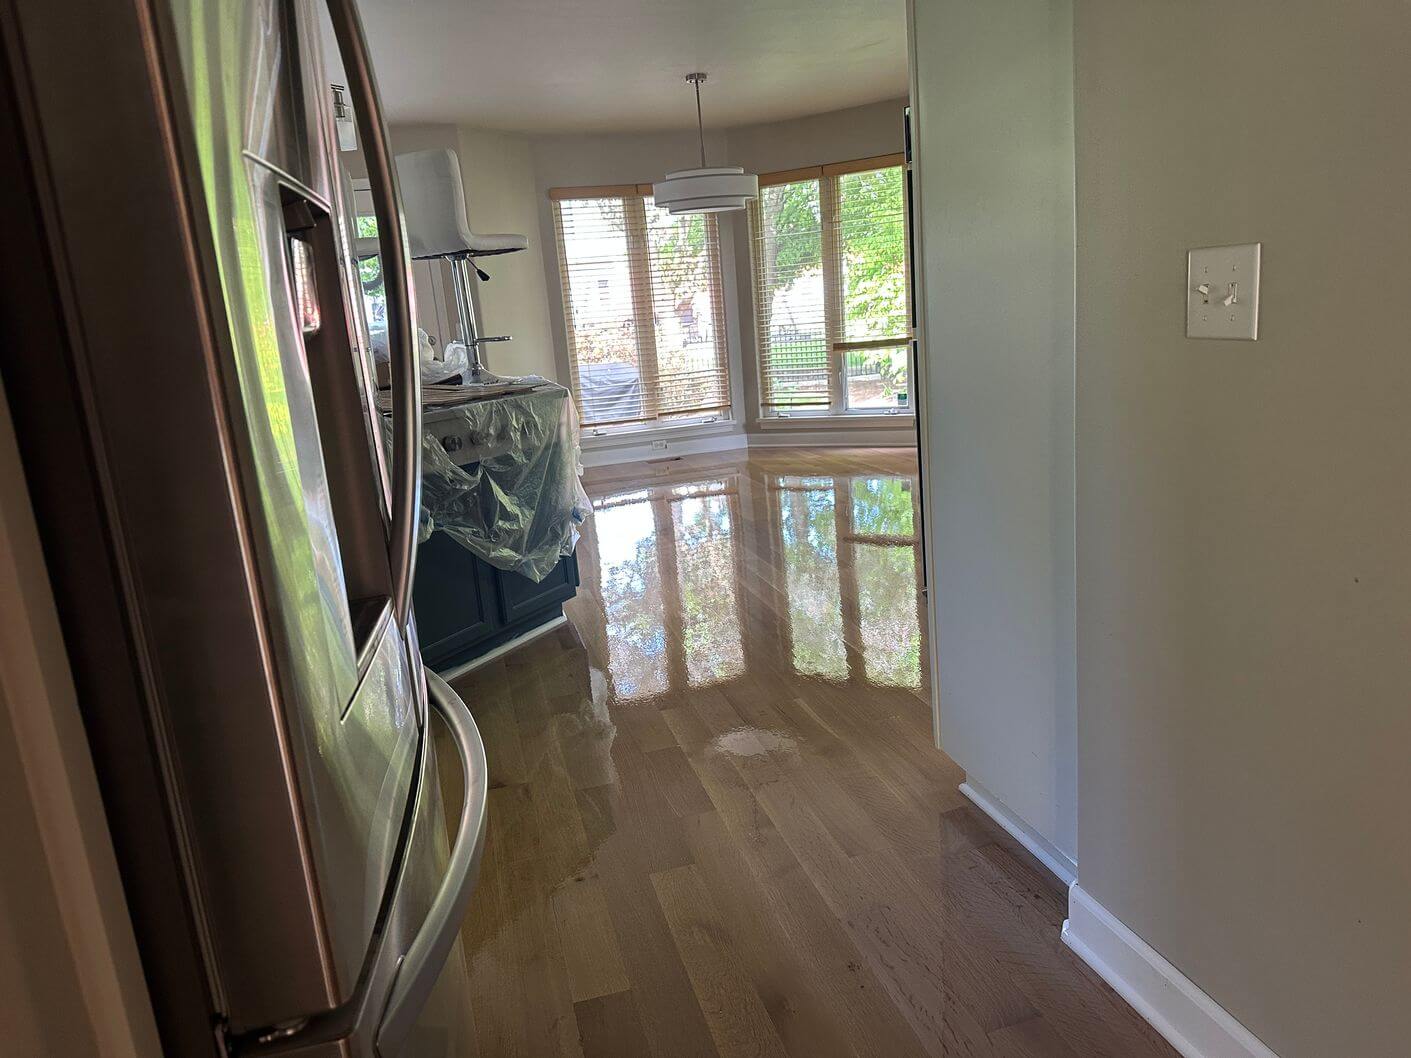
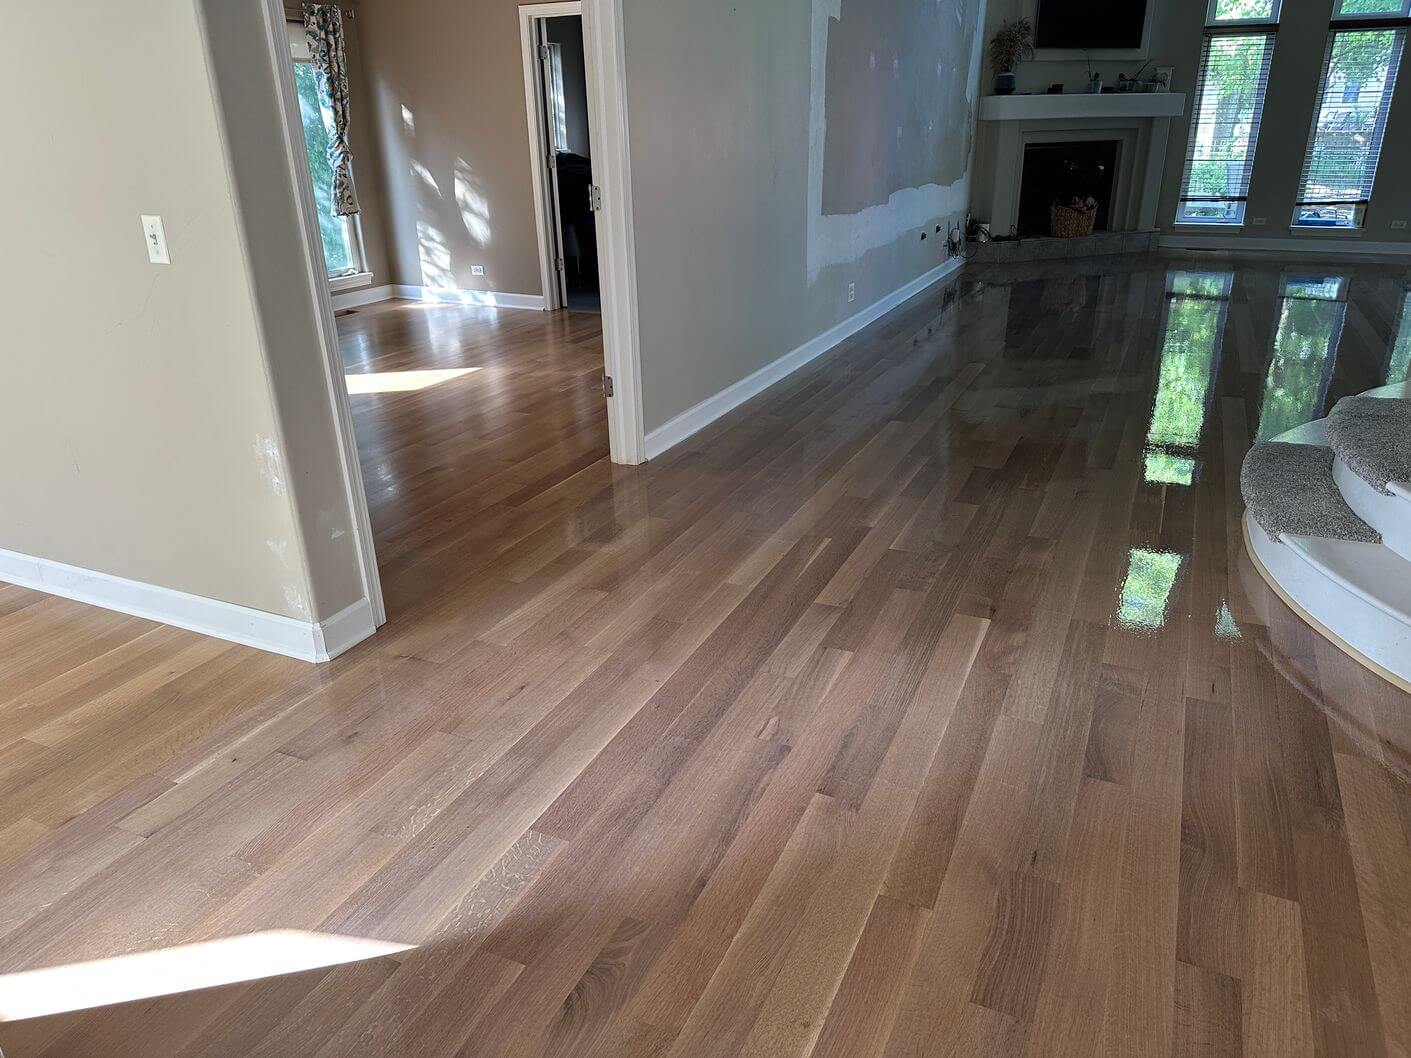
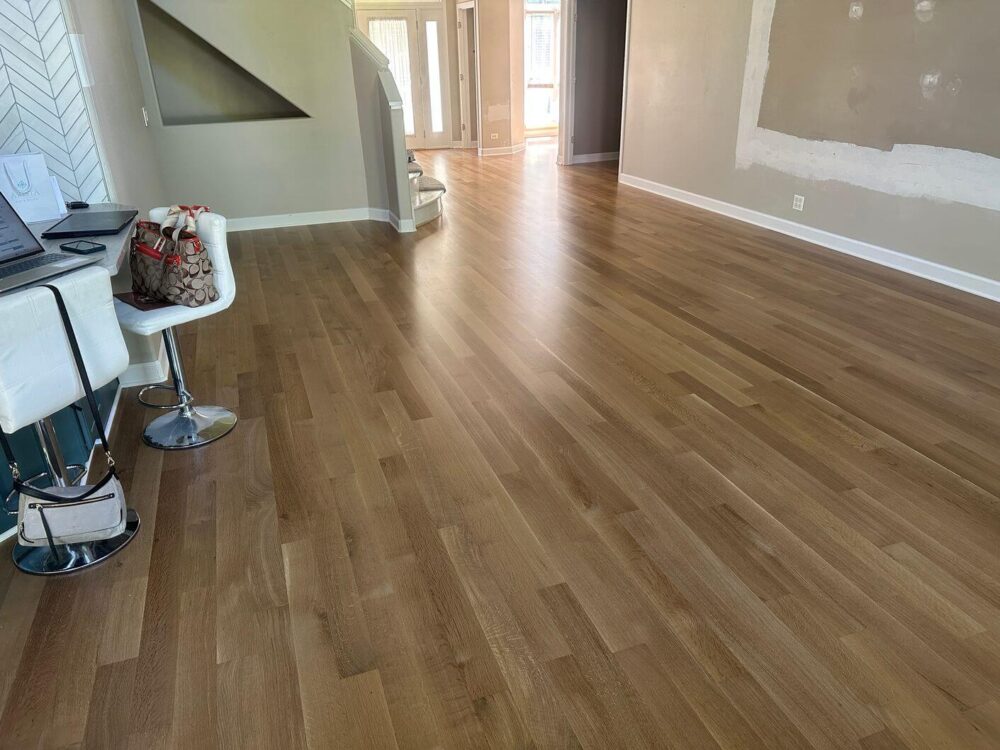
We removed the existing flooring, prepared the areas for a continuous hardwood installation, added moisture-control underlayment, and installed 3 1/4-inch rift and quartered white oak throughout the project area. The new floor was fully sanded and finished without stain to preserve the natural color and grain of the white oak, then protected with three coats of Loba 2K Duo Extra Matte. New baseboards and base shoe completed the installation.
Before and After
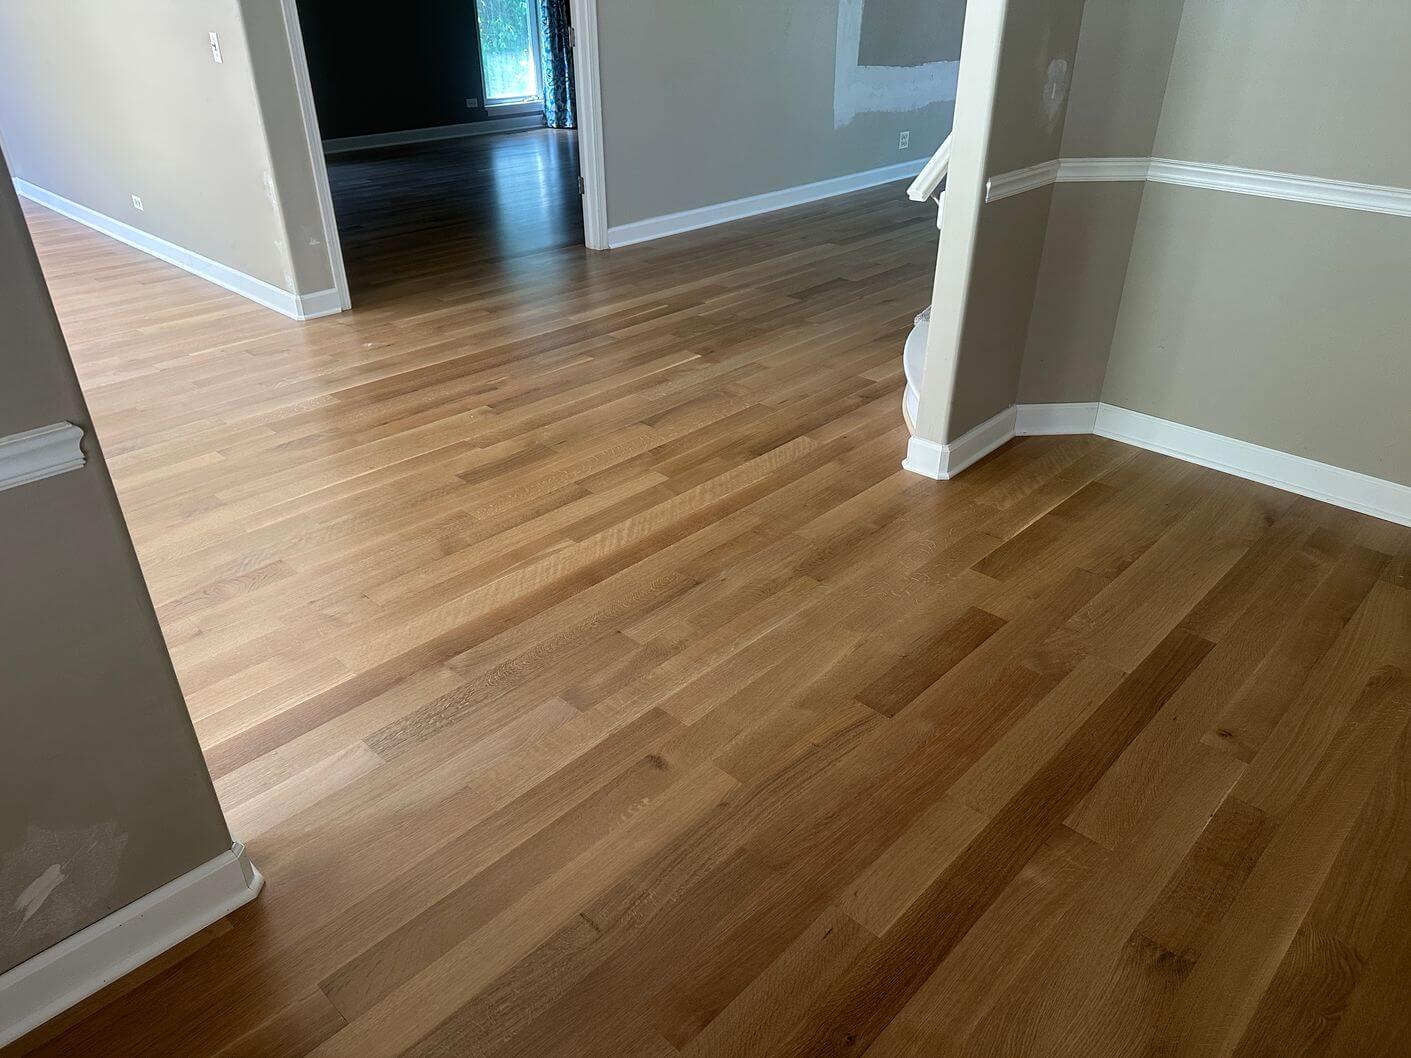
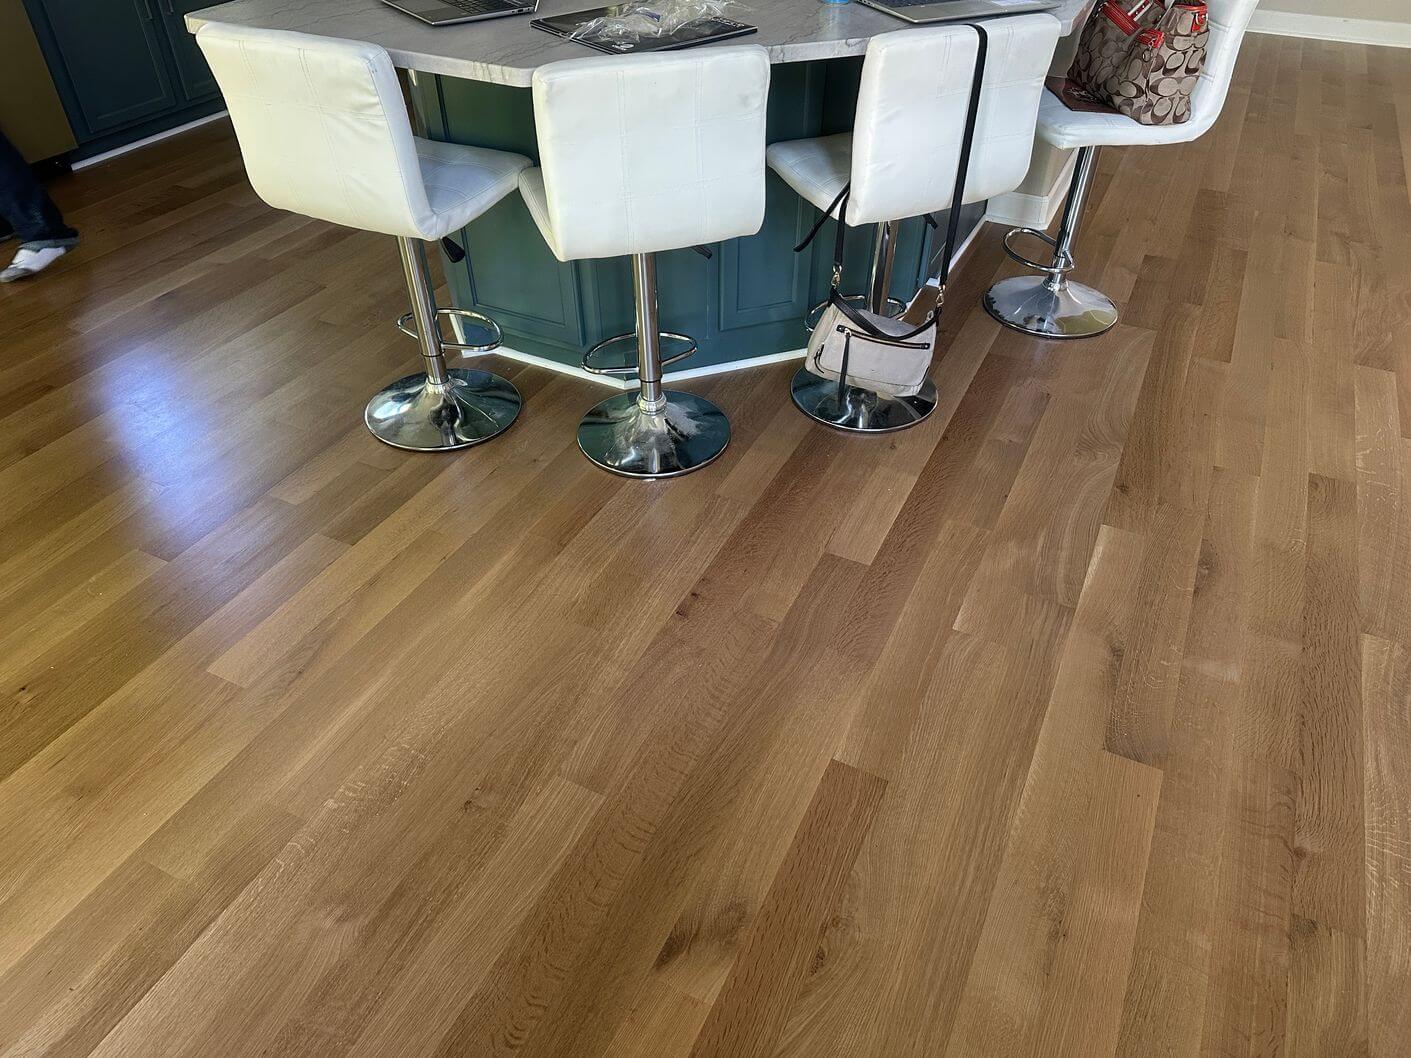
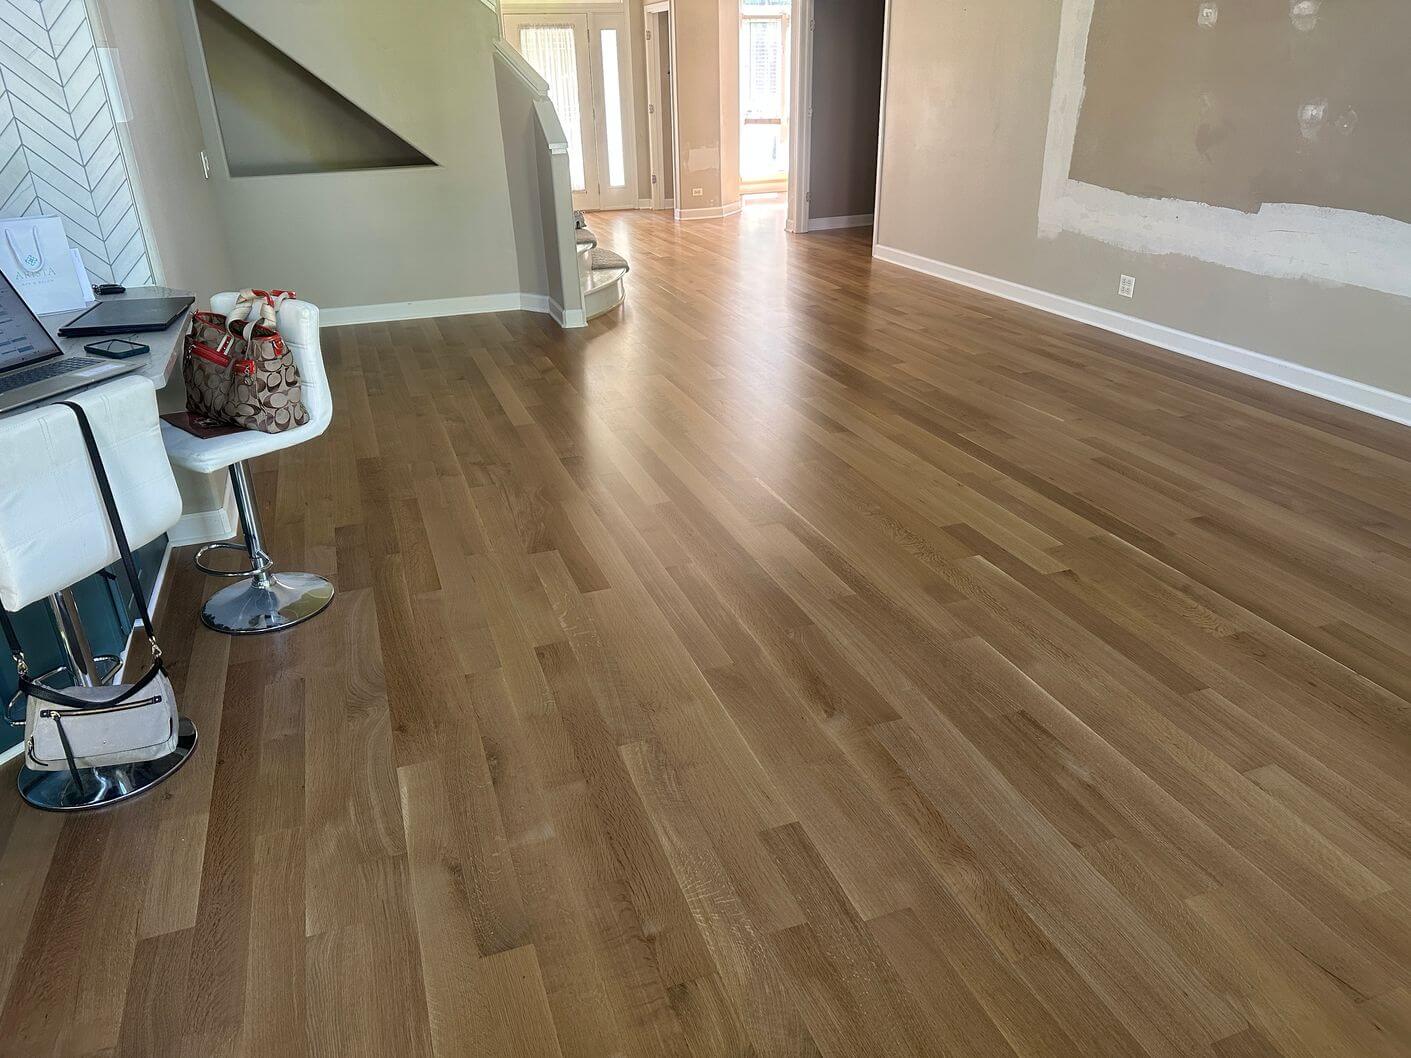
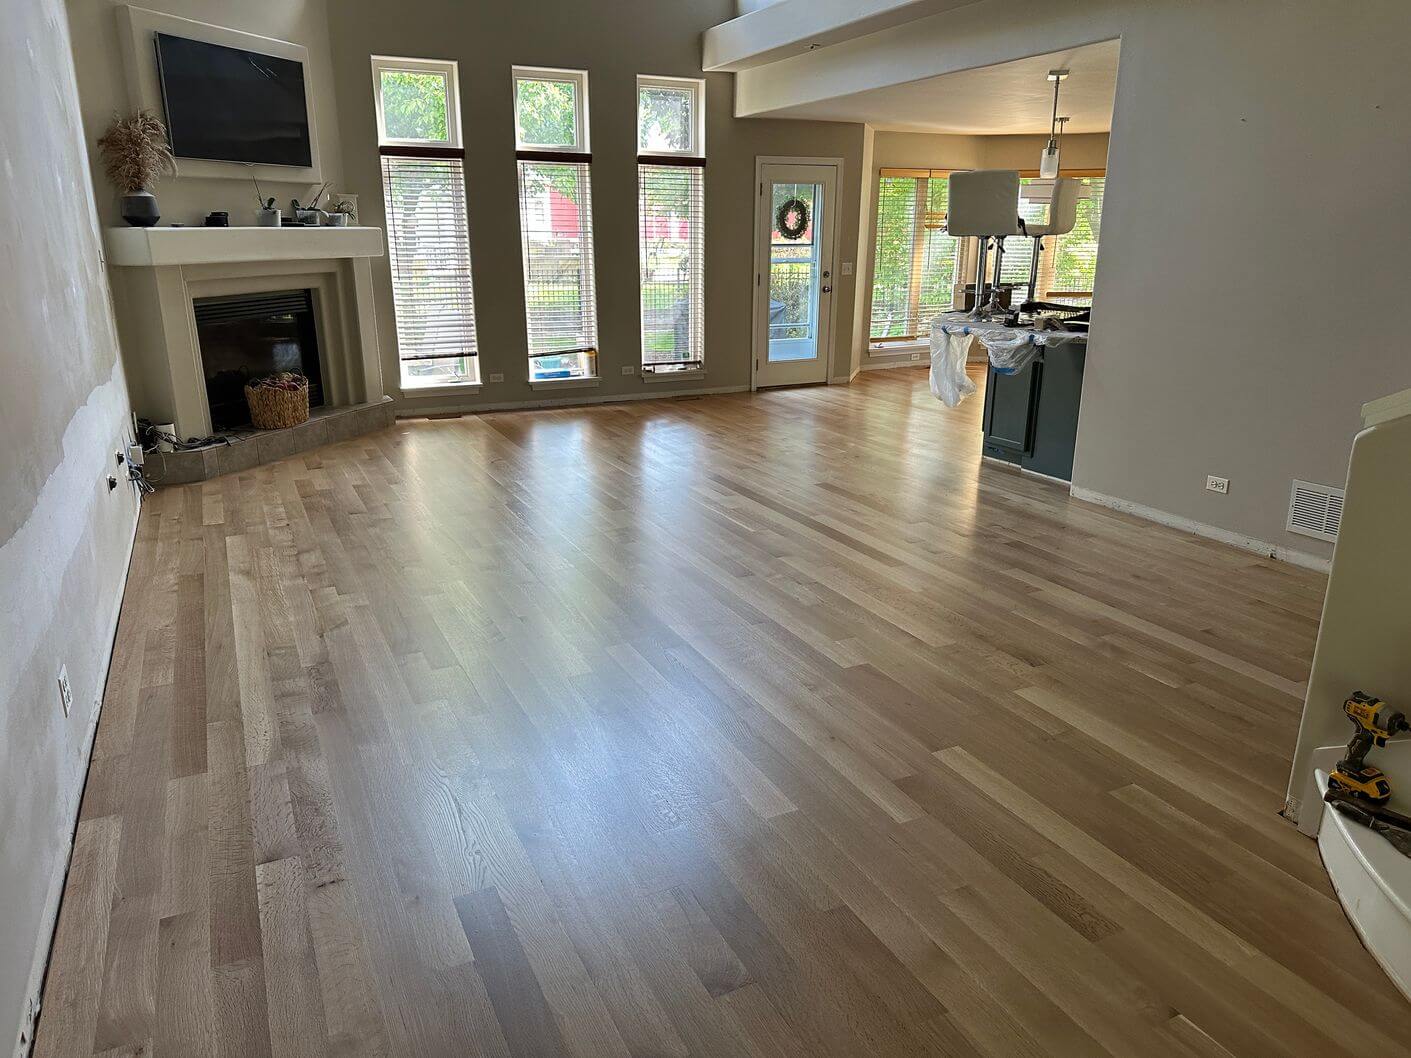
See how the home changed from a mix of prefinished hardwood, tile, and floating flooring into one continuous rift and quartered white oak floor with a natural extra-matte finish.
The Existing Floors Were a Mix of Three Different Flooring Systems
This project started with a fair amount of demolition. Different parts of the first floor had different materials: some rooms had prefinished hardwood glued down, other areas had tile, and a few spaces had floating flooring. Nothing really flowed together, and that was one of the main things the homeowners wanted to change.
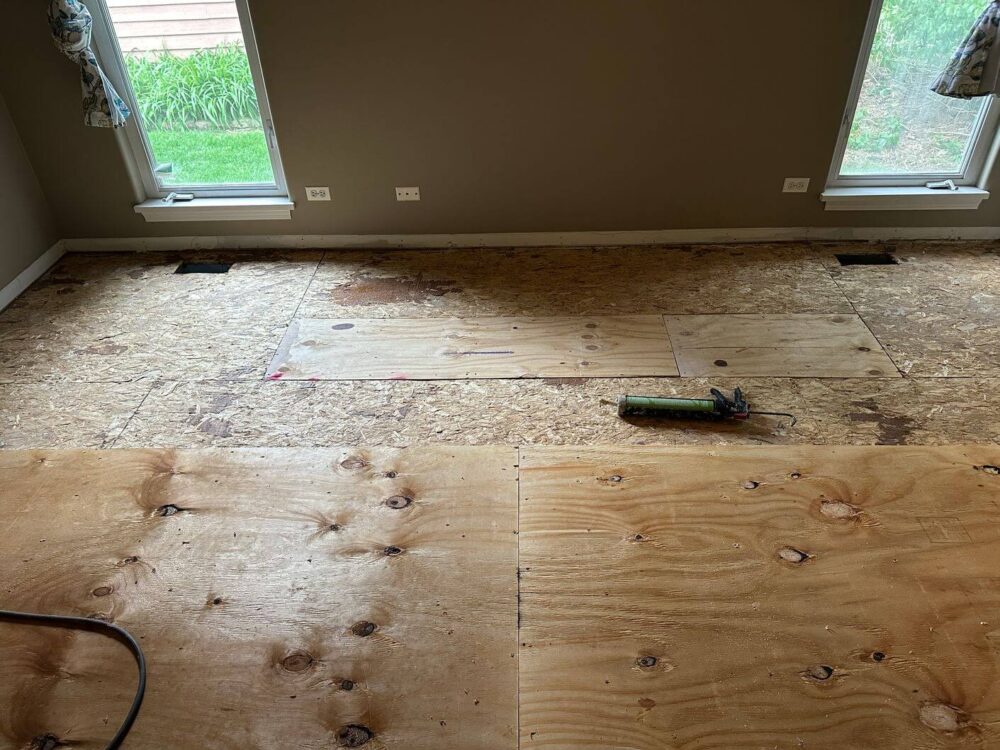
Before we could think about the new hardwood, all of those surfaces had to come out. Removing the different flooring systems gave us access to the subfloor and allowed us to prepare the space for one continuous installation instead of working around old transitions and mismatched floor types.
Creating One Continuous Rift & Quartered White Oak Floor
The homeowners already knew what they wanted before the project started. Their choice was 3 1/4-inch rift and quartered white oak, not a standard plain-sawn floor. This cut gives white oak a straighter, more consistent grain and a cleaner overall look, which worked especially well across the large connected spaces in this home.
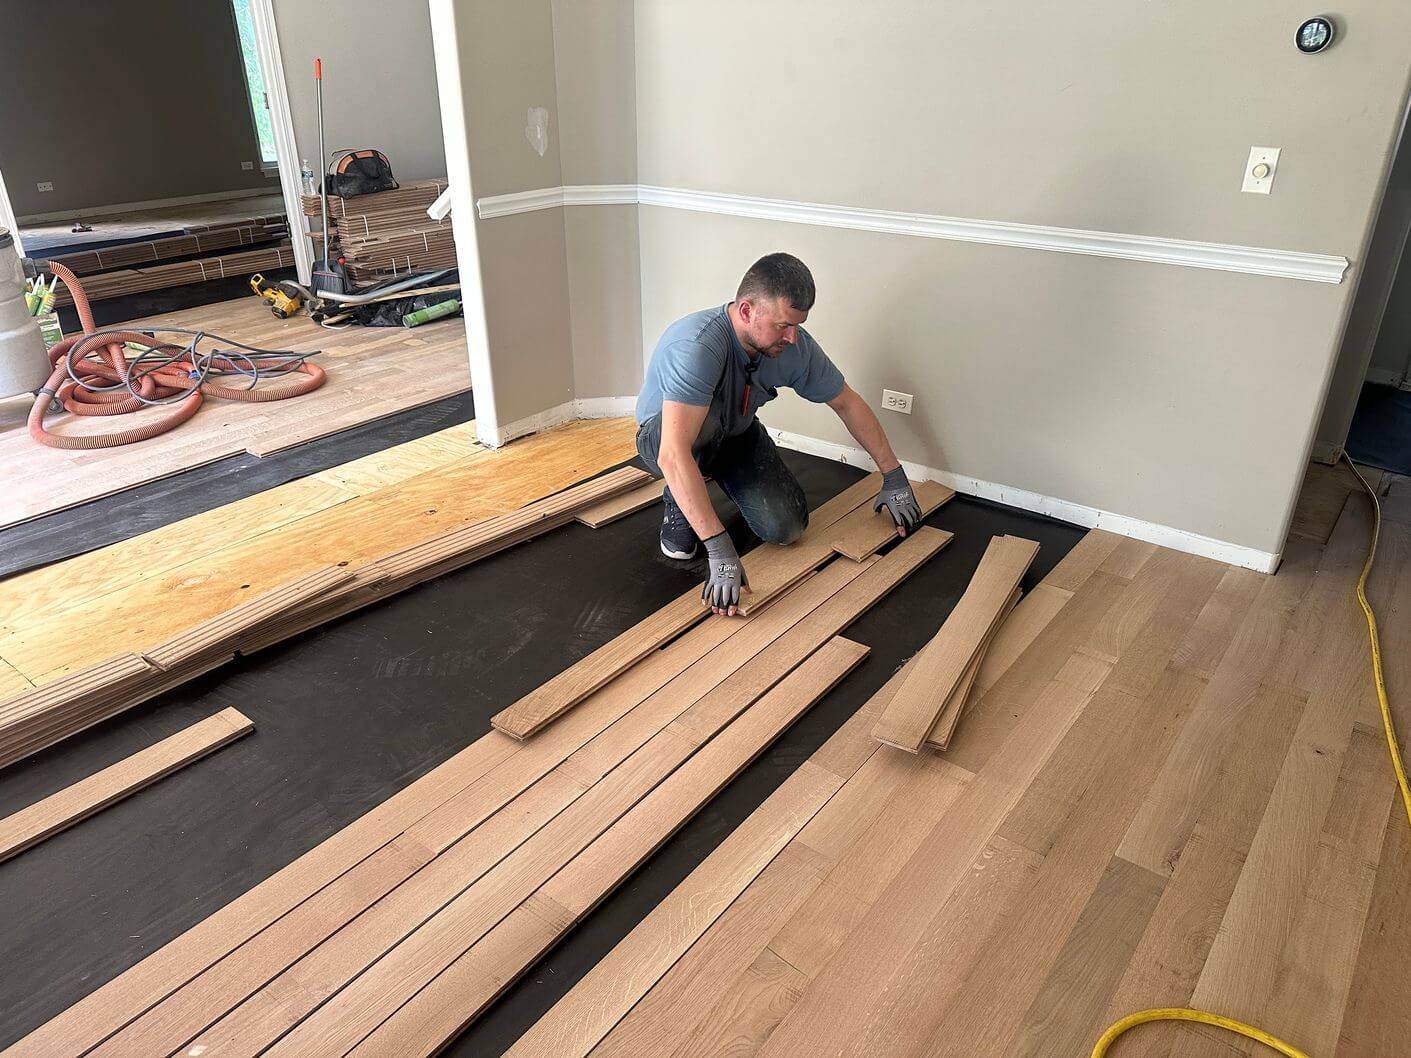
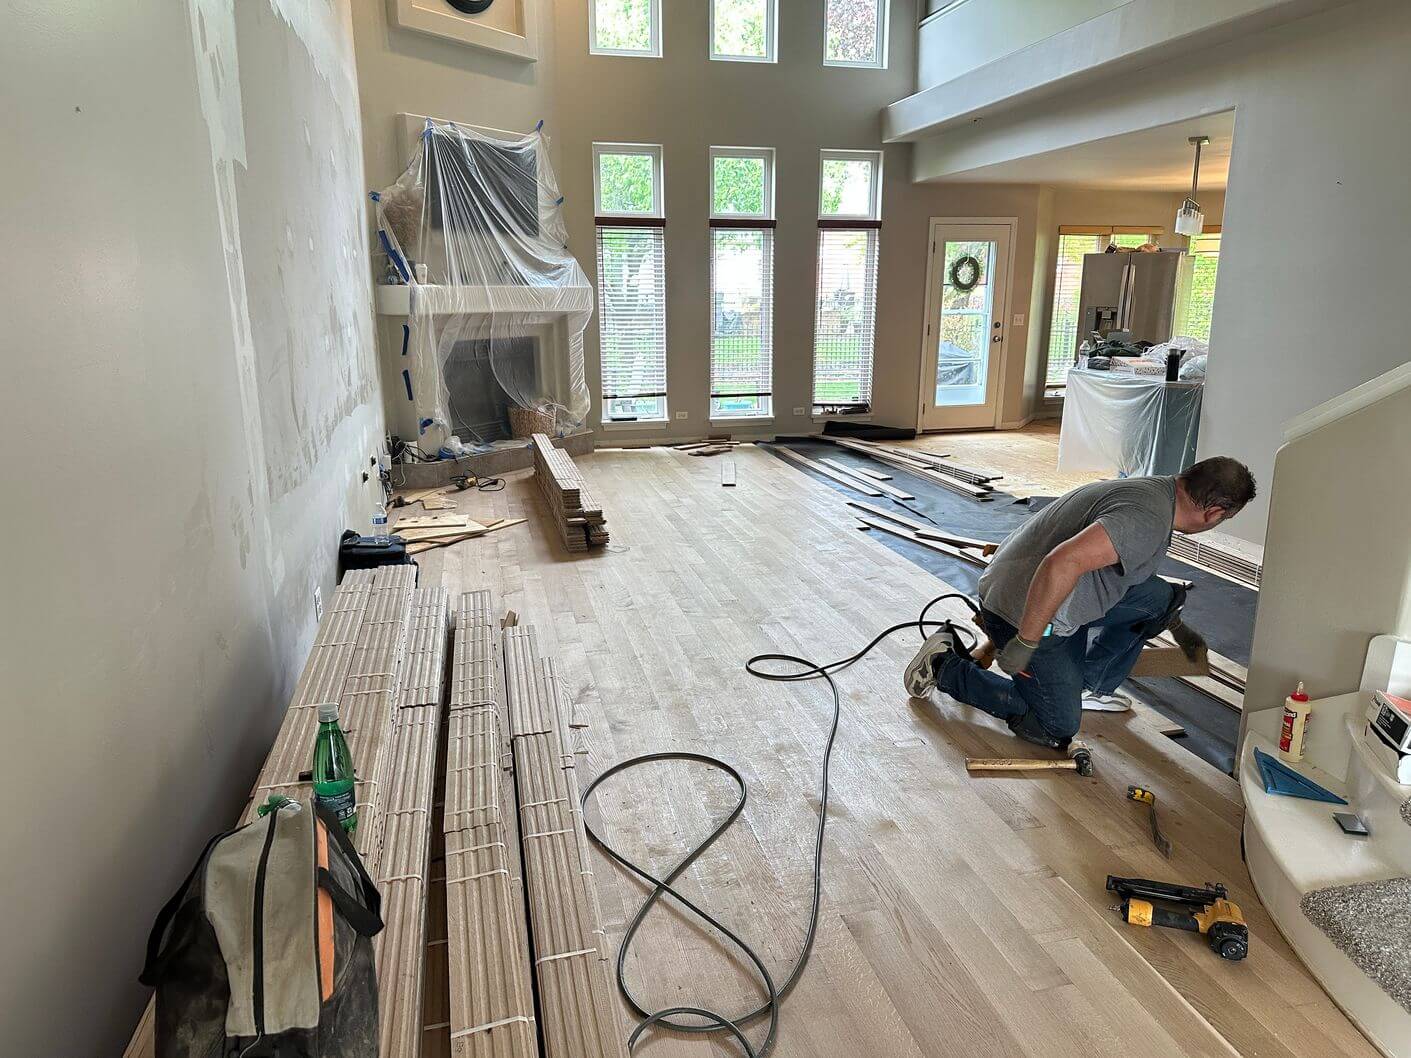
Once the old flooring was removed and the areas were ready, we installed moisture-control underlayment and started laying the new white oak through the rooms as one continuous floor. The goal was to make the spaces feel connected instead of divided by different materials and transitions.
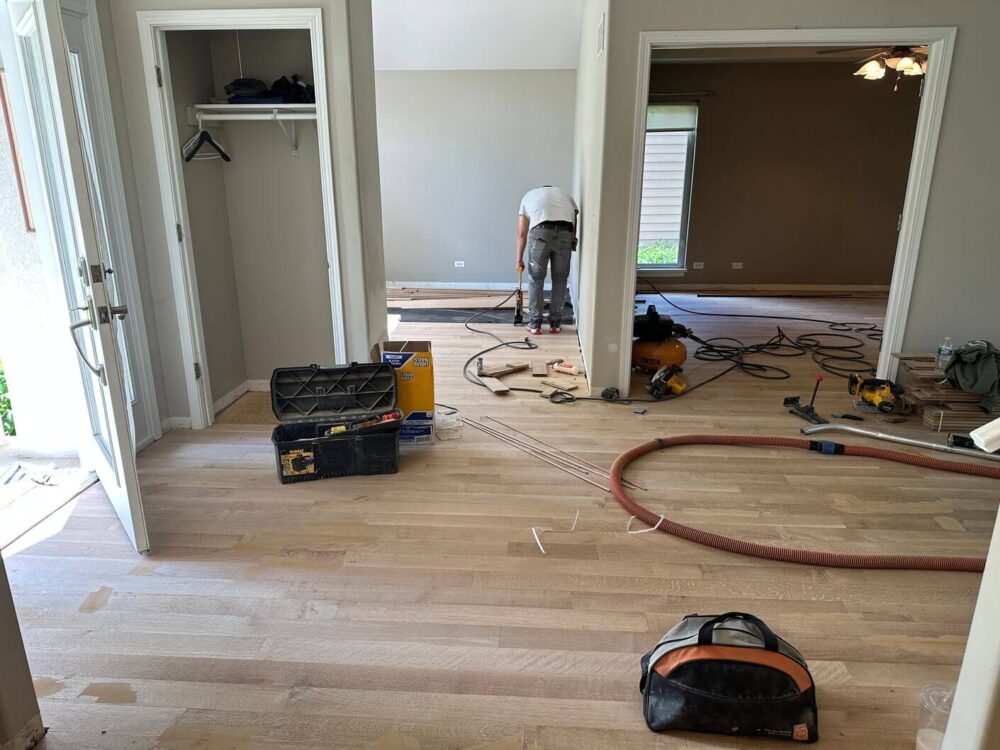
The homeowners also wanted to keep the wood natural. No stain was used, so the color and grain of the white oak stayed visible and became the main part of the finished look.
How We Completed the White Oak Installation and Finishing
This project involved quite a few stages, from removing several types of existing flooring to installing, sanding, and finishing the new white oak.
Removing the Existing Flooring
We started by removing the different flooring materials throughout the project area. That included glue-down prefinished hardwood, tile, and floating flooring, so the demolition was more involved than a typical single-surface removal.
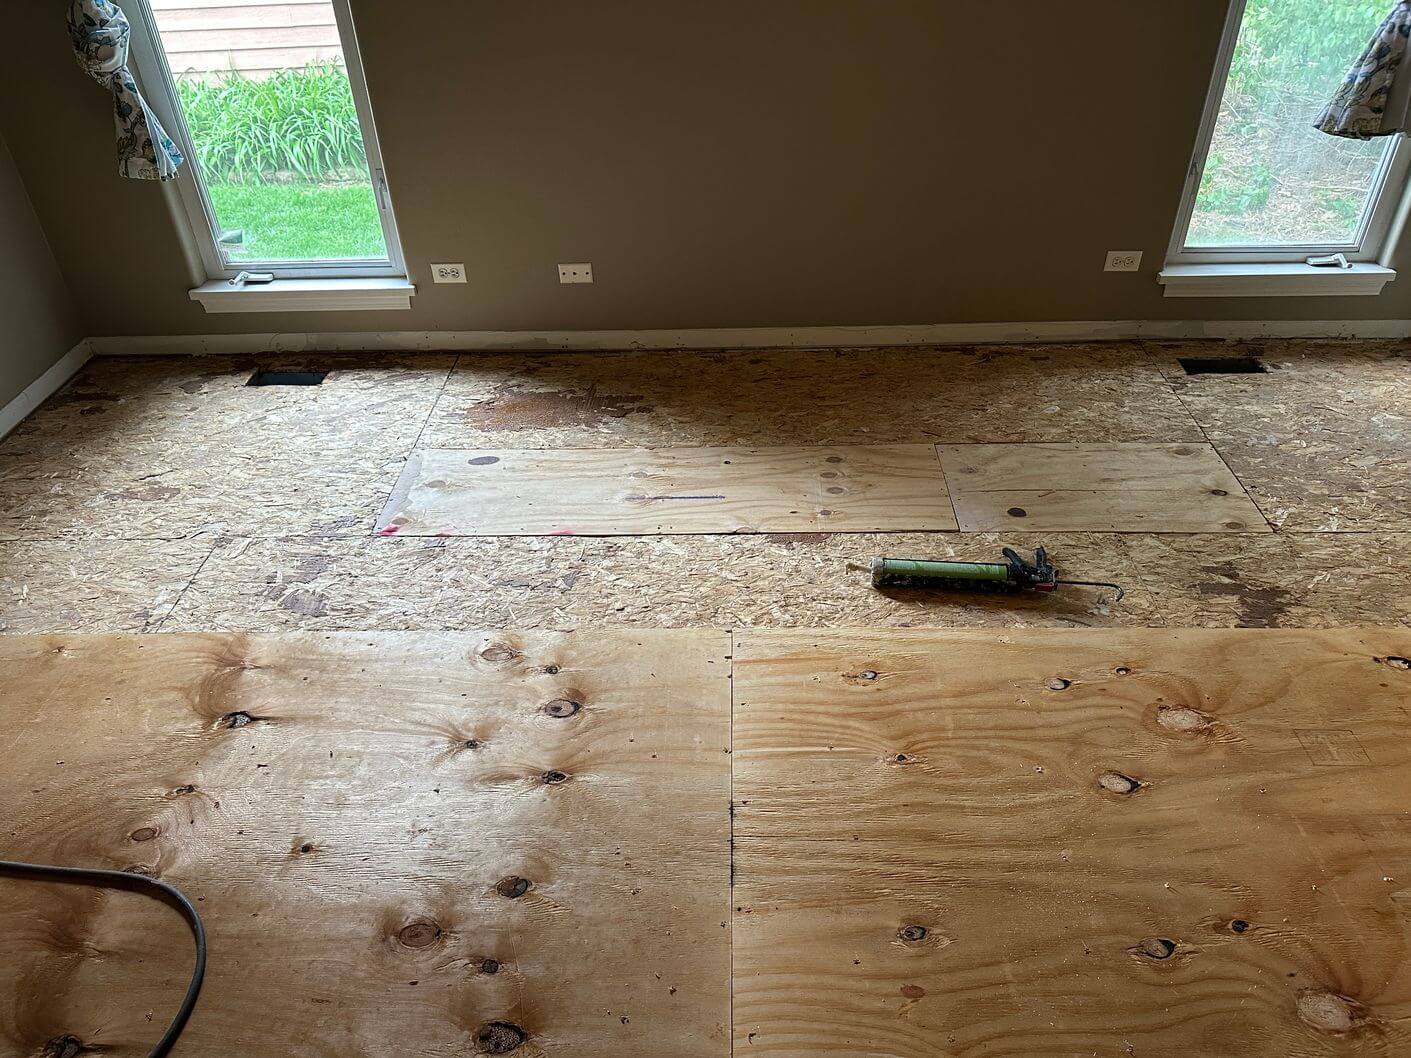
Once everything was out, we could see the full condition of the subfloor and prepare the rooms for the new hardwood.
Preparing the Subfloor
The subfloor had to be ready before any new wood went down. We worked through the areas left behind by the different flooring systems and made sure the installation surface was properly prepared for the new 3 1/4-inch white oak.
This part of the job was important because the new flooring was going to run continuously through several connected rooms.
Installing the Moisture-Control Underlayment
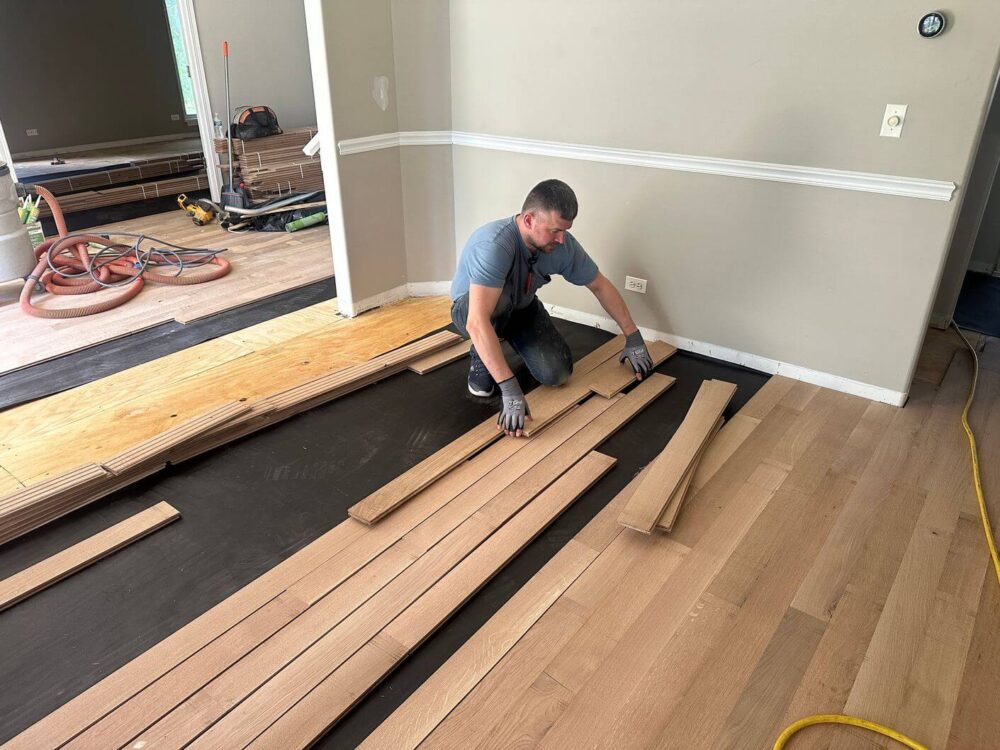
Before installing the hardwood, we added a moisture-control underlayment in the required areas. It provides an extra layer of protection between the subfloor and the new wood flooring.
Installing the Rift & Quartered White Oak
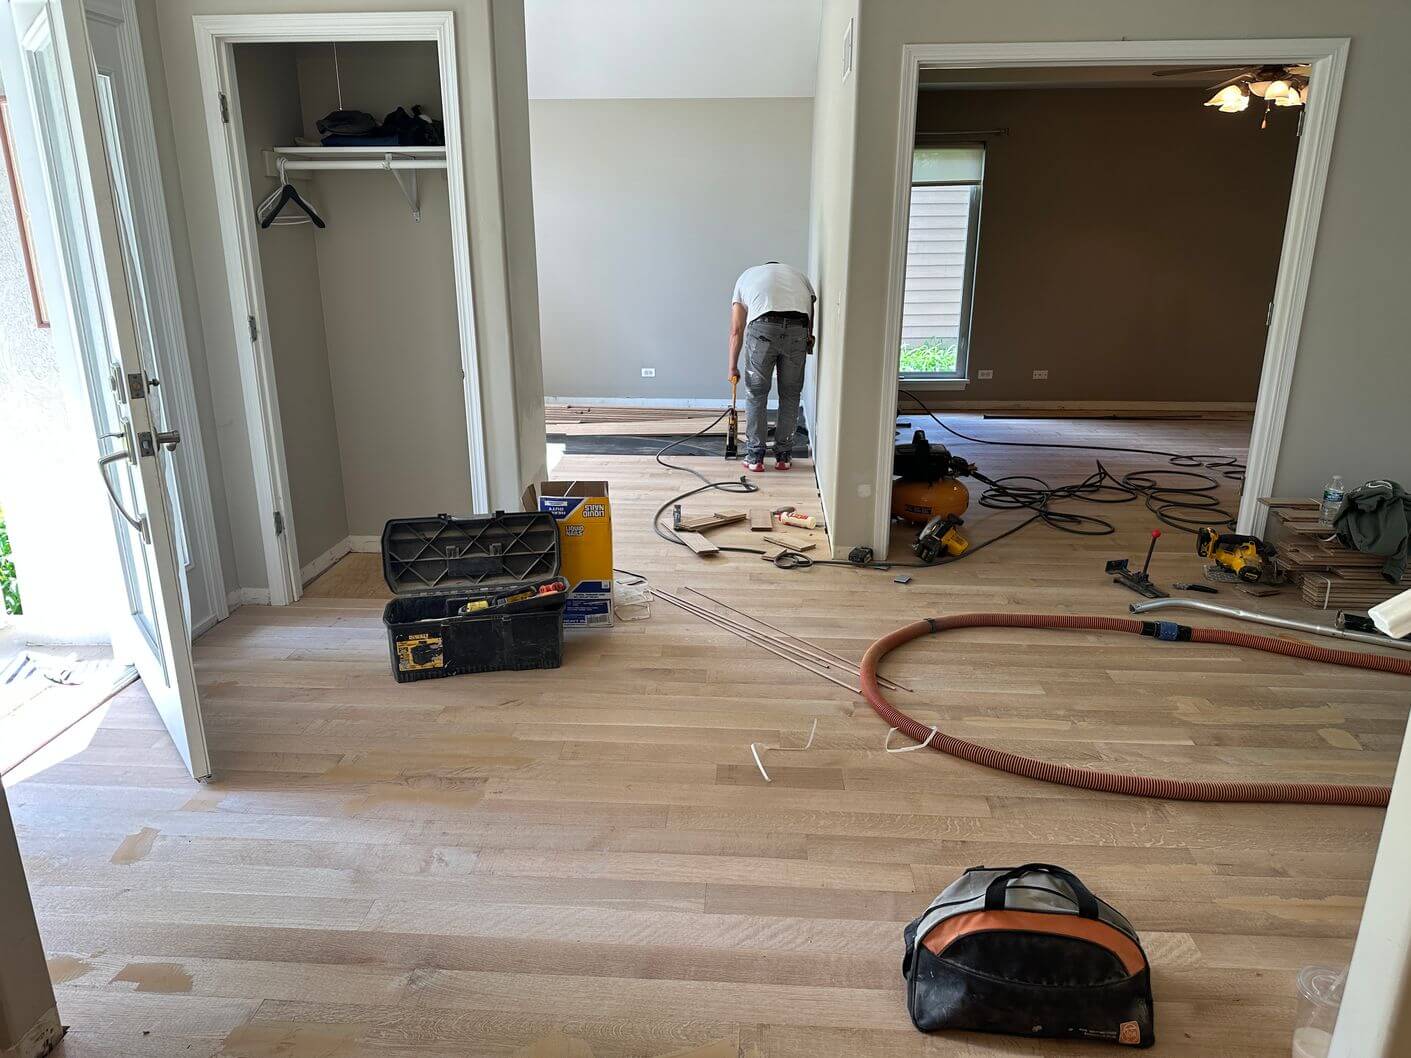
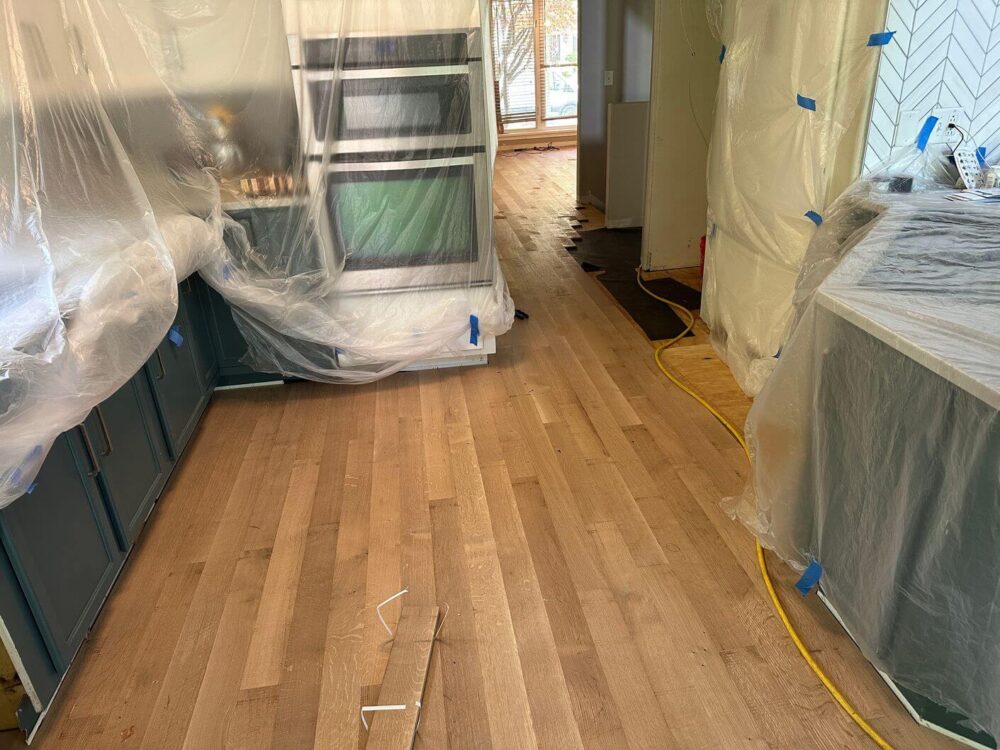
Next, we installed the 3 1/4-inch rift and quartered white oak throughout the main floor.
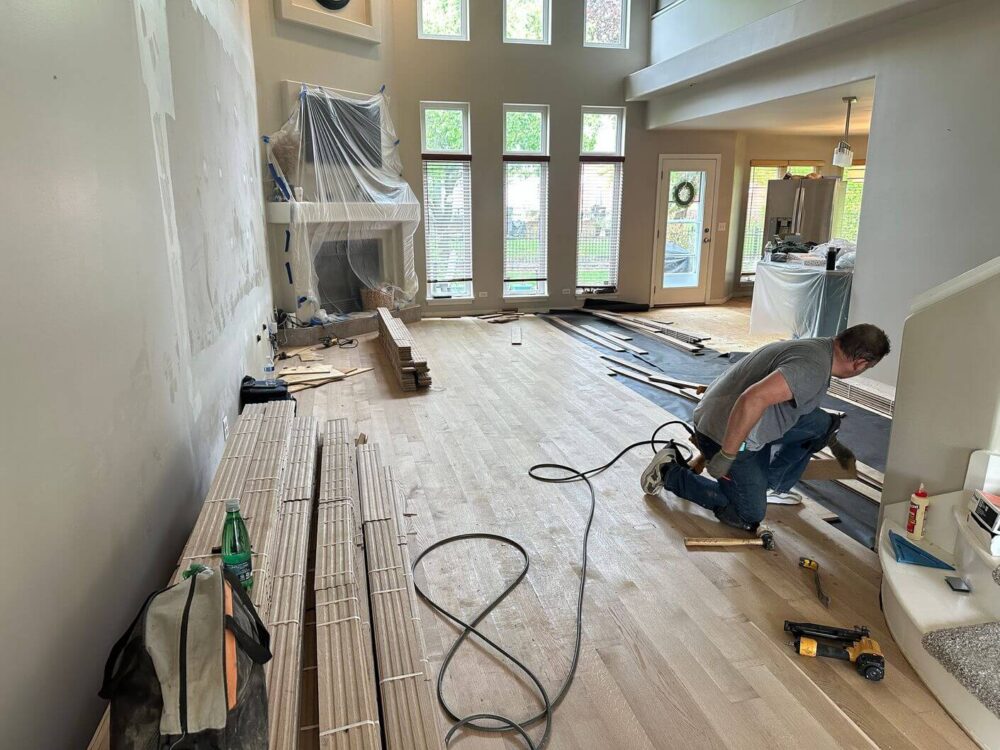
The layout was planned so the flooring could continue naturally from room to room without the mix of materials and unnecessary transitions that had been there before. As the installation moved through the living areas, dining space, and kitchen, the entire first floor started to feel much more connected.
Sanding and Preparing the New Floor
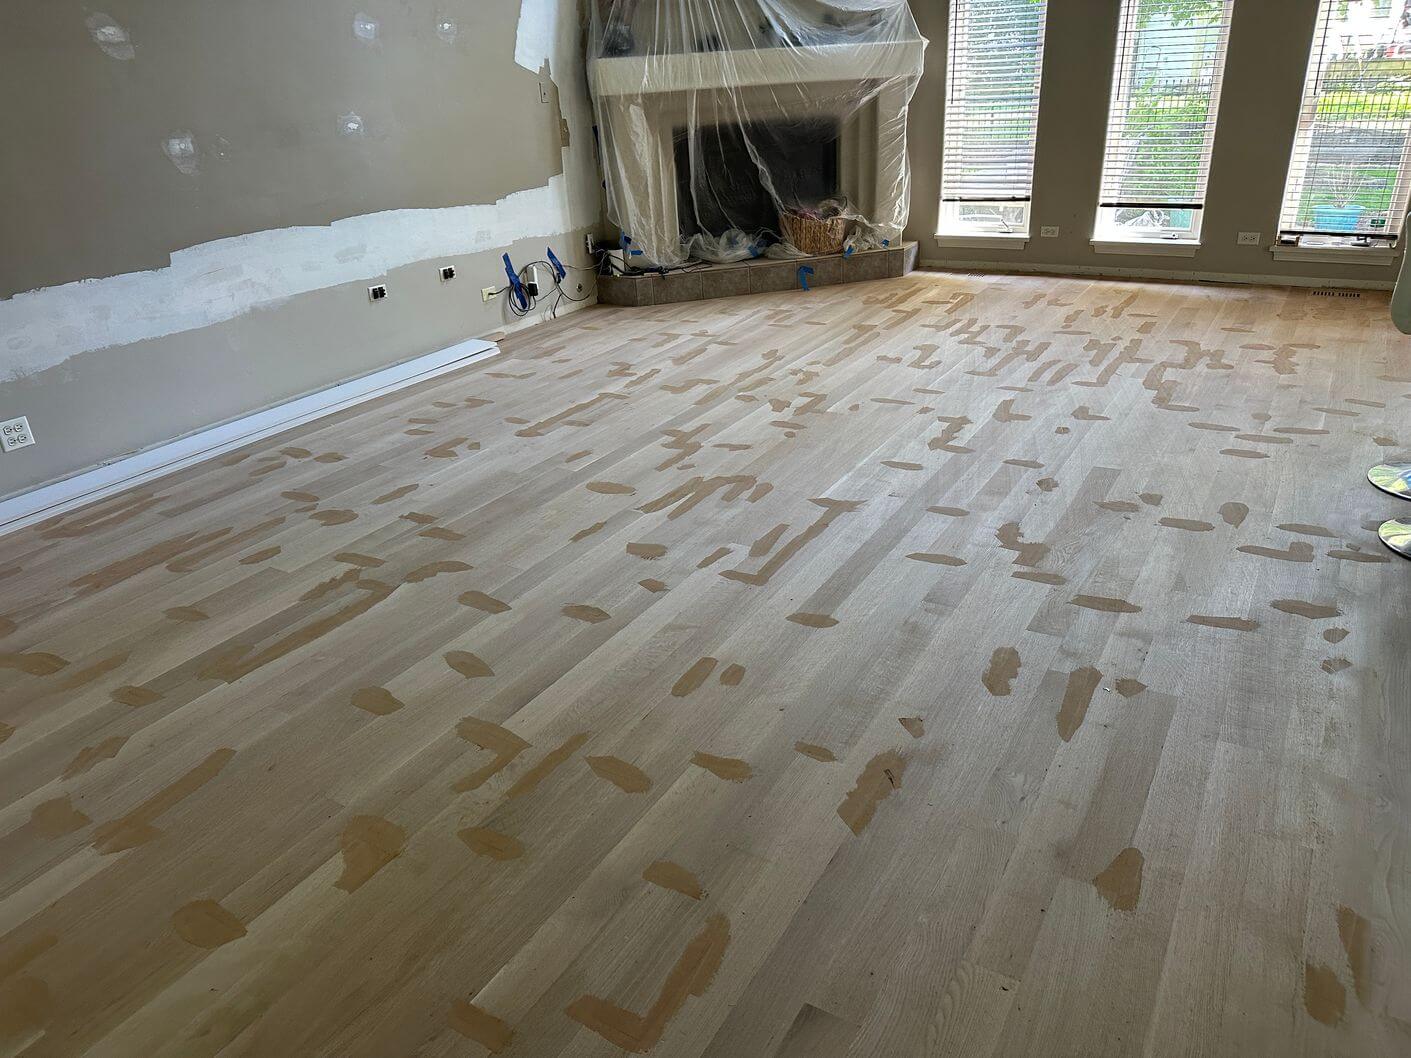
After the installation was complete, we lightly sanded the entire floor to create a smooth, even surface and prepare the white oak for finishing.
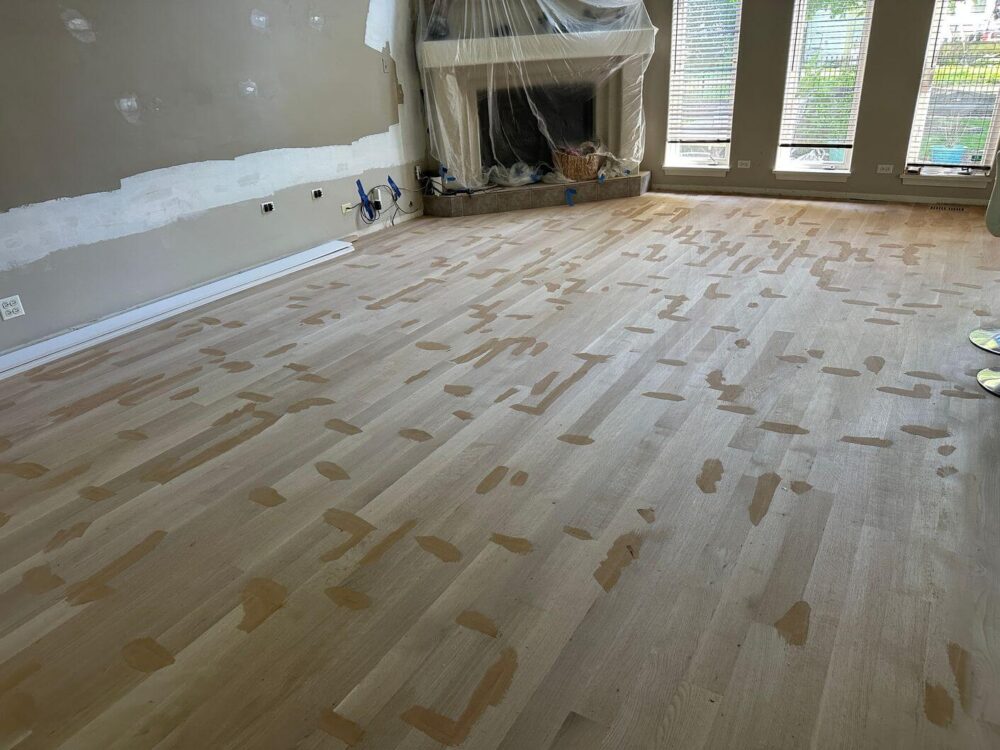
We also filled small joints and imperfections where needed before the final sanding stages. This gave us a clean surface for the finish system and helped the newly installed floor read as one continuous hardwood floor.
Keeping the White Oak Natural
No stain was used on this project. The homeowners wanted to keep the natural color of the white oak and let the rift and quartered grain remain visible.
After sanding, the floor already had the light, clean look they were after, so there was no reason to cover it with additional color.
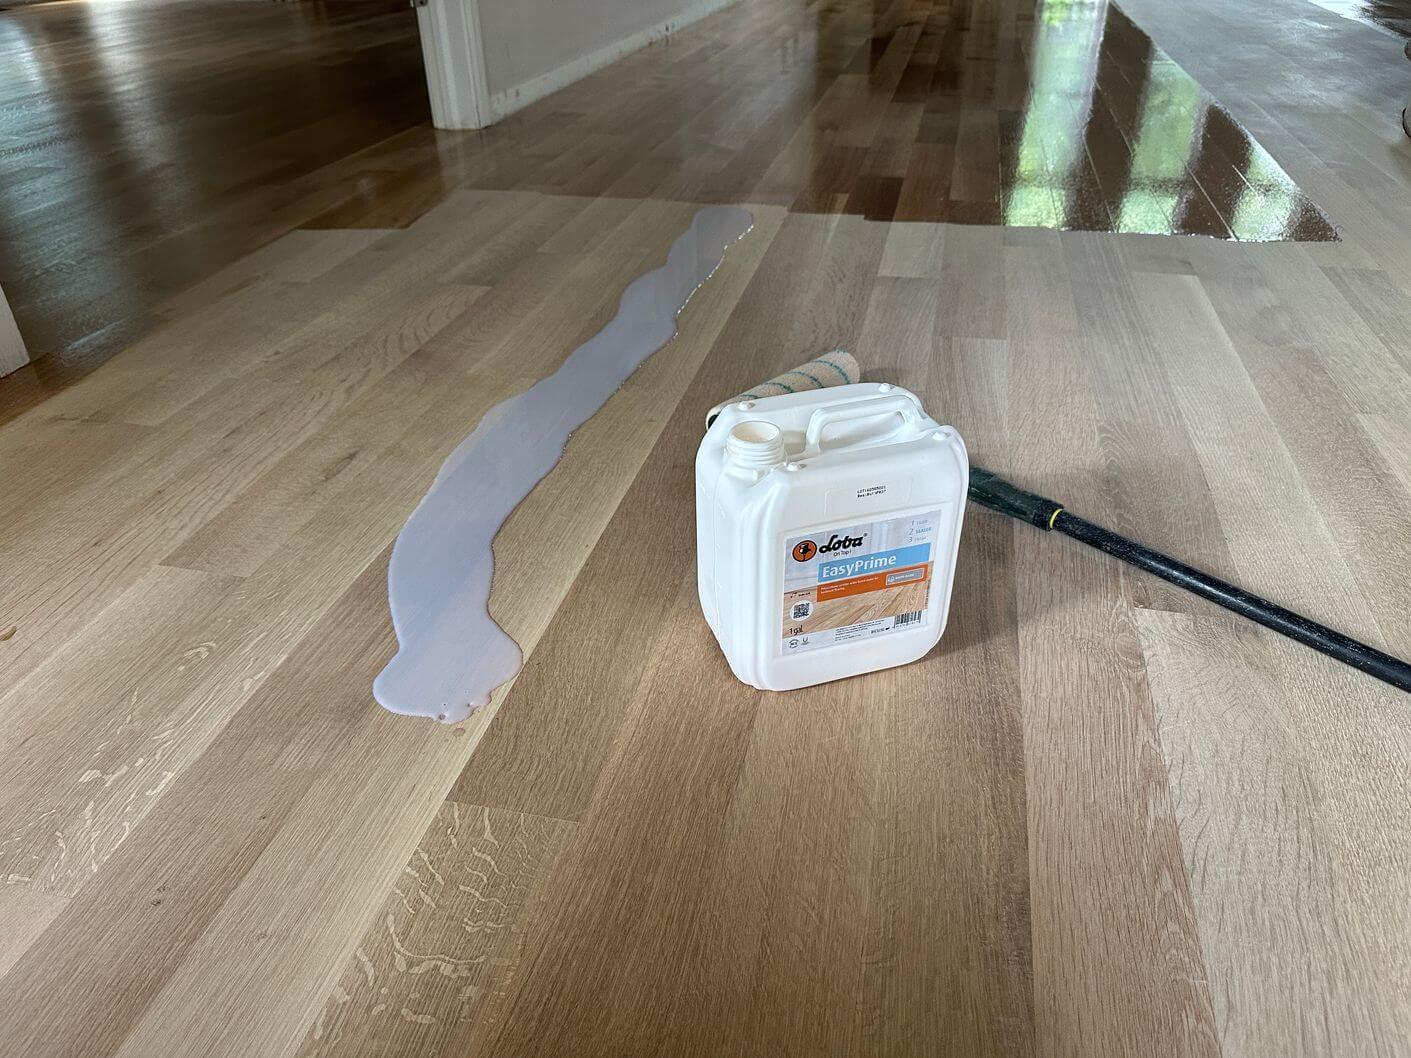
Applying Loba EasyPrime and Loba 2K Duo
We applied Loba EasyPrime to the prepared white oak before moving on to the protective finish coats.
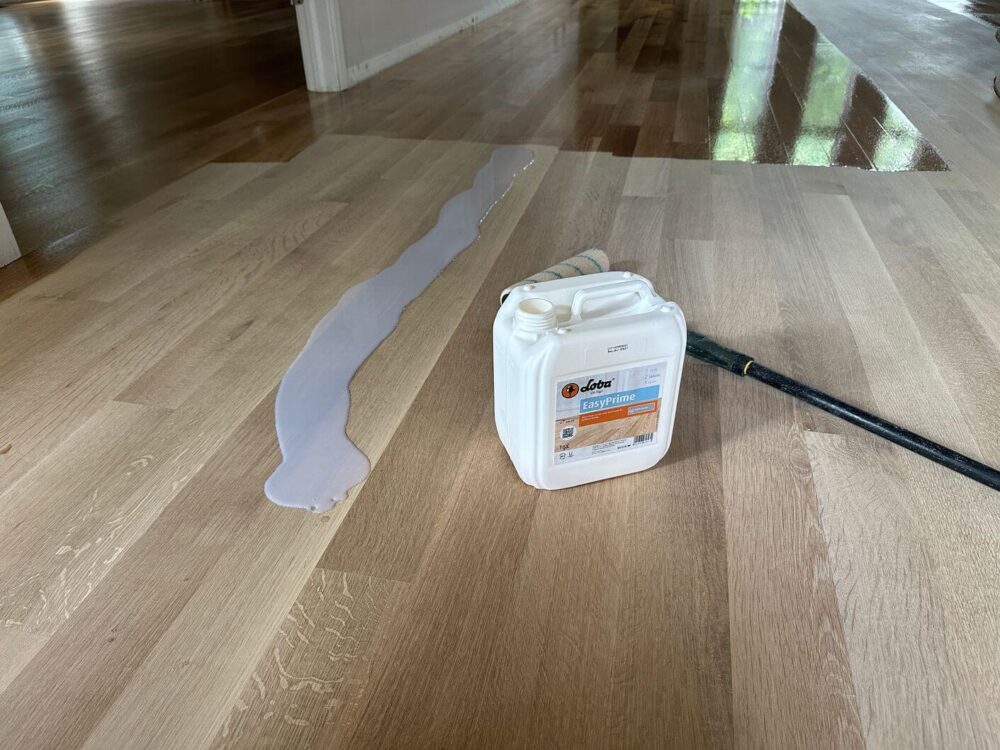
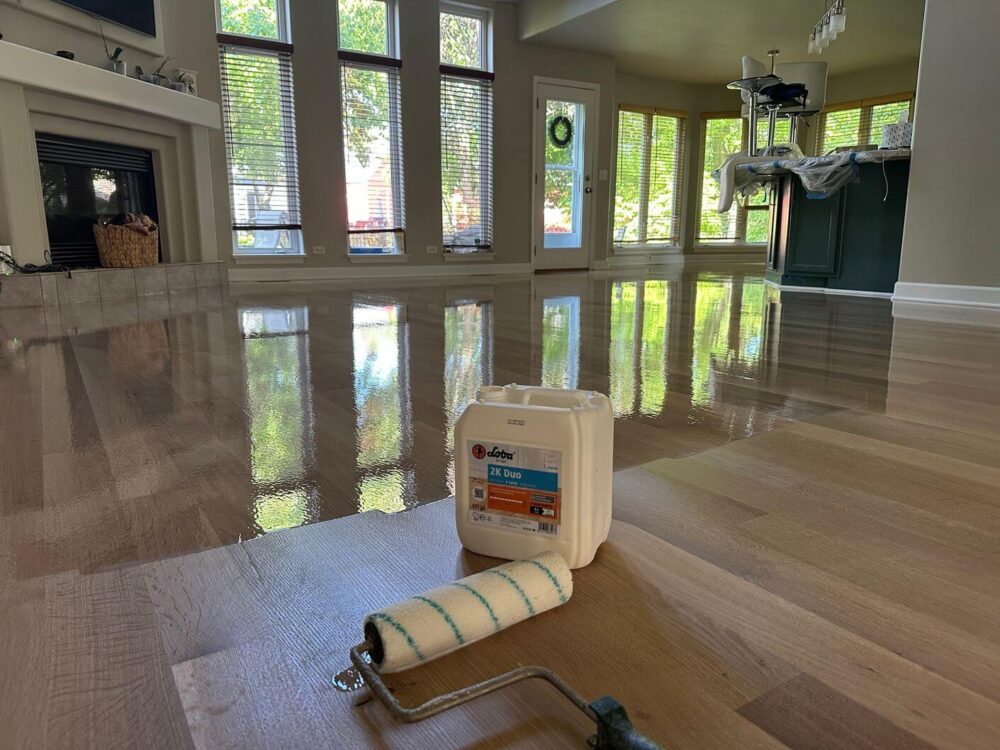
The floor was then finished with three coats of Loba 2K Duo Extra Matte. The extra-matte sheen keeps the finished floor looking natural and low-gloss while still giving the wood the protection needed for everyday use.
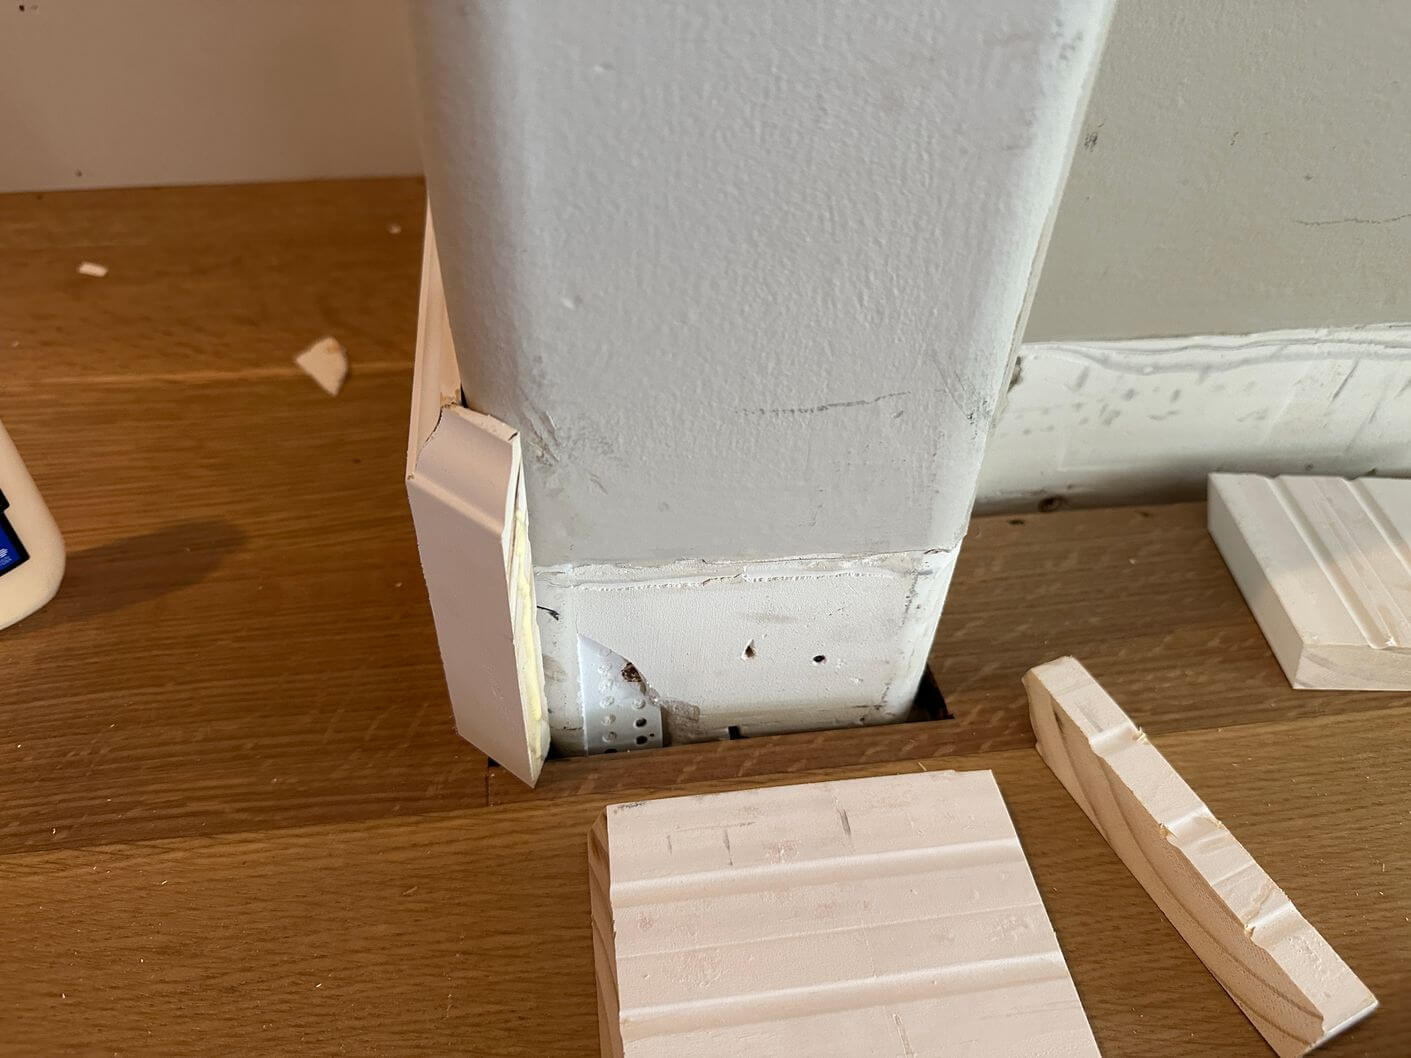
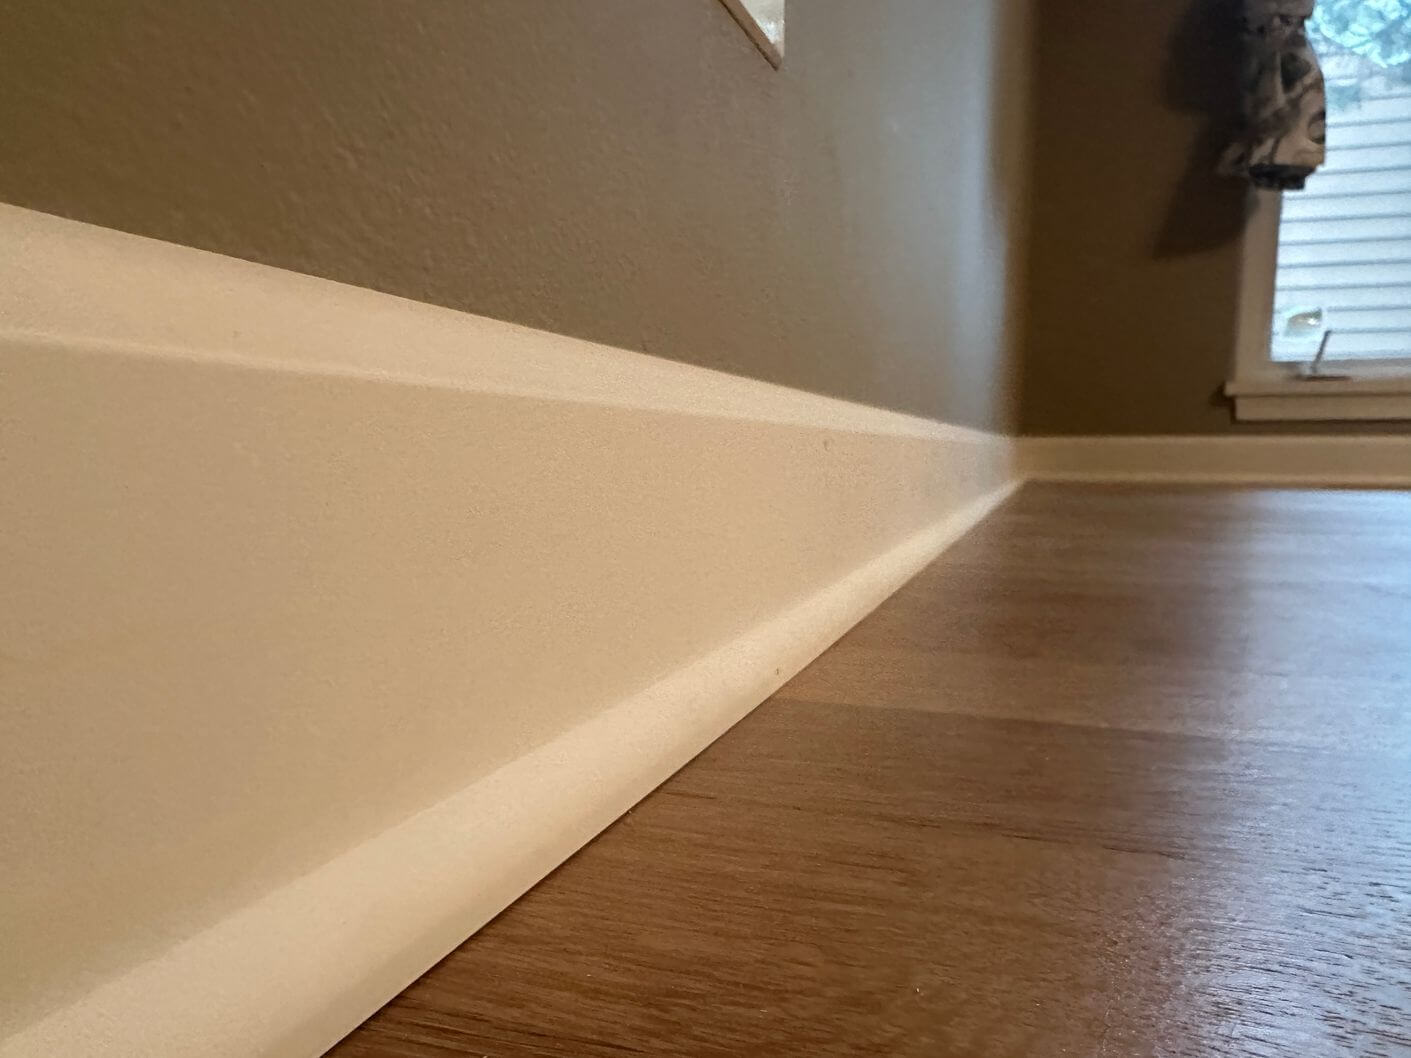
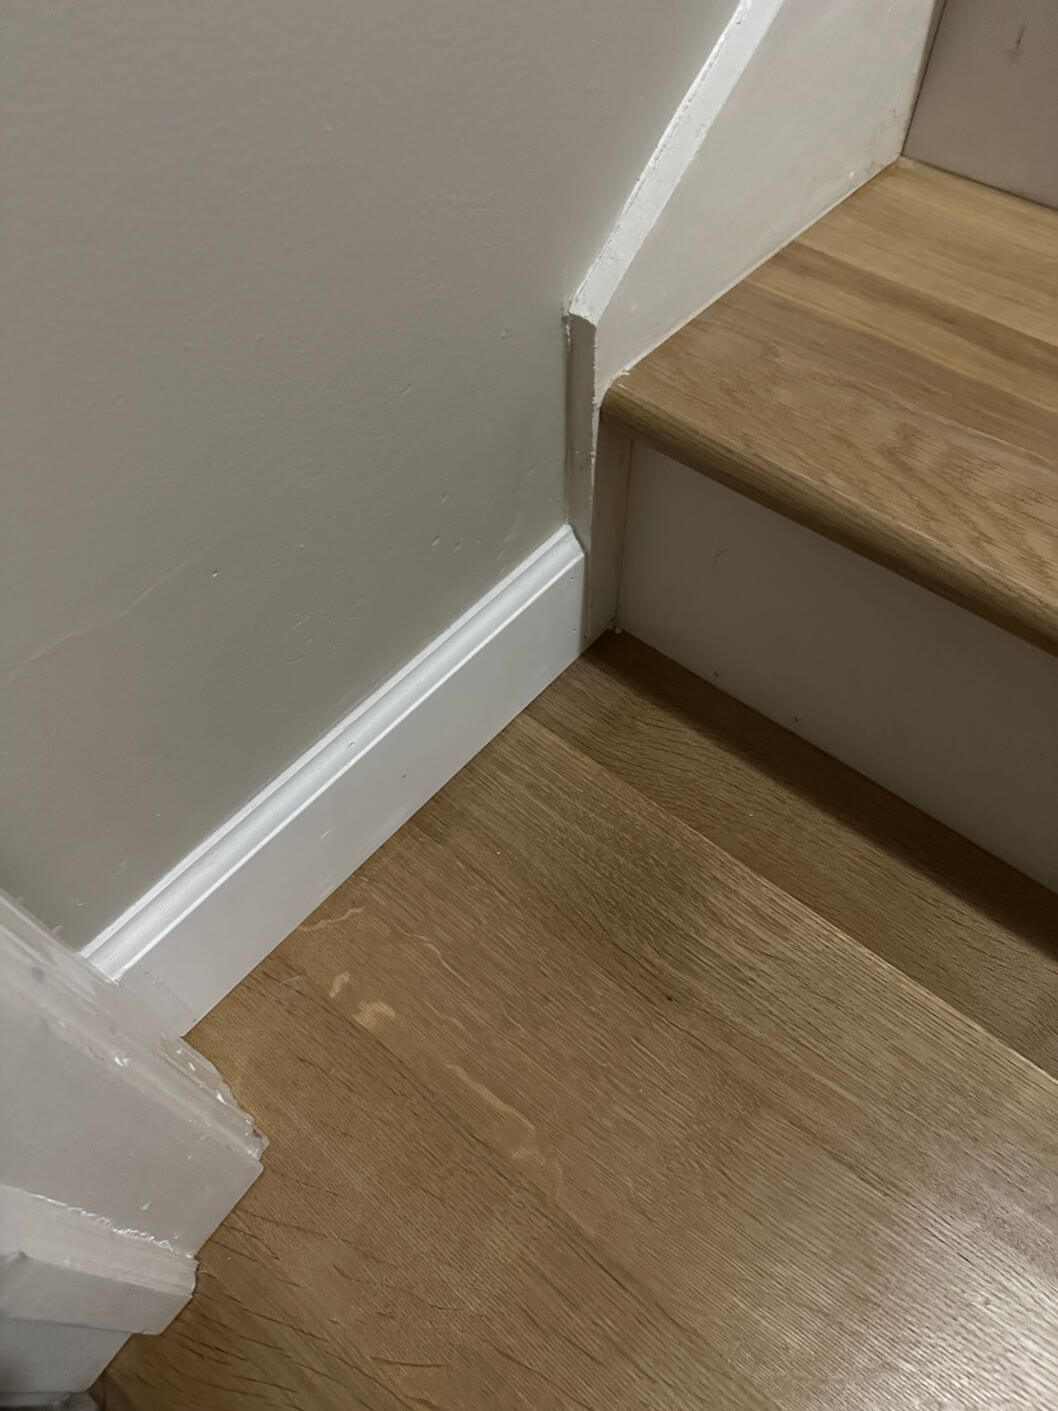
Installing New Baseboards and Base Shoe
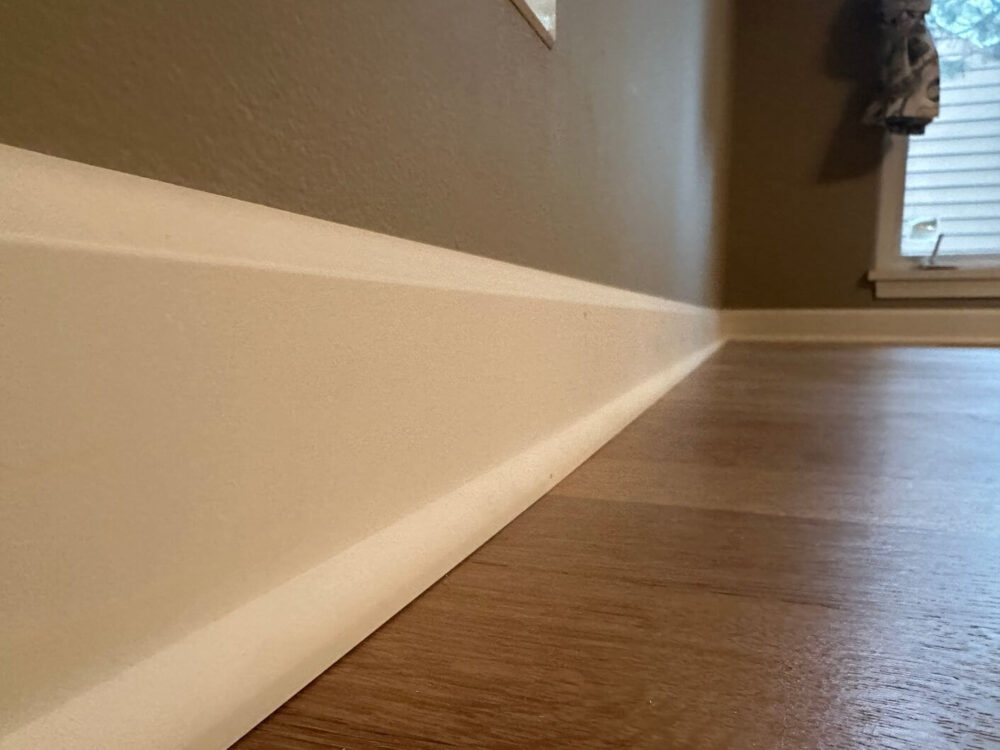
Once the flooring work was complete, we finished the perimeter with new baseboards and base shoe.
That final trim work cleaned up the edges of the installation and gave the rooms a finished look from the floor all the way to the walls.
Planning a Similar Project?
If your home has a mix of hardwood, tile, or floating floors across connected rooms, it usually makes sense to look at the entire layout before deciding how to move forward. A properly planned installation can help create cleaner transitions, a more consistent look, and a floor that feels like it belongs throughout the space.
If you are planning a hardwood flooring project in Aurora or the surrounding suburbs, Big Bro Hardwood can help with removal, installation, and finishing.

Get a Free Estimate

Request a Free Hardwood Floor Estimate
Tell us about your floors and we'll get back to you within 24 hours.
Get a free quote