Opt For Floor Refinishing To Let Your Home’s Beauty Speak For Itself
02/02/2023
Reading Time ~ 9 minutes
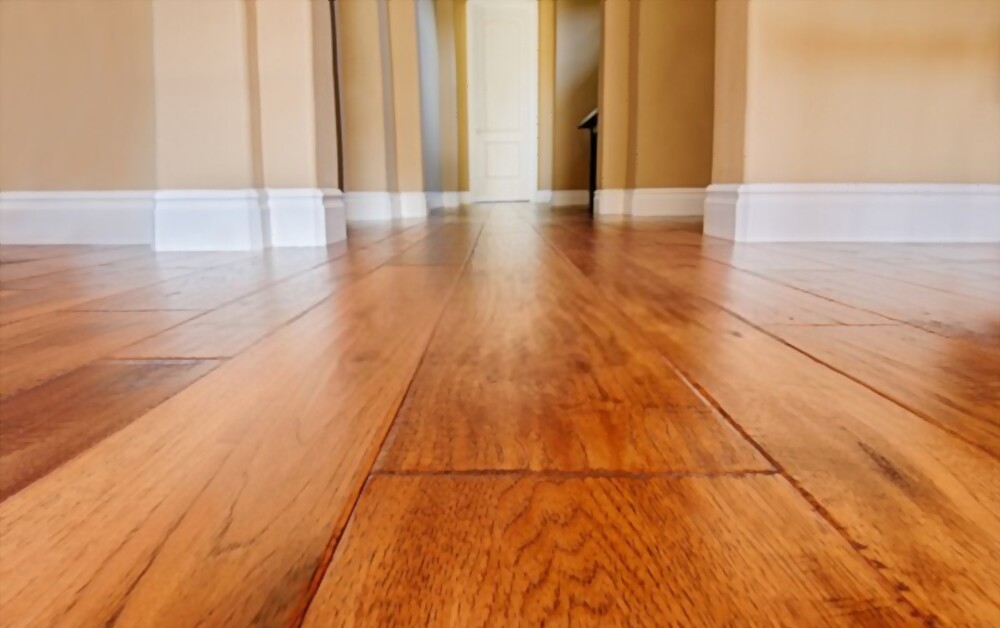
We all are amazed by the beauty of the hardwood floor and especially when it is fresh and well-maintained. But of course, there is backstage hard work of the owner of the floor when he faces the challenge of keeping the floor appearing their best for many years. But over time, everyone or everything starts vanishing its newness at one point, right? So the same goes for the hardwood floor. With time, the hardwood floor began to age as a result of regular use and modifications in interior design trends.
You always want to avoid seeing these signs in your home as your floor ages. But you should not! You can see these in the form of dullness, scratches, and discoloration. Do any of these indicators exist in your home?
If your answer is yes, then you must be thinking that you should go for hardwood floor reinstallation to get the best look one more time, right? But fortunately, you should not go through with a long process like complete reinstallation when there is a hardwood floor refinishing to aid you in restoring the amazing and beautiful appearance back. Great hardwood refinishing practices can return your hardwood floors to life.
Basic of floor refinishing:
Now, what is hardwood floor refinishing? Before moving on to how to do floor refinishing, let us first understand some basics of floor refinishing. Floor refinishing, which is also known as resurfacing, is an ideal method to re-energize the appearance of your home’s space without the risk and cost of installing and replacing brand-new flooring. This procedure includes removing the primary layer of the shielding material with the help of a massive sander, which is helpful in removing the surface finish and digging past any possible surface blemishes, stains, or defects. The outcome of the fresh surface is stained and top-coated with any finishing layer of protection you desire.
Before starting the floor refinishing!
Aggressive refinishing and sanding are ideally fitted for solid hardwood floors—Oak, solid maple, or other hardwood floorings that spans the entire thickness of the boards. Hardwood floors that contain ¾-inch thick planks can receive two or even deep sandings throughout their lifetime.
Although not every floor is solid hardwood, rather consisting of planks with a veneer layered glued hardwood than plywood or other manufactured product of wood. These outcomes or products are often known as engineered wood. These floors enable you to do just one sanding, and you need to be aware of grinding by the hardwood’s finishing layer.
Considerations for safety!
Sanding floors with a hand sander is theoretically possible. It is nearly generally carried out using a sizable upright drum sander, an expensive machine that is typically hired rather than bought. This type of tool is not convenient to use so you need to ensure to get guidance from the store to utilize it safely and effectively.
Sanders’ large upright creates so much noise and also throws up very much dust. So you need to ensure that you wear eye protection, a protective mask, and a hearing protector as well while utilizing this kind of tool. And also, take care of where you are going to operate this tool. There should be an open window ventilator to stop dust from spreading throughout your home, cover up vent duct holes and passage doorways.
 Procedure of hardwood floor refinishing!
Now, it’s time to discuss the subject at hand: how to refinish a floor or how a reputable refinishing business conducts the process.
Eradicating the trim molding: For removing the base shoe molding, floor sanding is one of the comfortable methods which also gives the best outcomes and also for the complete baseboards before starting the work. This leads to an edge sander very close to the walls. It is very important to make sure the molding is prying off to avoid cracks on them. There are several homeowners who approach this chance of installation of new molding, which enables the better look of a refinished floor.
Cover doorways and ducts: In this process, there is the use of plastic which is attached to the tape of the painter to cover the vent ducts and doorways. This leads to the prevention of sanding dust from traveling all over your house.
Floor cleaning: This is a process of complete cleaning of the floor. It should vacuum or be swept thoroughly to remove all the debris or dust that may exist. To remove loose debris, a light-damp mopping technique, preferably performed by hand with a cloth rag, may be helpful.
Perform any required repairs: Analyzing the floor to protrude nails and pound down with the help of a hammer or set of nails. Nails protruding are helpful in running the sanding belts in no time when you start sanding. Before starting the sanding, you can also get missing or damaged flooring boards repaired or replaced.
Floor sanding: This is the procedure of installing a 40 to 60-grit sanding belt on a sander of an upright drum. Sand the whole floor while wearing safety equipment (eye, hearing, and breathing), proceeding parallel to the direction of the boards rather than across the wood grain. Overlap each access by 2 to 4 inches. Don’t let the tool touch the baseboards while getting as near to the walls as you can.
Sanding of corners and edges: Sanding the corners and edges of a particular area with the help of a hand sander that is fitted with sandpaper of 50 to 60 grit. You might need to use a paint scraper in corners to get rid of the final traces of the finish.
Floor examination: After getting done with sanding the floor with the help of tools, we can start working on the remaining areas with sandpaper of medium grade. This will help in smoothing out any rough or dry patches which may occur due to the procedure. If there are gouges, wood putty can be used to fill them. After the putty has dried for at least 24 hours, it should be sanded with fine-grit sandpaper and then cleaned with a tack cloth.
Floor’s cleaning: Most of the power sanders contain a vacuum attachment which is helpful in sucking up most of the dust created during the procedure of refinishing. Yet, it is still essential to mop or sweep all over the room before beginning. After That, wipe the walls and floors with the help of a tack cloth.
Floor’s staining( if you want): The wood can now be stained in any color you like if you so choose. Although there are a variety of dyes and stains available, one of the easy ways is to go for rub-in-stain, which can easily be used with clean rags. Ensure the complete dry stain before operating on the application of a topcoat.
Topcoat’s applications: The frequently used term “varnish” generally refers to any topcoat or primary layer. There are varieties options in this that you can approach:
A simple sealer made with protective and thin liquid that inspects the hardwood, both generating the coat of clean surface over the top and seeping into the material’s pores. It enables wood’s grain and natural color to shine thoroughly, but there is one disadvantage of that it offers the least amount of protection and may have to be reapplied every six months, depending on its usability.
“Polyurethane” – that is the hardwood floor’s most general top coat finish. Its texture is clear and almost like a plastic substance which is used with standard levels of paintbrush and from glossy to matte, it is available in wide varieties of finishes. Its main objective is to create a clear, safety layer on the top of the wood that protects it from scratches and stains.
Traditional varnish is just the same as polyurethane, but the one and only difference between both of them is that traditional varnish contains a more dramatic effect on the wood, and It becomes substantially darker. The main edge of these elements is that it is thinner, allowing for easier spot repairs in the event of future damage.
Whichever finishing you are choosing to use, always ensure to take follow-ups of the label instructions, particularly regarding the drying time and the protections measures. After applying so many primary coats, you can apply two more coats that enable each coat to dry the whole night before beginning the next.
- Moldings replacements: Moving on to the final step– Install the base molding or other wall-side moldings to hide the edge of the freshly finished flooring. With a brad nailer, it is simple to secure these moldings in place
Answering some of the most frequently asked questions!
- What is the durability of a refinished wood floor?
See, the durability or the lasting period of any refinished wood floor completely depends on how you keep it. If you keep it well- maintained, then it may persist for up to ten years. Otherwise, after around seven years, a solid hardwood floor might require refinishing.
- When is refinishing a hardwood floor not an option?
If your floor has a severe impairment or damage like major chips, termite infestation, warping, or any serious staining, or if almost half of your floor contains these issues, then floor refinishing will not aid you much in this. In that case, you should go for the complete reinstallation of the wood. Hardwood flooring that has been refinished more than ten times should not be done so again.
In fact, you are not required to refinish your floor on a frequent basis. See, you can inspect whether your floor requires refinishing or not by these two main differences— just take some drops of water and put it on your floor. Your floors just require polishing or cleaning if that water beads up by the floor; however, it could need to be refinished if the water seeps in.
- What is the most affordable method of refinishing hardwood floors?
There are some methods by which you can cheaply fortify hardwood floors without going through the long refinishing procedure. Minor scratches can be repaired, your floor can be polished using hardwood floor polish and a mop, or you can take things a step further by renting a floor polishing machine from a home improvement retailer.
Winding up!
Hardwood floor refinishing is something that is not a piece of cake, right! So if you are going to do this on your own, then you may end up with some blunder. Because you are not a professional in that field. Therefore, it is preferable to let a reputable hardwood floor refinishing business handle it.
According to the market price, the charge of any professional service is up to $4 to $8 per square foot for refinishing the hardwood floor, based on the amount of work. Any professional’s refinishing service includes sanding and the application of the surface finish of three to four layers. The procedure usually takes four to five days, along with cleanup.
For superior assistance, contact Big Bro Hardwood!
We are a reputable company offering high-quality services in wood floor installation and wood floor refinishing in Orland Park. We are specialists in all aspects of hardwood flooring, from choosing and putting in new floors to maintaining and repairing old ones. Additionally, we provide other services like free estimation, staining, sanding, and repairment. Contact us if you are searching on Google for a hardwood floor refinishing or reinstallation company around you. We are here to guide you through the procedure of refining the floors to make your floor aesthetic and durable for many more years.
We can resolve any deemed problem with our years of experience, saving you money and time. We uphold total candor and openness and guarantee effective communication. Call us at (630) 418 4139 if you have any questions or are unsure if we can assist you.
Overall rating
No votes so far! Be the first to rate this post.
Comments